Table of Contents
Advertisement
Advertisement
Table of Contents

Related Manuals for MSI PRO MP161 E2


Summary of Contents for MSI PRO MP161 E2
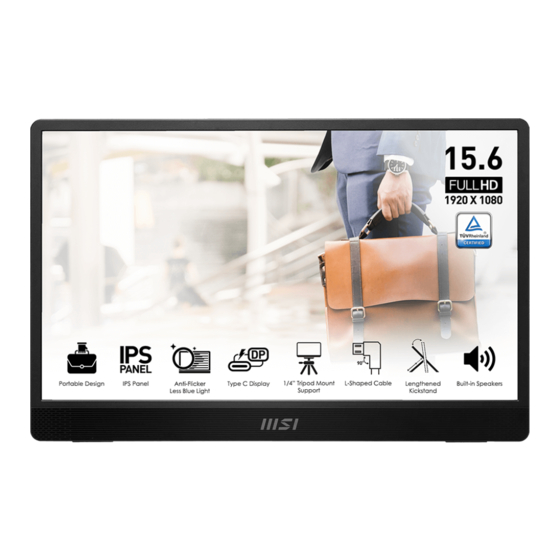
- Page 1 Pro Series Portable Monitor PRO MP161 E2 (3PB7)
-
Page 2: Table Of Contents
Table of Contents Preparation for use ..........................3 Packing contents ..........................3 Installation of Monitor Stand ......................4 Overview of Monitor ..........................5 Connecting to be the monitor of various devices ................6 OSD setting ............................7 OSD keys ..............................7 OSD menu ............................8 Professional ............................8 Image ..............................9 Input source............................10 Navi key.............................11 Setting ...............................12... -
Page 3: Preparation For Use
The information for hardware installation programs is provided in this chapter. Before connecting to devices, be careful to fix the devices and use grounding wrist strap to avoid static electricity. Packaging contents Monitor PRO MP161 E2 (3PB7) Document Quick Start Guide Signal cable... - Page 4 damage to the product, including removal of the polarizing film, may affect the warranty repair! PRO MP161 E2 (3PB7) 1. Adjust the stand vertically by 180 °. 2. Adjust the stand horizontally by 360 °. 3. Adjust the stand to an appropriate position and place it horizontally on the table.
-
Page 5: Overview Of Monitor
Overview of the monitor PRO MP161 E2(3PB7) ① Power button ② Up/down key ③ Type-C interface ④ Type-C interface ⑤ Mini HDMI interface... -
Page 6: Connecting To Be The Monitor Of Various Devices
Connecting to be the monitor of various devices PC’s HDMI as the signal source HDMI Mini HDMI Signal transmission Supply power USB2.0 Type-C Note: Supplied power shall be larger than 15W Laptop’s Type-C as the signal source Signal transmission Type-C Type-C Supply power Note: Supplied power shall be larger than 15W... -
Page 7: Osd Setting
OSD setting The basic information for OSD setting is provided in this chapter. Caution Any change of the information is not subject to prior notice. OSD key A group of OSD keys are provided for this monitor, which help to control on screen display (OSD) menu. -
Page 8: Osd Menu
OSD menu Professional Level-1 menu Level 2/3 menu Description Back Back Mode Use [Up] or [Down] key to select and preview mode and effect. USER Press OK key to apply your type of Anti-Blue light mode. Movie Office Black-white Back Response time Normal Adjust [Response time]. - Page 9 Level-1 menu Level 2/3 menu Description The monitor will run as per the preset Refresh rate [Refresh Rate] of the screen of the operating system. Back Alarm Clock Left Top After setting time, press OK key to activate the timer. Right Top Location The default location of [Alarm Clock]...
-
Page 10: Image
Level-1 menu Level 2/3 menu Description Back Screen Size Auto Adjust [Screen Size]. The default is [Auto]. 16:9 Adaptive-Sync Adaptve-Sync prevent screen tearing. Image Level-1 menu Level 2/3 menu Description Back Back Brightness 0-100 Adjust[Brightness] properly according to the surrounding light. After HDCR is enabled, [Brightness] will turn gray and cannot be used. -
Page 11: Input Source
Level-1 menu Level 2/3 menu Description HDCR HDCR can enhance image quality by improving the contrast of the image. After HDCR is enabled, [Brightness] will turn gray and cannot be used. Back Color temperature Cool default setting [Color temperature] is [Normal]. Normal Use [Up] or [Down] key to select and Warm... -
Page 12: Navi Key
Navi Key Level-1 menu Level 2/3 menu Description Back Back Back All the items for Navi key can be adjusted through OSD menu. Down Brightness Mode Alarm Clock Input Source Refresh Rate Info. On Screen Audio Volume Setting Level-1 menu Level 2/3 menu Description Back... -
Page 13: Setting
Setting Level-1 menu Level 2/3 menu Description Language The default setting of [Language] is [English]. Türkçe The user shall press OK key to confirm and apply [Language] setting. Tiếng Việt [Language] is an independent setting. The user’s ת י ִ ר ְ ב ִע own language setting will replace the default বাংলা... -
Page 14: Specification
Specifications Model PRO MP161 E2 (3PB7) Size 15.6 inch Type of panel Resolution 1920*1080@60Hz Aspect ratio 16:9 Brightness (nits) 250 nits (Typical) 210 nits (Minimum) Contrast 600:1 Refresh rate 60Hz Response time 4ms (Min.) Interface of input source Mini HDMI interface*1... -
Page 15: Preset Display Mode
Preset Display Mode Caution Any change of the information is not subject to prior notice. Standard Resolution PRO MP161 E2 (3PB7) HDMI TYPE-C1 TYPE-C2 640*480 @60Hz Dos-Mode 720*480 @60Hz 720*576 @50Hz SVGA 800*600 @56Hz @60Hz XVGA 1024*768 @60Hz SXVGA 1280*1024... -
Page 16: Troubleshooting
Troubleshooting The power LED indicator is not on. Press the power button on the monitor again. Check if the power cable of the monitor is properly connected. There’s no image. Check if the computer and graphics card are installed correctly. ... -
Page 17: Safety Precautions
Do not step on the power cable when placing it. Do not place anything on the power cable. If this device is equipped with an adapter, use only the AC adapter provided by MSI, which can be used for this device. - Page 18 Environment To reduce the injury caused by heat or overheating possibility of the device, do not place the device on a soft and unstable surface or block the ventilation holes of the device. Use this device only on a hard, flat and stable surface. ...
-
Page 19: German Rheinland Tuv Certifications
German Rheinland TUV Low Blue Light certification Blue light has been proven to cause eye fatigue and discomfort. MSI Microstar Technology now provides the screen that has been awarded the German Rheinland TUV low blue light certification to ensure the comfort and health of user’s eyes. -
Page 20: Regulatory Information
Chemical information Follow relevant chemical substance regulations, such as REACH Regulation (EC1907/2006 rules) of the European Union, and MSI provides chemical substance information of products on the following website, please visit: https://csr.msi.com/global/index... - Page 21 Name and content of harmful substances in the product Name of component Harmful substance Cr(VI) PBDE PCB component LCD display screen Cable/connector I/O device Speaker Metal mechanism Plastic mechanism/others Accessories (e.g.: power cable, etc) This table is made in accordance with SJ/T11364. O: indicates that the content of harmful substances in such component in all the homogeneous materials is below the limit specified in GB/T26572.
- Page 22 For more recycling information, please visit the MSI website and find the nearest dealer. The user can also send an email to gpcontdev@msi.com and contact us to learn about the information on disposal, recovery, recycling and disassembly of MSI products.
Need help?
Do you have a question about the PRO MP161 E2 and is the answer not in the manual?
Questions and answers