Table of Contents
Advertisement
Quick Links
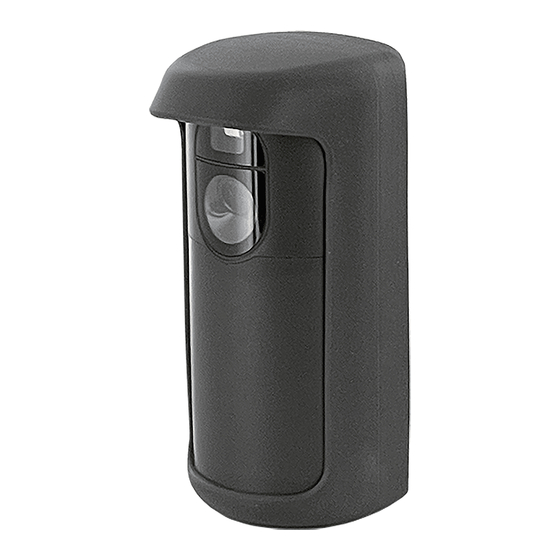
The PROOUTMV is a battery-powered, wireless outdoor motion
detector with a built-in video camera is intended for use with
ProSeries Control Panels. The detector is powered by three
C123A lithium batteries that provide up to 4 years of battery life
(typical use).
The detector can be mounted directly on a wall or with an
optional mounting bracket.
NOTE: Installation shall be done in accordance with the
National Electrical Code, NFPA 70.
FEATURES
No wiring or remote power required. Fully portable battery powered camera allows for flexibility in selecting locations
•
Provides video stream and live video viewing functionality
•
The module features an advance triggering algorithm to minimize the possibility of false alarm activations.
•
•
AES Encrypted Wireless technology provides optimum signal integrity and security
•
CMOS camera sensor with a wide angle 90° lens (horizontal field of view)
16 feet,
•
Night vision (up to
•
Fresnel lens motion detection: 3
•
Camera sends color video
ENROLLMENT
You must enroll the detector in the Control Panel.
Enrollment and RF testing should be done while the detector is in its
intended mounting location to ensure good communication between the
Control Panel and the device.
NOTE: For detailed programming instructions refer to the Installation
Instructions for the Control Panel with which this device is used.
1.
Remove the set screw [A] that secures the rear housing [B] to the
front housing [C]. Remove the rear housing.
Remove the screw [D] that secures the battery cover [E] to the front
2.
housing [C]. Remove the battery cover.
3.
When prompted, perform one of the following:
• Carefully remove (and discard responsibly) the battery tab [F].
• Insert the batteries [G].
• If powered, open and close the back housing again.
4.
The LED on the front flashes rapidly at power up.
5.
Reassemble the detector.
NOTE: After enrolled in a system, the device cannot be used with another Control Panel until it is removed from the current panel. See the
Control Panel instructions for details.
MOUNTING CONSIDERATIONS
The detector can be mounted directly on a wall or with the PROOUTMV-MB mounting bracket (available separately). All programming and
RF testing should be done while the detector is in its intended mounting location to ensure good communication between the Control Panel
and the detector.
NOTE: After enrolling, verify adequate signal strength by conducting a sensor test with the device installed in its intended mounting location
(see the Control Panel instructions). Adjust the device mounting location and orientation as necessary to achieve maximum signal
strength.
•
Use proper tools and hardware.
•
Mount the camera at heights per the "PIR Field of View and Mounting Height Considerations" section.
•
Do not mount too close or aim at an air conditioner or other heat source.
•
Do not aim the detector at moving objects such as automobile traffic or outdoor fans.
•
Do not paint or cover the detection or camera lens.
•
Do not aim the detector directly at a close wall (within 16 ft/5 m) to minimize any excessive light reflections and enhance the camera
viewing area.
MOUNTING
The detector can be mounted directly on a wall or with a PROOUTMV-MB mounting bracket (available separately).
Direct Wall Mounting
To mount the detector directly to a wall, perform the following:
1.
Remove the water protection cover [A] from the detector.
2.
Remove the set screw [B] that secures the detector front housing [C]
to the rear housing [D] and carefully separate the housings.
3.
Secure the rear housing to the wall in the desired location with
screws [E].
NOTE: The detector can be mounted flat or angled on a wall:
W = Wall Mounting Holes
•
C = Corner Mounting Holes
•
4.
Reassemble the detector front housing [C] to the rear housing [D]
and secure with set screw [B].
5.
Install the water protection cover [A] on the detector.
Installation and Setup Guide
5 meters) with one white LED
9.73 ft (
12m), and 90° detection pattern
PROOUTMV
Outdoor Motion Viewer
Advertisement
Table of Contents

Related Manuals for resideo Honeywell Home PROOUTMV


Summary of Contents for resideo Honeywell Home PROOUTMV
- Page 1 PROOUTMV Outdoor Motion Viewer Installation and Setup Guide The PROOUTMV is a battery-powered, wireless outdoor motion detector with a built-in video camera is intended for use with ProSeries Control Panels. The detector is powered by three C123A lithium batteries that provide up to 4 years of battery life (typical use).
- Page 2 Direct Wall Mounting (Continued) Mounting with Mounting Bracket To mount the detector to a wall with the mounting bracket, perform the following: Mount the mounting bracket to the wall as follows: a. Insert shaft screw [A1] through the back of the wall mounting plate [A2] and thread the bracket extension shaft [A3] onto the shaft screw [A1] until secure.
- Page 3 PIR FIELD OF VIEW AND MOUNTING HEIGHT CONSIDERATIONS NOTE: 0° Mounting is also suitable for direct wall mounting with no bracket and the preferred mounting height is between 6.8 and 8.8 feet (2.1 and 2.7 meters). Mounting Angle / Detection Distance 0°...
- Page 4 être située(s) ni fonctionner parallèlement à tout autre transmetteur ou antenne, excepté en conformité avec les procédures de produit multi transmetteur FCC et ISEDs. Responsible Party / Issuer of Supplier’s Declaration of Conformity: Ademco Inc., a subsidiary of Resideo Technologies, Inc., 2 Corporate Center Drive., Melville, NY 11747, Ph: 516-577-2000 The product should not be disposed of with other household waste.
Need help?
Do you have a question about the Honeywell Home PROOUTMV and is the answer not in the manual?
Questions and answers