Advertisement
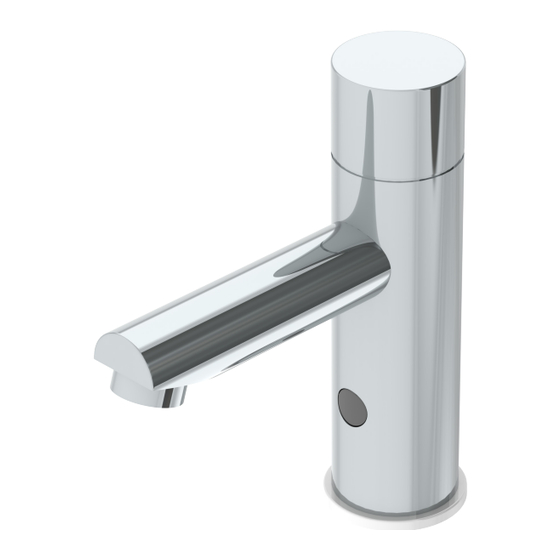
S6350B & S6350E
Sensor Lavatory Faucet
Operations and Maintenance Manual
Warranty
Limited Lifetime - to the original end
purchaser in consumer/residential
installations.
10 Years - for commercial/industrial
installations. Refer to
www.symmons.com/warranty for
complete warranty information.
Installation Instructions
Step 1 - Preperation for Mounting the Faucet
1. Shut off the water
supply
2. Remove the hex-
agonal nut, the disk,
and the gasket. Do
not remove the o-ring
from the base of the
faucet
Step 2 - Installing the Faucet
1. Optional: Place deck
plate through the holes
on the deck and secure
deck plate prior to fau-
cet installation
2. Place the faucet with o-ring into the hole in deck
lavatory. Make sure the o-ring is located between the
deck or lavatory and the bottom of the faucet.
Location:
Dia
ActivSense™
3. Slide the gasket, disk, and hexagonal nut over the
GASKET
WASHER
NUT
4. Your faucet was supplied with a 0.5 GPM aerator
installed. Also, supplied is a 0.35 GPM and 1.0 GPM
aerators. If an alternate flow rate is required replace
the aerator and the housing. Please note the housing
is marked the the flow rate of the supplied aerator.
flexible hose and secure the faucet into place.
GASKET
WASHER
NUT
GASKET
WASHER
NUT
Advertisement
Table of Contents

Subscribe to Our Youtube Channel
Related Manuals for Symmons ActivSense S6350B


Summary of Contents for Symmons ActivSense S6350B
- Page 1 Limited Lifetime - to the original end purchaser in consumer/residential installations. 10 Years - for commercial/industrial installations. Refer to www.symmons.com/warranty for complete warranty information. Installation Instructions 3. Slide the gasket, disk, and hexagonal nut over the Step 1 - Preperation for Mounting the Faucet flexible hose and secure the faucet into place.
-
Page 2: Installation Instructions
Installation Instructions Step 3 - Connecting the Water Supply 1. Connect the flexible pipe to the water supply. For models with temperature control connect the red felxible pipe to the hot water supply and the blue flexible to the cold water supply. Make sure that the filter(s) is/are install be- tween the flexible pipe and the shut off valve (angle valve) (not supplied). -
Page 3: Settings Adjustment
Settings Adjustment DETECTION DELAY OUT TIME RANGE TEMPORARY OFF DELAY IN TIME FUNCTION SECURITY TIME RESET HYGIENE FLUSH COMFORT FLUSH Adjusting the Setting with the Remote Control If necessary, the sensor setting can be adjusted as following: Shut off the water supply. in order to adjust the sensor with the remote control, hold the rre- mote control straight in front of the sensor in a distance of about 6-8"... -
Page 4: Maintenance
Settings Adjustment DELAY IN TIME: If required, the delay in time can also be modified as follows: Press the IN button. Wait until a quick flashing of the LED in the sensor eye is perceived. Then, press (+) to increase the delay in time and (–) to reduce it. DELAY OUT TIME: This button allows modifying the flushing start time after the user moves away from the product. -
Page 5: Power Layout
Power Layout 1 Devices - 1 Power Supply SF-281 AC Power Adapter SD017 (Optional Extension) 39” 4-1/2 Foot Extension 16 Feet 2-3/8” 2 Devices - 1 Power Supply SD021* AC Power Adapter SD017 (Optional Extension) SD019* 6” 4-1/2 Foot Extension 18”... -
Page 6: Troubleshooting
Filter or aerator is clogged Remove, clean, re-install diminished ■ ■ ■ ■ Symmons Industries, Inc. 31 Brooks Drive Braintree, MA 02184 Phone: (800) 796-6667 Fax: (800) 961-9621 ■ ■ ■ ■ Copyright © 2023 Symmons Industries, Inc. symmons.com gethelp@symmons.com ZV-3438 REV C 100623...
Need help?
Do you have a question about the ActivSense S6350B and is the answer not in the manual?
Questions and answers