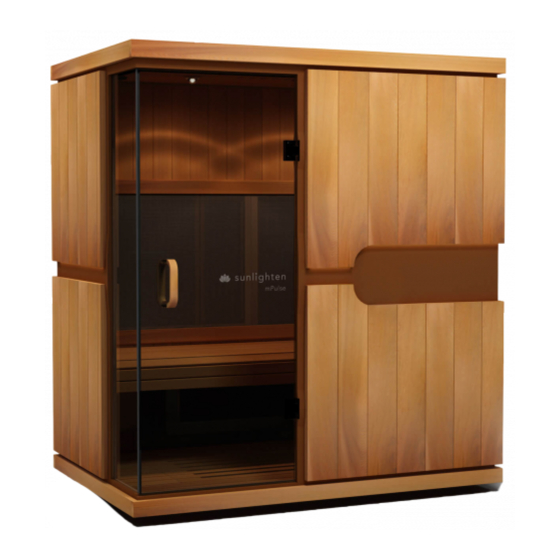
Sunlighten mPulse Conquer Assembly Instructions Manual
Hide thumbs
Also See for mPulse Conquer:
- Assembly manual (9 pages) ,
- Assembly instructions manual (8 pages) ,
- User manual (40 pages)
Advertisement
Quick Links
UK ASSEMBLY INSTRUCTIONS
ASSEMBLY INSTRUCTIONS
included in door handle
1
2
3
2x
4x
2x
A
B
5x
E
1x
Roof
G
1x
Back Wall
I
1x
Left Wall with glass panel
K
1x
Bench
1
sunlighten.com/gb-en
4
5
7x
4x
C
2x
1x
Conquer
6
7
1x
1x
Allen wrench
Philips Screw Driver
D
1x
F
1x
Floor
H
1x
Right Wall
J
1x
Front Wall
L
1x
Glass Front Door
Advertisement

Related Manuals for Sunlighten mPulse Conquer


Summary of Contents for Sunlighten mPulse Conquer
- Page 1 UK ASSEMBLY INSTRUCTIONS ASSEMBLY INSTRUCTIONS Conquer included in door handle Allen wrench Philips Screw Driver Roof Floor Back Wall Right Wall Left Wall with glass panel Front Wall Bench Glass Front Door sunlighten.com/gb-en...
- Page 2 In this step, make sure one person is holding the wall while the other helps balance it and press it in Front of sauna place. sunlighten.com/gb-en...
- Page 3 A diagram showing the connection locations can be found on STEP 8. NOTE: If you ever have trouble getting a U-clip to slide in, this can be resolved by tapping it with a hammer. sunlighten.com/gb-en...
- Page 4 • Leave D16 cable 4-pin, white rectangular connector and second D15 3-pin rectangular connector unplugged unless you purchased the Sound Therapy Kit. • If Sound Therapy was purchased, plug D15 and D16 into E8. • Plug E8 into SS-Amp. sunlighten.com/gb-en...
- Page 5 sunlighten.com/gb-en...
- Page 6 Now, place the heater frames in their respective locations. NOTE: Look at the back of the heater frames for the “This Side Up” sticker for proper orientation. Left Wall Heaters Back Wall Heaters Front Wall Heaters, Lights, Blaupunkt/ Right Wall Heaters Sound Therapy Receiver, Control Panel sunlighten.com/gb-en...
- Page 7 Make sure the rough-texture side of the gasket is against the glass door as your insert it. This will give it the grip needed to hang it. Likewise, make sure the gaskets touching the hinges also are doing so by the rough side. sunlighten.com/gb-en...
- Page 8 Be sure to have a second person hold the handle in place while the other inserts the bolt. CONGRATULATIONS, your sauna is now ready to enjoy! If you have any queries, please call Sunlighten Customer Support at 0330.808.1203. sunlighten.com/gb-en...
Need help?
Do you have a question about the mPulse Conquer and is the answer not in the manual?
Questions and answers