Advertisement
Available languages
Available languages
Quick Links
Advertisement
Chapters

Related Manuals for Reolink RLC-1212A


Summary of Contents for Reolink RLC-1212A
- Page 1 E N/D E /FR /I T/E S Operational Instruction RLC-1212A...
-
Page 2: Table Of Contents
Content What's in the Box What’s in the Box Camera Introduction Connection Diagram Camera Waterproof Lid Ethernet Cable Set up the Camera Mount the Camera Troubleshooting Specifications Notification of Compliance Quick Start Guide Surveillance Sign Mounting Hole Template Pack of Screws... -
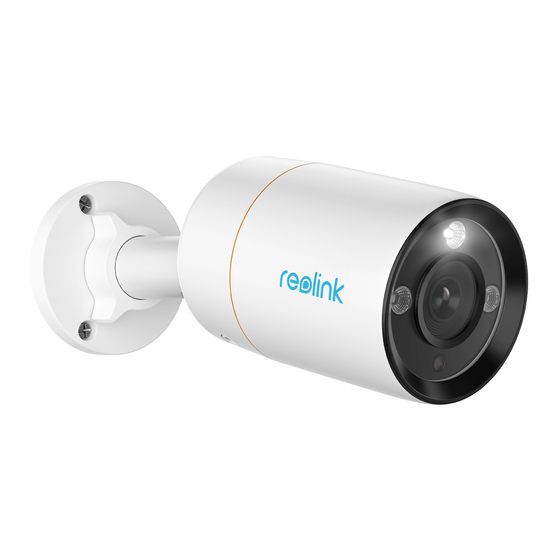
Page 3: Camera Introduction
Before using the camera, please connect your camera as instructed Micro SD Card Slot below to finish initial setup. 1. Connect the camera to a Reolink NVR (not included) with an Ethernet cable. Mount 2. Connect the NVR to your router, and then power on the NVR. -
Page 4: Set Up The Camera
Set up the Camera Mount the Camera Installation Tips Download and launch the Reolink App or Client software, and follow the onscreen instructions to finish initial setup. • Do not face the camera towards any light sources. • On Smartphone •... - Page 5 Install the Camera Drill holes in accordance with the mounting hole template. To get the best field of view, loosen the adjustment knob on security NOTE: Use the drywall anchors mount and turn the camera. included in the package if needed. Install the mount base with the mounting screws included in the package.
-
Page 6: Troubleshooting
• Make sure your camera is powered properly. The PoE camera should • Ensure the spotlight is enabled under Device Settings page via Reolink be powered by a PoE switch/injector, the Reolink NVR or a 12V power App/Client. adapter. -
Page 7: Notification Of Compliance
Simplified EU Declaration of Conformity Terms and Privacy Reolink declares that this device is in compliance with the essential Use of the product is subject to your agreement to the Terms of Service requirements and other relevant provisions of Directive 2014/30/EU. - Page 8 Überblick End User License Agreement By using the Product Software that is embedded on the Reolink product, you agree to the terms of this End User License Agreement (“EULA”) Lieferumfang between you and Reolink. Allgemeine Einführung Diagramm für Kameraanschluss Kamera-Einrichtung...
-
Page 9: Lieferumfang
Lieferumfang Allgemeine Einführung MicroSD-Kartenslot Montagesockel Spotlight Kamera Wasserdichter Netzwerkkabel Deckel Objektiv Infrarot-Scheinwerfer Tageslichtsensor Internes Mikrofon Kurzanleitung Schild Montage- Lautsprecher Videoüberwachung Lochschablone Wasserdichter Deckel Netzwerkkabel Reset-Taste * Zum Zurücksetzen auf die Werkseinstellungen ca. Päckchen 10 Sekunden lang drücken. mit Schrauben Strom (Optional) Deutsch Deutsch... -
Page 10: Diagramm Für Kameraanschluss
DC 48V HDMI Netzwerkkabel Netzwerkkabel HINWEIS: Wenn Sie die Kamera an einen Reolink PoE NVR anschließen möchten, bitte richten Sie die Kamera über die NVR-Schnittstelle ein. * Sie können die Kamera auch an einen PoE-Switch oder einen PoE-Injektor anschließen. Deutsch... -
Page 11: Installation Der Kamera
Installation der Kamera Installation der Kamera Montagetipps Bohren Sie Löcher gemäß der • Richten Sie die Kamera nicht auf Lichtquelle. Lochschablone. • Richten Sie die Kamera nicht auf das Glasfenster. Es kann sonst zu schlechter Bildqualität führen, da das Fenster durch Infrarot-LEDs, HINWEIS: Verwenden Sie bei Umgebungslichter oder Statuslichter geblendet wird. -
Page 12: Fehlerbehebung
Sie die Kamera. • Bitte stellen Sie sicher, dass Ihre Kamera richtig mit dem Strom versorgt wird. Die PoE-Kamera sollte über einen PoE-Schalter/Injektor, Reolink NVR oder einen 12V-Stromadapter mit dem Strom versorgt werden. • Wenn die Kamera an ein PoE-Gerät wie obengenannt angeschlossen ist, schließen Sie sie dann an einen anderen PoE-Anschluss an und prüfen... -
Page 13: Spezifikationen
Sie bitte die folgenden Lösungen: FCC-Konformitätserklärung • Stellen Sie sicher, dass das Spotlight auf der Seite Geräte-Einstellungen über Reolink App/Client aktiviert ist. Dieses Gerät entspricht Abschnitt 15 der FCC-Bestimmungen. Der Betrieb • Aktualisieren Sie die Firmware Ihrer Kamera auf die neueste Version. - Page 14 Standardeinstellungen zurückzusetzen und die eingelegte Vereinfachte EU-Konformitätserklärung SD-Karte herauszunehmen.schädliche Störungen bei einer häuslichen Installation bieten. Reolink erklärt, dass dieses Gerät den grundlegenden Anforderungen und anderen relevanten Bestimmungen der Richtlinie 2014/30/EU entspricht. AGB & Datenschutz Korrekte Entsorgung dieses Produkts Die Nutzung des Produkts unterliegt Ihrer Zustimmung zu AGB und...
Need help?
Do you have a question about the RLC-1212A and is the answer not in the manual?
Questions and answers