
Related Manuals for Reolink RLC-81PA


Summary of Contents for Reolink RLC-81PA
- Page 1 Q S G 1 _ A _ E N Quick Start Guide Apply to: RLC-81PA, B4K1PA @ R e o l i n kTe c h h t t p s ://re o l i n k . c o m...
- Page 2 Contents What's in the Box What’s in the Box · · · · · · · · · · · · · · · · · · · · · · · · · · · · · · · · · · · · · · · · · · · · · · · · · · · · · · · · · · · · · · · · · · · · · · · · · · · · ·2 Camera Introduction ·...
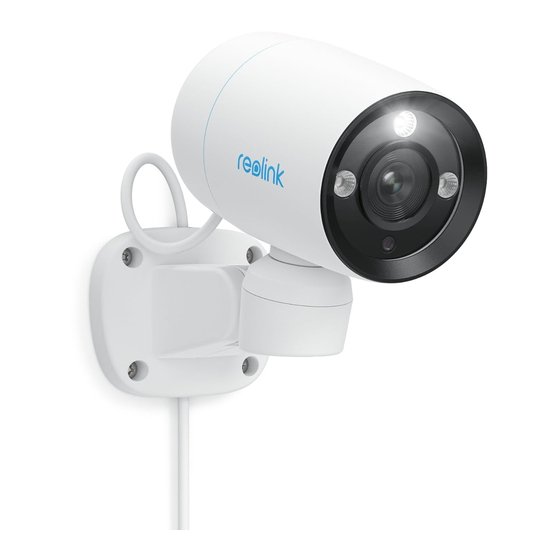
- Page 3 Before using the camera, please connect your camera as instructed Spotlight below to finish initial setup. 1. Connect the camera to a Reolink NVR (not included) with an Ethernet cable. Lens 2. Connect the NVR to your router, and then power on the NVR.
- Page 4 However, it doesn't mean the camera can work underwater. NOTE: If you are connecting the camera to a Reolink PoE NVR, please set up the camera via the • Do not install the camera at places where rain and snow can hit the lens directly.
- Page 5 Find a desired location and drill holes in accordance with the mounting hole template. Install the mount base with the mounting screws included in the package. NOTE: After the installation, you can remotely control your camera from Reolink App to spin left and right for the best field of view.
- Page 6 The PoE camera should be powered by a If these won’t work, contact Reolink Support Rules. Operation is subject to the following For more specifications, visit the PoE switch/injector, the Reolink NVR or a 12V two conditions: (1) this device may not cause https://support.reolink.com/. Reolink official website.
- Page 7 Terms of Service and by turning the equipment off and on, the should not be disposed with other household Privacy Policy at reolink.com. Keep out of user is encouraged to try to correct the wastes.throughout the EU. To prevent possible reach of children.
Need help?
Do you have a question about the RLC-81PA and is the answer not in the manual?
Questions and answers