Racelogic VBOX Quick Start Manual
25 hz speed sensor
Hide thumbs
Also See for VBOX:
- User manual (196 pages) ,
- Quick start manual (5 pages) ,
- User manual (19 pages)
Table of Contents
Advertisement
Quick Links
VBOX 25 Hz Speed Sensor (v2) - Quick Start Guide
Getting Started
The information you need when you are getting started with your VBOX 25 Hz Speed Sensor (v2), including opening the
box and registering your product and other information that is important to know before you can install and use it for
testing.
Registration
Please register your VBOX 25 Hz GPS Speed Sensor (v2) unit so that Racelogic can continue to provide you with
notifications about the latest software releases and firmware upgrades for your Racelogic product and offer technical
support.
Register your device here.
What is in the box?
https://en.racelogic.support//Product_Info/Sensors/Single_and_Dual_Antenna_Speed_Sensors/
VBOX_25_Hz_Speed_Sensor_(v2)/VBOX_25_Hz_Speed_Sensor_(v2)_-_Quick_Start_Guide
1
Advertisement
Table of Contents

Related Manuals for Racelogic VBOX


Summary of Contents for Racelogic VBOX
- Page 1 Getting Started The information you need when you are getting started with your VBOX 25 Hz Speed Sensor (v2), including opening the box and registering your product and other information that is important to know before you can install and use it for testing.
-
Page 2: Power Supply
Power Supply VBOX 25 Hz Speed Sensor units are powered via the POWER IN lead or the CAN OUT + POWER lead on the supplied loom. You can use the RLCAB010LE cable to connect to a 12 V ouput point in a vehicle or you can use a battery pack (RLACS333-L). -
Page 3: Unit Connector
RLCAB221 Cable Loom Cable Function Cable Function UNIT CONNECTOR DIGITAL OUT SERIAL DIGITAL IN POWER IN CAN OUT + POWER CAN OUT Note: You can find the complete pinout information for the VBOX unit here. Installation https://en.racelogic.support//Product_Info/Sensors/Single_and_Dual_Antenna_Speed_Sensors/ VBOX_25_Hz_Speed_Sensor_(v2)/VBOX_25_Hz_Speed_Sensor_(v2)_-_Quick_Start_Guide... - Page 4 Mounting The VBOX 25 Hz Speed Sensor should be secured inside the vehicle to stop it from moving when the vehicle is in motion. The base plate has M3 screw holes along its length that you can use if you want to bolt it directly to a mounting surface in the vehicle.
-
Page 5: Hardware Connections
Hardware Connections Connecting the Loom to the VBOX Unit Note: It is important that you do not use force when connecting and disconnecting the loom to the VBOX unit. https://en.racelogic.support//Product_Info/Sensors/Single_and_Dual_Antenna_Speed_Sensors/ VBOX_25_Hz_Speed_Sensor_(v2)/VBOX_25_Hz_Speed_Sensor_(v2)_-_Quick_Start_Guide... - Page 6 Push the connectors gently together and twist the outer ring on the loom's connector until it slots in place and locks the connection. Disconnecting the Loom From the VBOX Unit Note the notches on the connectors as illustrated above. Twist the loom's connector while you gently pull it away from the unit.
-
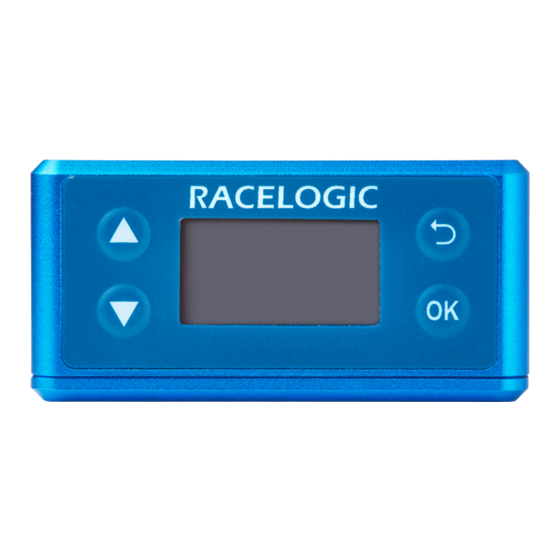
Page 7: Front Panel
Front Panel Overview To facilitate unit configuration, the VBOX Speed Sensor has an OLED display and four membrane buttons on the front panel. Alternatively, you can use VBOX Setup to configure the VBOX unit. Buttons Menu up / Increase the... - Page 8 Startup When the VBOX Speed Sensor is powered up, it will display the RACELOGIC logo along with hardware variant and the serial number of the unit. Next, it will change to display the firmware version of the unit. When the unit has initialised and any warnings have been cleared, the number of satellites will be displayed.
-
Page 9: Factory Reset
You can reset the unit to its factory settings by pressing the Up and Down arrow buttons simultaneously and holding them for 5 seconds. After this period, the unit will beep and it will play an audible confirmation signal when the reset is finished. https://en.racelogic.support//Product_Info/Sensors/Single_and_Dual_Antenna_Speed_Sensors/ VBOX_25_Hz_Speed_Sensor_(v2)/VBOX_25_Hz_Speed_Sensor_(v2)_-_Quick_Start_Guide... - Page 10 Introduction This is a general overview of the VBOX Setup software, connected to the VBOX 25 Hz Speed Sensor (v2), and its functionality. You can use the VBOX Setup Software to configure your VBOX unit. It provides greater functionality in...
-
Page 11: Software Overview
Note: An auto-detect message may appear if the baud rate has been changed from the default value - select ‘Yes’ to allow the different baud rates to be scanned. Software Overview https://en.racelogic.support//Product_Info/Sensors/Single_and_Dual_Antenna_Speed_Sensors/ VBOX_25_Hz_Speed_Sensor_(v2)/VBOX_25_Hz_Speed_Sensor_(v2)_-_Quick_Start_Guide... - Page 12 Clicking on the question mark icon when you have an active internet connection will open the Help corresponding user guide page for the menu within the Racelogic Support Centre. The header displays the name of the Current menu menu that you have currently selected.
-
Page 13: Settings Menus
Write to Unit button should be Write to unit selected to ensure the settings have been uploaded to the connected VBOX unit. Clicking this button closes the software. You will be prompted to Close save the settings if the changes have not been written to the VBOX unit. - Page 14 Serial Menu Digital I/O Menu https://en.racelogic.support//Product_Info/Sensors/Single_and_Dual_Antenna_Speed_Sensors/ VBOX_25_Hz_Speed_Sensor_(v2)/VBOX_25_Hz_Speed_Sensor_(v2)_-_Quick_Start_Guide...
Need help?
Do you have a question about the VBOX and is the answer not in the manual?
Questions and answers