Server Eco Pump BP-1 Quick Start Manual
Hide thumbs
Also See for Eco Pump BP-1:
- Manual (8 pages) ,
- User manual (12 pages) ,
- Quick start manual (8 pages)

Subscribe to Our Youtube Channel
Related Manuals for Server Eco Pump BP-1


Summary of Contents for Server Eco Pump BP-1
- Page 1 Eco Pump ™ MODEL: BP-1 88220 Thank You For purchasing our Eco Pump™. This quality, NSF listed pump delivers precise portions and is a reliable alternative to the constant expense of disposable pumps. CONSISTENT PORTIONS—SERVE BETTER...
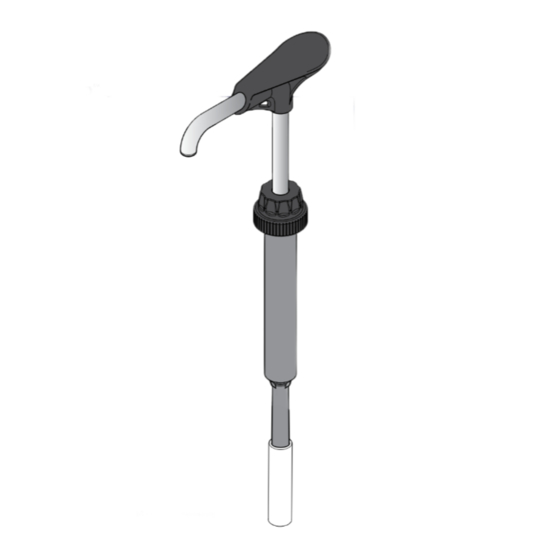
- Page 2 PARTS FOR PUMP 88220 PUMP DELIVERS HEAD 1 OZ PORTIONS ASSEMBLY 89215 To reduce portion, add GAGING COLLAR(S) DISCHARGE TUBE 88887 Small collar: 1/8 oz reduction 88888 Medium collar: 1/4 oz reduction 88879 Large collar: 1/2 oz reduction LOCKING COLLAR PISTON COLLAR(S) USED PORTION RESULTS None...
- Page 3 Be aware of the product you are serving and the “Not acceptable for dispensing potentially temperature the product is required to maintain. hazardous foods.” Server Products, Inc. cannot be responsible for the serving of potentially hazardous product. DISASSEMBLY DISASSEMBLE AND WASH ALL PARTS PROPERLY BEFORE USE.
- Page 4 CLEANING YES! FLUSH & RINSE all pump surfaces with hot water. Use dishwashing soap, Place lower end of pump into container hot water of hot water and operate pump until all and nylon brush remaining product is expelled and only hot water is discharged.
-
Page 5: Clean-In-Place
CLEAN-IN-PLACE PROCEDURE FOR PUMPS CLEAN • Pump out all (if any) remaining food product from inside pump body. • Wash and rinse off outside of pump body. • Flush out and rinse inside of pump. • Place lower end of pump into container full of water and operate pump until all (if any) remaining product is expelled and only warm water flows from discharge... - Page 6 ASSEMBLY PRACTICE SAFETY. WASH ALL PARTS PROPERLY BEFORE USE. See page 4. INSTALL O-RING into seal. Apply food equipment lubricant on O-ring INSTALL SEAL onto head assembly piston. Apply small amount of food equipment lubricant inside seal. TIP: Flared end of seal should face away from piston head.
-
Page 7: Prime Pump
INSTALL HEAD ASSEMBLY INTO CYLINDER Apply a small amount of food equipment lubricant to the outside of seal. Slide locking collar down onto cylinder threading. Tighten firmly to secure head assembly to cylinder. INSERT & SECURE PUMP to product container. Tighten cap very firmly onto product container threading. PRIME PUMP Press pump several times until any air bubbles are eliminated and only product... -
Page 8: Troubleshooting
GENERAL SERVICE, LIMITED WARRANTY REPAIR OR RETURNS Before sending an item to Server Products, contact Customer Care to request a Return Authorization Number. The RA Number ensures proper processing and a prompt turnaround. Repaired units are typically shipped out within 48 hours of receipt.
Need help?
Do you have a question about the Eco Pump BP-1 and is the answer not in the manual?
Questions and answers