Polycom VVX 500 Manual
Hide thumbs
Also See for VVX 500:
- Quick start manual ,
- User manual (133 pages) ,
- Training manual (16 pages)

Related Manuals for Polycom VVX 500


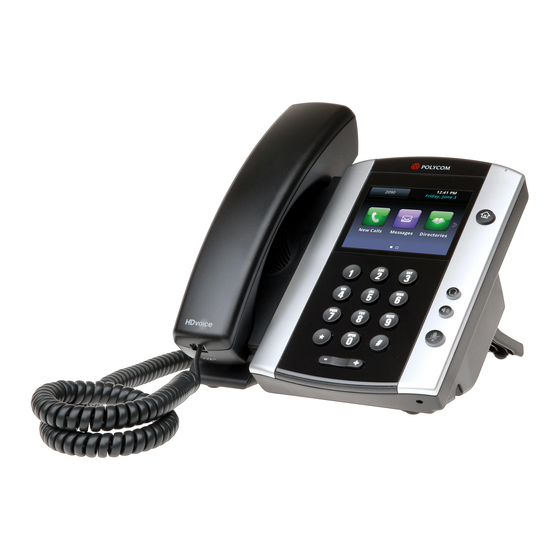
Summary of Contents for Polycom VVX 500
- Page 1 PolyCom VVX 500 1300 0 JINGL 1 3 0 0 5 4 6 4 5 Head Office: Level 1 21 Shierlaw Ave Canterbury 3126, Victoria, Australia www.jingl.com.au...
- Page 2 Configuring PolyCom VVX 500 1. View and record the unique MAC address of the handset which can be found at the base of the handset. 1300 0 JINGL 1 3 0 0 5 4 6 4 5 Head Office: Level 1 21 Shierlaw Ave Canterbury 3126, Victoria, Australia...
- Page 3 2. Logon to the jingl web portal, using specific customer domain URL https://’customer’.jingl.com.au Enter your User Name and Password Presented with Dashboard 1300 0 JINGL 1 3 0 0 5 4 6 4 5 Head Office: Level 1 21 Shierlaw Ave Canterbury 3126, Victoria, Australia www.jingl.com.au...
- Page 4 3. Select and click the Settings / Handset menu 4. Click on “Add new” In general tab, choose and enter extension number and a display name 1300 0 JINGL 1 3 0 0 5 4 6 4 5 Head Office: Level 1 21 Shierlaw Ave Canterbury 3126, Victoria, Australia www.jingl.com.au...
- Page 5 5. Select and expand Provisioning tab. Enter the MAC address of the phone 6. Select and expand Hardware Type. Select the phone model as “Polycom VVX 500” 1300 0 JINGL 1 3 0 0 5 4 6 4 5 Head Office: Level 1 21 Shierlaw Ave Canterbury 3126, Victoria, Australia www.jingl.com.au...
- Page 6 Click Add to finish your extension configuration. 7. Connect your phone on the network with a DHCP server, and find out phone’s IP address. On handset press Home > Settings > Status > Network > TCP/IP Parameters. 8. Use a compatible browser to browse the phone web menu using phones IP address 1300 0 JINGL 1 3 0 0 5 4 6 4 5...
- Page 7 9. Login to the web interface with admin user (default password is 456) 1300 0 JINGL 1 3 0 0 5 4 6 4 5 Head Office: Level 1 21 Shierlaw Ave Canterbury 3126, Victoria, Australia www.jingl.com.au...
- Page 8 10. Browse to settings Provisioning Server 1300 0 JINGL 1 3 0 0 5 4 6 4 5 Head Office: Level 1 21 Shierlaw Ave Canterbury 3126, Victoria, Australia www.jingl.com.au...
- Page 9 11. Select “HTTP” as Server Type Enter “tftp.jingl.com.au” as Server Address No Server User and Server Password required Expand DHCP Menu Ensure Boot Server is set to “Static” Ensure Boot Server Option is set to “160” Ensure Boot Server Type is set to “String” Ensure Option 60 Format is set to “ASCII String”...
Need help?
Do you have a question about the VVX 500 and is the answer not in the manual?
Questions and answers