
Related Manuals for Akw iTherm 30306


Summary of Contents for Akw iTherm 30306
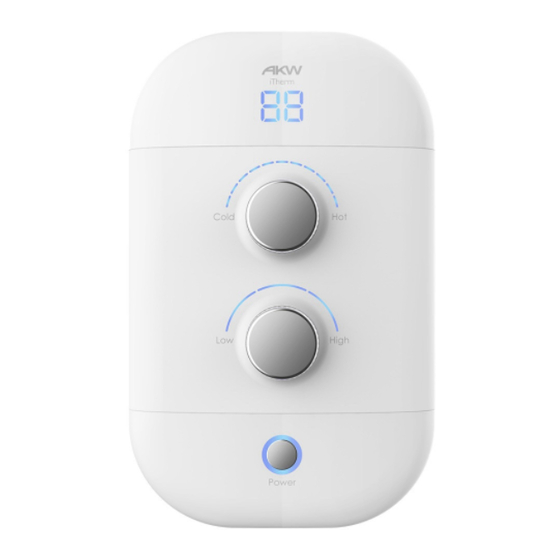
- Page 1 iTherm Electric Shower INSTRUCTIONS 8.5 kW 9.5 kW 30306 30307 Please read all instructions before installation and leave this document with the end user for future reference as it contains important warranty information...
- Page 2 Phased Shut Down - Flushes the shower with cold water to avoid the possibility of scalding if the shower is restarted within a short period of time Flexible Installation 6 water and cable entry points Dual power blocks for left or right wiring Retro-fit footprint 8.5 or 9.5 kW options available Wired connectivity to all AKW DigiPump shower waste pumps General: 01905 823 298 www.akw-ltd.co.uk...
-
Page 3: Table Of Contents
........................ 1 8-19 Electrical ........................ 20-21 Connecting Waste Pump .................... 22 Commissioning 23-26 temperature & Mode settings .................. 23 Functional Checks ...................... 24 commissioning ......................... 25 In-service tests ......................... 26 Order: 01905 823 299 orders.akw-ltd.co.uk Technical Support: 01905 560 219... -
Page 4: User
AKW does not accept any liability in connection with this information or its use. this information is provided on the condition that the person receiving it shall make their own tests to determine the suitability for their particular purpose. -
Page 5: Operating Instructions
When power is applied, the power light ring will be dimly lit and the shower is in standby mode. to switch on, press the power button. the power light ring will be brightly lit. Order: 01905 823 299 orders.akw-ltd.co.uk Technical Support: 01905 560 219... -
Page 6: Shower Settings
Cold Flush: this setting will be selected when only Led #1 is lit. Volume Setting: this setting will be selected when Leds #1 & 2 are lit. Eco Setting: this setting will be selected when Leds #1, 2, 3, 4 & 5 are lit. General: 01905 823 298 www.akw-ltd.co.uk... - Page 7 = flow limited to 6 lpm. If temperature control is not adjusted within 5 seconds of releasing power button: revert to standby state. Press / release power button: eco setting stored: revert to standby state. Order: 01905 823 299 orders.akw-ltd.co.uk Technical Support: 01905 560 219...
-
Page 8: Troubleshooting
LeD is lit or flashing and contact AKW technical enquiries (01905 560 219 | tech@akw-ltd.co.uk). General: 01905 823 298... -
Page 9: Filter Cleaning
Order: 01905 823 299 orders.akw-ltd.co.uk Technical Support: 01905 560 219... -
Page 10: Main Components
Plates Fixing Holes Inlet Filter shower Hose outlet Bottom Pipe inlet and cable entry cover 3x M4 screws with Spring Washer 3x screws 3x Wall Plugs shower Front cover Fitting Plate General: 01905 823 298 www.akw-ltd.co.uk... -
Page 11: Specifications
240 mm depth 100 mm Footprint Height (H2) 365 mm Footprint Width (W2) 218 mm Water ingress Rating iPX4 Water and Cable entry Points top, bottom or back. accredItatIons & certIFIcatIons Order: 01905 823 299 orders.akw-ltd.co.uk Technical Support: 01905 560 219... -
Page 12: Installation Requirements
DON’T • Block, restrict or connect the water outlet pipe to any parts other than those AKW specifically state for use with the shower, as it acts as a vent. •... -
Page 13: Disassembly
& cable entry covers. and slide out the bottom cover plates. Order: 01905 823 299 orders.akw-ltd.co.uk Technical Support: 01905 560 219... -
Page 14: Fitting To Wall - Without Fitting Plate
Insert wall plugs and screw the top cables or pipework. screw to the wall. note: the bottom remove the fitting template from the wall screws should be fitted only and drill the marked fixing points. during final installation. General: 01905 823 298 www.akw-ltd.co.uk... -
Page 15: Fitting To Wall - With Fitting Plate
Knock out the fixing hole at the top of the back drill, insert wall plugs and case with a screwdriver, and screw back case to screw to wall. plate using the provided 3x M4 machine screws. Order: 01905 823 299 orders.akw-ltd.co.uk Technical Support: 01905 560 219... -
Page 16: Reassembly - Bottom Cover
Reassembly - Bottom Cover once the cable and pipe connections have been made, reassemble the bottom cover plates. slide the entry covers in. slide the bottom cover plates in. Fasten the screws holding the bottom covers. General: 01905 823 298 www.akw-ltd.co.uk... -
Page 17: Reassembly - Front Cover
Place top of the cover against the shower making sure the retaining clips are in the carefully connect the ribbon cable. correct position and press the bottom of the cover to clip. screw in place. Order: 01905 823 299 orders.akw-ltd.co.uk Technical Support: 01905 560 219... -
Page 18: Plumbing
(not supplied) should be fitted as close as is practicable to the water supply inlet of the shower heater whilst being accessible for maintenance and servicing purposes. remove retaining screw and rotate inlet valve to left or right as desired. General: 01905 823 298 www.akw-ltd.co.uk... - Page 19 Left or right side bottom inlet. Left or right side top inlet. Note: Some water from the factory testing may escape when the bottom blanking plug is removed. Order: 01905 823 299 orders.akw-ltd.co.uk Technical Support: 01905 560 219...
-
Page 20: Electrical
Where shower cubicles are located outside of a bathroom, all socket outlets in the room must be protected by a 30 ma rcd. consult the wiring regulations. It is recommended to use the shortest cable route possible from the consumer unit to the shower. General: 01905 823 298 www.akw-ltd.co.uk... - Page 21 Depending on cable size and entry point used, it may be necessary to strip back the outer cable sheath sufficiently to allow cables to be directed to the terminal connection block within the unit. Order: 01905 823 299 orders.akw-ltd.co.uk Technical Support: 01905 560 219...
-
Page 22: Connecting Waste Pump
Connecting Waste Pump Connecting Waste Pump removable for easier installation Wired Pump Connection see next page to set output at either pulsed or switched as desired. General: 01905 823 298 www.akw-ltd.co.uk... -
Page 23: Commissioning
Auto-Shutdown Switch 6 Switch 7 Duration 30 Minutes 20 Minutes 10 Minutes 5 Minutes Beep: if DiP switch maximum temperature = 41°C then shower ‘beeps’ once when isolator switched on. Order: 01905 823 299 orders.akw-ltd.co.uk Technical Support: 01905 560 219... -
Page 24: Functional Checks
Leds are functioning. Press the Power button to revert to standby mode. It is important to complete the installation and record the commissioning tests to provide a performance reference point for future tests. General: 01905 823 298 www.akw-ltd.co.uk... -
Page 25: Commissioning
Record the outlet water temperature at the reduced flow rate; the outlet water temperature should not exceed the maximum temperature switch setting (see page 23); Record details of test equipment (thermometer, voltmeter, flow meter etc.) used for the measurements. Order: 01905 823 299 orders.akw-ltd.co.uk Technical Support: 01905 560 219... -
Page 26: In-Service Tests
(eg less than 1°C) in outlet water temperatures are recorded between tests, then the next in-service test can be deferred to 24-28 weeks. if there is a significant change then contact AKW technical enquiries. General: 01905 823 298... - Page 27 In-Service Test Record Order: 01905 823 299 orders.akw-ltd.co.uk Technical Support: 01905 560 219...
- Page 28 If the issue is still unresolved, contact AKW technical enquiries who will provide further advice and arrange for a maintenance engineer to visit if necessary. none of the foregoing affects your statutory rights.
Need help?
Do you have a question about the iTherm 30306 and is the answer not in the manual?
Questions and answers