Table of Contents
Advertisement
Quick Links
Advertisement
Table of Contents

Subscribe to Our Youtube Channel
Summary of Contents for Backyard Creations 2595281
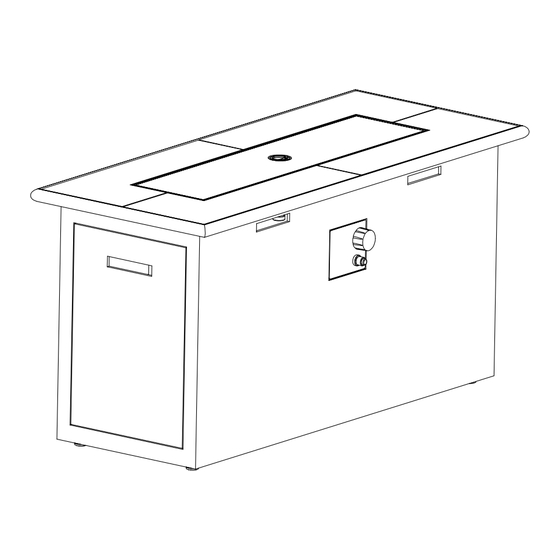
- Page 1 HARRINGTON BEACH GAS FIRE PIT ITEM# 52699 MODEL# 2595281 Questions, problems, missing parts? Before returning to your retailer, call our customer service department at 1-877-447-4768, 8:00 a.m. - 4:30 p.m., CST, Monday-Friday or email us at customerservice@ghpgroupinc.com Page 1...
-
Page 2: Package Contents
PACKAGE CONTENTS Item Description Firebowl Body Door Item Description Part No. Burner (preassembled)) Firebowl (burner plate) Body Guard (preassembled)) Door Lava Rocks 1 box Burner (preassembled) Protective Cover Guard (preassembled) Battery (AAA) Lava Rocks 1 box Protective Cover Control Knob (preassembled) Battery (AAA) Electronic Igniter (preassembled) Control Knob (preassembled) -
Page 3: Safety Information
SAFETY INFORMATION WARNING • T he installation of this unit must adhere to local codes or Propane Storage and Handling Code, CSA B149.2. • T HIS UNIT IS INTENDED FOR OUTDOOR USE ONLY! This product shall be used outdoors, in a ventilated space and shall not be used in any enclosed area. - Page 4 SAFETY INFORMATION around the entire unit. • K eep the appliance area clear and free from combustible material, gasoline and other flammable vapors and liquids. • I f the flame goes out while burning, turn the gas valve off. Wait 5 minutes before repeating the initial lighting procedure. Once you have a flame started, hold down the control knob for 1 minute. • D o not add water into the unit. • D o not operate unit if any part has been under water. Immediately call a qualified service technician to inspect the appliance and replace any part of the control system and any gas control that has been under water.
- Page 5 SAFETY INFORMATION IF APPLICABLE: • A llow heating item to cool completely before placing on lid. • D O NOT use heating item while lid is installed. Always remove the lid while heating item is in use. Only use the regulator and hose assembly provided with this unit. Replacement parts must be supplied directly by manufacturer.
- Page 6 ASSEMBLY INSTRUCTIONS 1. Check that the control knob (I) for the gas supply system is turned to the ‘OFF’ position before starting any assembly. 2. Remove door from body (B) and place propane gas tank (not included) into the metal stand inside of the body (B).
- Page 7 ASSEMBLY INSTRUCTIONS 4. Once the tank is attached to the regulator, make sure the propane gas tank sits on the metal stand inside body (B) completely. Turn the preassembled wing screw on the outer part of metal stand clockwise to secure the propane gas tank tightly. 5. Replace door (C) onto the body (B).
- Page 8 ASSEMBLY INSTRUCTIONS 7. Pour the lava rocks (F) into the firebowl (A). WARNING To ensure proper function, the guard (E) on this burner (D) should be free of lava rocks at all times. Keep away from the unit and allow the unit to burn 20 minutes for the time use. Always ensure that lava rocks/pumice stones/ LavaGlass®...
-
Page 9: Operation
OPERATION Before performing a leak test, be sure that no sparks can occur and you are in a spacious outdoor area. Connect the propane gas tank to the regulator and turn the valve on the unit to the ‘OFF’ po- sition. Brush a soap and water mixture on all connections. Turn the gas supply on; if bubbles occur on any connection there may be a leak. -
Page 10: Care And Maintenance
CARE AND MAINTENANCE • Before performing any maintenance always disconnect propane gas tank. • Store your product indoors during winter months. Avoiding extreme cold temperatures will prevent from exposure damage. • Keep the heating item free and clear from combustible materials. • Visually inspect burner for obstructions and keep tank enclosure free and clear from debris. -
Page 11: Troubleshooting
TROUBLESHOOTING Problem Cause Solution Igniter pin and burner are wet Dry off with a soft cloth Igniter battery is incorrectly inserted Check which direction the battery is inserted Igniter pin is broken Contact Manufacturer for a Heating unit won’t light replacement part Electrode wire is loose or disconnected Reconnect wire to the igniter box located inside the unit behind the igniter box Electrode wire is shorting between... -
Page 12: Replacement Parts List
REPLACEMENT PARTS LIST PART DESCRIPTION PART # Item Description Part No. Firebowl (burner plate) Firebowl 30-01-921 Door Burner (preassembled) Door 30-01-922 Guard (preassembled) Burner 30-01-923 1 box Lava Rocks Protective Cover Guard 30-01-924 Battery (AAA) Lava Rock 30-06-999-B Control Knob (preassembled) Electronic lgniter (preassembled) Protective Cover 30-01-925... -
Page 13: Warranty
WARRANTY This product has a one-year warranty against manufacturing defects in workmanship, or materials. The manufacturer warranty will be voided by, and manufacturer disclaims any responsibility for, the following actions: • Modification of the unit and/or components including the gas valve assembly. • Use of any component part not manufactured or approved by Manufacturer. • Use and installation other than what is listed in this manual.


Need help?
Do you have a question about the 2595281 and is the answer not in the manual?
Questions and answers