Advertisement
Quick Links
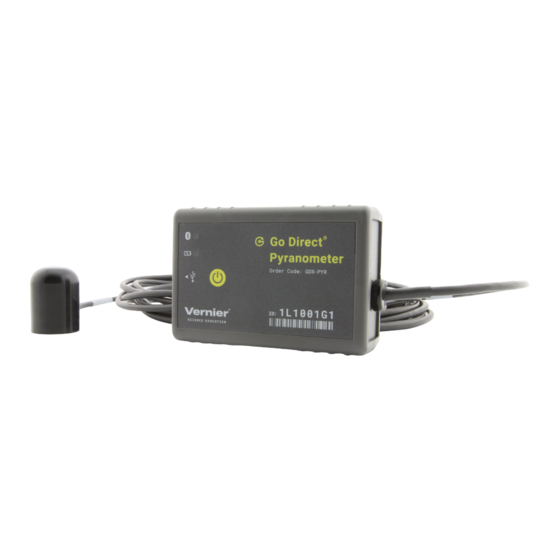
®
Go Direct
Pyranometer
(Order Code GDX-PYR)
The Go Direct Pyranometer
measures the power of
electromagnetic radiation in watts per square meter. It is sensitive to the near
infrared, visible, and UV ranges, where nearly all of the solar energy is
concentrated. It is great for experiments with solar cells and calculating their
efficiency. The sensor is weatherproof and has a dome-shape top to allow it to
work with a wide range of sun angles. The Pyranometer has a 5 m cable.
An ideal pyranometer measures the entire solar spectrum, 280 to 2800 nm.
However, about ninety percent of sunlight energy is in the wavelengths between
300 and 1100 nm. The Go Direct Pyranometer detects all of this energy.
The Go Direct Pyranometer is cosine corrected and is designed to maintain its
accuracy when radiation comes from different angles. The cosine response when
the sun is at 75° to the zenith is ± 5 percent. Zenith angles greater than 75°
contribute less than 3 percent of daily radiation.
Spectral response of the Go Direct Pyranometer
Note: Vernier products are designed for educational use. Our products are not
designed nor are they recommended for any industrial, medical, or commercial
process such as life support, patient diagnosis, control of a manufacturing
process, or industrial testing of any kind.
What's Included
Go Direct Pyranometer
l
Micro USB Cable
l
Cover for the lens of the Go Direct Pyranometer
l
Compatible Software
See
www.vernier.com/manuals/gdx-pyr
Direct Pyranometer.
Getting Started
Please see the following link for platform-specific connection information:
www.vernier.com/start/gdx-pyr
Bluetooth Connection
1. Install Vernier Graphical Analysis
on your computer, Chromebook™,
or mobile device. If using
®
LabQuest
, make sure LabQuest
App is up to date. See
www.vernier.com/ga for Graphical
Analysis Pro availability or
www.vernier.com/downloads to
update LabQuest App.
2. Charge your sensor for at least
2 hours before first use.
3. Turn on your sensor by pressing the
power button once. The LED will
blink red.
4. Launch Graphical Analysis or turn
on LabQuest.
5. If using Graphical Analysis, click or
tap Sensor Data Collection. If using
LabQuest, choose Wireless Device
Setup > Go Direct from the Sensors
menu.
6. Select your Go Direct sensor from
the list of Discovered Wireless
Devices. Your sensor's ID is located
near the barcode on the sensor. The
LED will blink green when it is
successfully connected.
7. Click or tap Done to enter data-
collection mode.
Charging the Sensor
Connect Go Direct Pyranometer to the included Micro USB Cable and any USB
device for two hours.
You can also charge up to eight Go Direct Pyranometers using our Go Direct
Charge Station, sold separately (order code: GDX-CRG). An LED on each Go
Direct Pyranometer indicates charging status.
1
for a list of software compatible with Go
USB Connection
®
1. Install Graphical Analysis on your
computer or Chromebook. If using
LabQuest, make sure LabQuest App
is up to date. See
www.vernier.com/ga for software
availability or
www.vernier.com/downloads to
update LabQuest App.
2. Connect the sensor to the USB port.
3. Launch Graphical Analysis or turn
on LabQuest. You are now ready to
collect data.
Note: This sensor does not work with
the original LabQuest. It works with
LabQuest 2 or LabQuest 3.
Advertisement

Subscribe to Our Youtube Channel
Related Manuals for Vernier Go Direct GDX-PYR


Summary of Contents for Vernier Go Direct GDX-PYR
- Page 1 Spectral response of the Go Direct Pyranometer near the barcode on the sensor. The LED will blink green when it is Note: Vernier products are designed for educational use. Our products are not successfully connected. designed nor are they recommended for any industrial, medical, or commercial 7.
- Page 2 USB and the unit is charging. LED next to value, the Pyranometer may need to be cleaned or re-leveled. If that does not Bluetooth icon is off. correct the problem, contact Vernier Science Education. Connected, fully charged Green LED next to the battery icon is solid when...
- Page 3 (high temperature 39ºC or 102ºF). We Operating environment 25°–55° C monitored the current through the circuit with a Vernier High Current Sensor 1–100% relative humidity (HCS-BTA) and the voltage with a Vernier 30-Volt Voltage Probe (30V-BTA).
-
Page 4: Troubleshooting
If you have watched the related product video(s), followed the troubleshooting steps, and are still having trouble with your Go Direct Pyranometer, contact Do not puncture or expose the battery to excessive heat or flame. Vernier Technical Support at support@vernier.com or call 888-837-6437. Support... -
Page 5: Federal Communication Commission Interference Statement
Bluetooth SIG, Inc. and any use of such electromagnetic noise sources, such as microwaves, monitors, electric motors, and appliances. marks by Vernier Software & Technology is under license. Other trademarks and trade names are those of their respective owners.
Need help?
Do you have a question about the Go Direct GDX-PYR and is the answer not in the manual?
Questions and answers