
Related Manuals for Siemens HE33GB 50 Series


Summary of Contents for Siemens HE33GB 50 Series
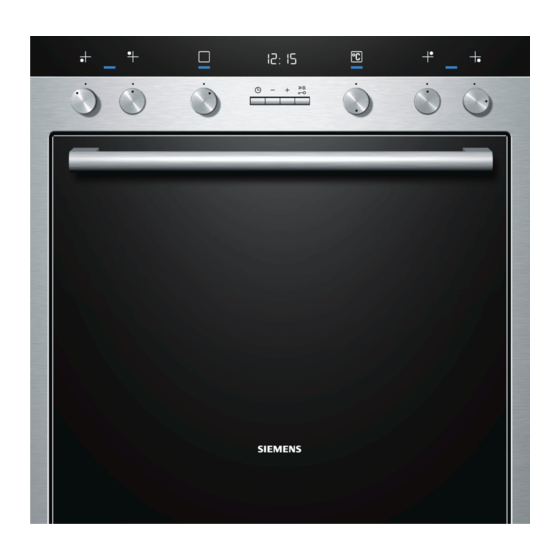
- Page 1 Built-in cooker HE33GB.50 siemens-home.bsh-group.com/welcome [en] Instruction manual Register your product online...
-
Page 3: Table Of Contents
Care and cleaning ..............12 Cleaning agents ................12 Additional information on products, accessories, replacement Detaching and refitting the rails ............ 13 parts and services can be found at www.siemens-home.bsh- Folding down the grill element............13 group.com and in the online shop www.siemens-home.bsh- group.com/eshops : Important safety information Read these instructions carefully. -
Page 4: Causes Of Damage
appliance or carry out general maintenance door with care. Keep children at a safe unless they are at least 8 years old and are distance. being supervised. Water in a hot cooking compartment may Risk of scalding! ■ Keep children below the age of 8 years old create hot steam. -
Page 5: Your New Cooker
the baking tray leaves stains that cannot be removed. If appliance is in use. The fronts of adjacent units could be possible, use the deeper universal pan. damaged.Always keep the door seal clean. Cooling with the appliance door open: only allow the cooking Appliance door as a seat, shelf or worktop: Do not sit on the ■... -
Page 6: Temperature Selector
Cooking compartment Setting The oven light is located in the cooking compartment. A cooling Grill, large area For grilling steaks, sausages, fan protects the oven from overheating. bread and pieces of fish. The whole area below the grill heating Oven light element becomes hot. -
Page 7: Your Accessories
Your accessories The accessories supplied with your appliance are suitable for Note: The accessories may deform when they become hot. making many meals. Ensure that you always insert the Once they cool down again, they regain their original shape. accessories into the cooking compartment the right way round. This does not affect their operation. -
Page 8: After-Sales Service Products
Optional accessories HZ number Bakestone HZ327000 The bakestone is perfect for preparing home-made bread, bread rolls and pizzas which require a crispy base. The bakestone must always be preheated to the recommended temperature. Enamel baking tray with non-stick coating HZ331011 Cakes and biscuits can be removed more easily from the bak- ing tray. -
Page 9: Before Using The Oven For The First Time
Door lock Product no. 612594 To prevent children from opening the oven door. The locks on different types of appliance door are screwed in differently. See the information sheet supplied with the door lock. Before using the oven for the first time Heating up the oven In this section, you can find out what you must do before using your oven to prepare food for the first time. -
Page 10: Rapid Heating
Rapid heating Set the type of heating and temperature. Press the button briefly. With rapid heating, your oven reaches the temperature selected particularly quickly. symbol lights up in the display. The oven begins to heat up. Use rapid heating when temperatures above 100 °C are selected. -
Page 11: End Time
After a few seconds, the oven adopts the settings and switches Checking the time settings to standby position. The display shows the time at which the If several time-setting options are set, the relevant symbols are dish will be ready and the arrow is next to the symbol. -
Page 12: Changing The Basic Settings
Changing the basic settings Your oven has various basic settings. These settings can be Press and hold the button for approx. 4 seconds. customised to suit your requirements. The current basic setting for signal duration is shown in the display, e.g. c2 2 for selection 2. Basic setting Selection 1 Selection 2 Selection 3 Use the... -
Page 13: Detaching And Refitting The Rails
Folding down the grill element Cleaning the cooking compartment floor, ceiling and side walls You can fold down the grill element to clean the ceiling. Use a dish cloth and hot soapy water or a vinegar solution. Risk of burns! If there are heavy deposits of dirt, use a stainless steel scouring The oven must be cold. -
Page 14: Removing And Installing The Door Panels
Lift the panel up and pull it out (fig. C). Attaching the door Reattach the oven door in the reverse sequence to removal. When attaching the oven door, ensure that both hinges are inserted straight into the opening (figure A). The notch on the hinge must engage on both sides (figure B). -
Page 15: Troubleshooting
Troubleshooting Malfunctions often have simple explanations. Refer to the table Risk of electric shock! before calling the after-sales service as you may be able to Incorrect repairs are dangerous. Repairs may only be carried remedy the fault yourself. out by one of our trained after-sales engineers. Malfunction table Replacing the bulb in the oven ceiling light If a dish does not turn out as well as you had hoped, refer to... -
Page 16: Energy And Environment Tips
Energy and environment tips Here you can find tips on how to save energy when baking and For longer cooking times, you can switch the oven off ■ roasting and how to dispose of your appliance properly. 10 minutes before the end of the cooking time and use the residual heat to finish cooking. - Page 17 Cakes in tins Level Type of Temperature Cooking time heating in °C in minutes Sponge cake, simple Ring tin/round tin 160-180 50-60 3 loaf tins 140-160 60-80 Sponge cake, delicate Ring tin/round tin 150-170 65-75 Flan base, sponge Flan tin 160-180 20-30 Delicate fruit flan, sponge...
-
Page 18: Baking Tips
Small baked items Accessories Level Type of Temperature Cooking time heating in °C in minutes Viennese whirls (preheat) Baking tray 140-150 30-40 Baking tray 140-150 30-40 Universal pan + baking tray 140-150 30-45 2 baking trays + universal pan 5+3+1 130-140 40-55 Macaroons... -
Page 19: Meat, Poultry, Fish
The fruit juice overflows. Next time, use the deeper universal pan, if you have one. Small baked items made out of yeast There should be a gap of approx. 2 cm around each item. This gives enough space for dough stick to one another when bak- the baked items to expand well and turn brown on all sides. - Page 20 Meat Weight Accessories and Level Type of Temperature Cooking time ovenware heating in °C, grill set- in minutes ting Pork Joint without rind (e.g. neck) 1.0 kg Uncovered 190-210 1.5 kg 180-200 2.0 kg 170-190 Joint with rind (e.g. shoulder) 1.0 kg Uncovered 190-210...
-
Page 21: Tips For Roasting And Grilling
Poultry Weight Accessories and Level Type of Temperature Cooking time ovenware heating in °C, grill set- in minutes ting Duck breast 300 g each Wire rack 240-260 30-40 Goose, whole 3.5-4.0 kg Wire rack 170-190 120-140 Goose legs 400 g each Wire rack 220-240 50-60 Small turkey, whole... -
Page 22: Convenience Products
Dish Accessories and ovenware Level Type of Temperature Cooking time heating in °C in minutes Gratin Potato gratin, raw ingredients, 1 ovenproof dish 160-180 60-80 max. 4 cm deep 2 ovenproof dishes 150-170 60-80 Toast 4 slices, with topping Wire rack 160-170 10-15 12 slices, with topping... -
Page 23: Special Dishes
Special dishes Preheat the cooking compartment as indicated. Place the cups or jars on the cooking compartment floor and At low temperatures, 3D hot air is equally useful for incubate as indicated. producing creamy yoghurt as it is for proving light yeast dough. First, remove accessories, hook-in racks or telescopic shelves Proving dough from the cooking compartment. -
Page 24: Acrylamide In Foodstuffs
After 25 to 35 minutes of residual heat, remove the preserving Preserving jars from the cooking compartment. If they are allowed to cool Fruit for longer in the cooking compartment, germs could multiply, After approx. 40 to 50 minutes, small bubbles begin to form at promoting acidification of the preserved fruit. -
Page 25: Test Dishes
Test dishes These tables have been produced for test institutes to facilitate the inspection and testing of the various appliances. In accordance with EN 50304/EN 60350 (2009) and IEC 60350. Baking Baking on 2 levels: Always insert the universal pan above the baking tray. Baking on 3 levels: Insert the universal pan in the middle. - Page 28 BSH Hausgeräte GmbH Carl-Wery-Straße 34, 81739 München GERMANY siemens-home.bsh-group.com *9001253142* 9001253142 45 961010...
Need help?
Do you have a question about the HE33GB 50 Series and is the answer not in the manual?
Questions and answers