
Related Manuals for TEMPUR Aspire Elite 2.0


Summary of Contents for TEMPUR Aspire Elite 2.0
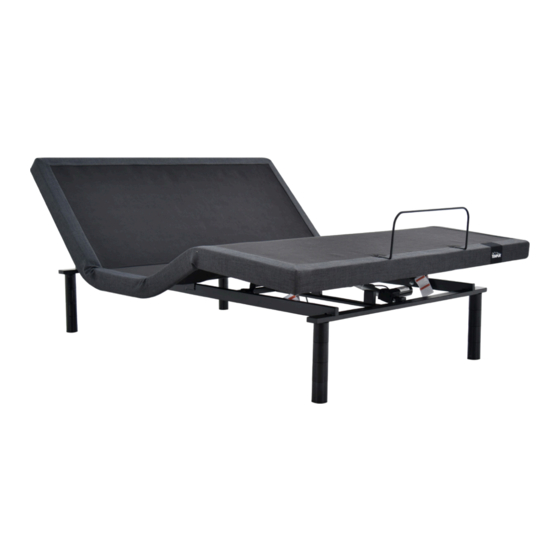
- Page 1 Aspire Elite 2.0 Owner’s Manual Actual product appearance and functionality may vary from photographs, illustrations and descriptions included in this manual.
-
Page 2: Table Of Contents
table of contents Safety Precautions and Usage Statements . . . . . . . . . . . . . . . . . . . . . . . . . . . . . . . . . . . . . . . . . . . . . . . . . . . . . . . . . . . . . . . . . . . . . . . . . . . .1-4 Parts List . - Page 3 safety precautions and usage statements safety precautions and usage statements Attention: Important Safety Disclaimers Read all instructions before using your adjustable base. Save these instructions. WARNING WARNING • Keep bed in a flat position when not in use. Always unplug the base from the electrical outlet before servicing any •...
-
Page 4: Safety Precautions And Usage Statements
safety precautions and usage statements normal. During operation, the lift arm wheels make contact with the platform support WARNING of the base. This contact may result in metal on metal or metal on plastic contact. This applies slight tension on the moving components and resonance is reduced to a For optimal safety and operation, plug bed base into a surge protector (not included). - Page 5 safety precautions and usage statements section for various configurations of the mattress support platform shall be ± 3°, which sources. For a deeper cleaning, blot liquid spills with a clean dry cloth. Wipe with a clean translates to a tolerance of up to ¾”. cloth dampened with warm water.
- Page 6 safety precautions and usage statements DON’T: FCC Compliance: • Sit on corners/edges of base (this may warp the frame, struts or foam). • Tilt the base on its side (this can damage the legs and/or leg screws). NOTE: This equipment has been tested and found to comply with the limits •...
-
Page 7: Parts List
parts list Before discarding the packing materials, ensure all the parts are accounted for. All electronics and components that need to be installed are located in boxes under the base or attached to the frame. Wireless Remote Control and AAA Batteries (3) Mattress Retainer Bar* Legs (4) Q KD size (6) Power Cord... -
Page 8: Base And Remote Overview
base and remote overview Head Motor Lifts and lowers Lifts and lowers foot portion of the head portion of the base. base. Flat position Zero-G® Preset Control Box Foot Motor... -
Page 9: Quick Reference Guide
quick reference guide Not to scale. For illustration purposes only. Read all instructions before beginning installation. ELECTRONICS OVERVIEW Wireless Remote Control Box Battery Backup Strap Input Cord Power Cord Power Supply Foot Motor Head Motor If installing a split unit, see pages 12-13... -
Page 10: Installation Guide
installation guide Always use two people when setting up the base, moving or flipping the base. STEP 1 STEP 4 Place the bed base box in a desired location with the bottom of the box To sync two bases with the sync cord - see page 13 facing up. - Page 11 installation guide STEP 7 STEP 9 Carefully flip the base over onto its legs. Ensure batteries are correctly installed in the back of Important: Always use two people when setting up, moving or flipping the the remote. base. Do not drag across the floor. Do not rest frame on its side, excessive Quickly test functions to verify proper setup before pressure may damage the legs.
-
Page 12: Battery Backup Strap
battery backup strap (optional) For emergency use only, in case of a power outage. Batteries are not to be used for normal operation of the bed. STEP 1 STEP 3 Disconnect the Power Supply from the input power cord. Connect the end of the Battery Backup Strap to the input power cord that is attached to the control box. -
Page 13: Pair Remote
pair remote The original remote that comes in the box is already paired to the adjustable base. No further action is required. In the event that the remote is not paired with the base, follow the steps below. STEP 1 STEP 3 Unplug the Power Cord from your power outlet. -
Page 14: Connecting Strap (Optional)
connecting strap (optional) If any split setup is being installed (excluding Divided King), plastic connecting straps are provided (one per base) to secure the bases together. Use both straps to secure the head and foot portions together. STEP 1 STEP 2 With the bases in their desired location, slightly loosen both legs to Slide side (a) of the connecting strap onto leg bolt. -
Page 15: Syncing Two Bases (Optional)
syncing two bases (optional) A Sync Cord is included with the base. Not available on Queen, Queen KD foldable, Double size bases. The Sync Cord connects the two control boxes to a single remote for the synchronization of two bases. This process is most commonly used for syncing two connected Long Single bases. -
Page 16: Headboard Brackets (Optional/Not Included)
headboard bracket installation guide (optional) Headboard Brackets are an optional accessory and are not included. A 9/16” & 1/2” socket and crescent wrench are necessary to complete installation. STEP 1 c . Secure T-Bracket in place by inserting two short screws through Attach the Headboard Bracket. -
Page 17: Troubleshooting
troubleshooting If one or more functions on the bed base have stopped operating: • Check under the bed base to verify that the wired connections are secure and that there are no cords or bedding obstructing the movement of the base. •... - Page 18 ©2021 Ergomotion Inc Tempur Customer Service V001_4/2021 Australia: 1800 763 498 New Zealand: 0800 452 914 Email: info@tempur.com.au ergomotion@tempur.com.au Web: www.tempur.com Serial Number:...
Need help?
Do you have a question about the Aspire Elite 2.0 and is the answer not in the manual?
Questions and answers