Dymo MobileLabeler - Label Maker with Bluetooth Smartphone Connectivity Manual
- User manual (25 pages) ,
- Quick start manual (10 pages)
Advertisement
About Your New Label Maker
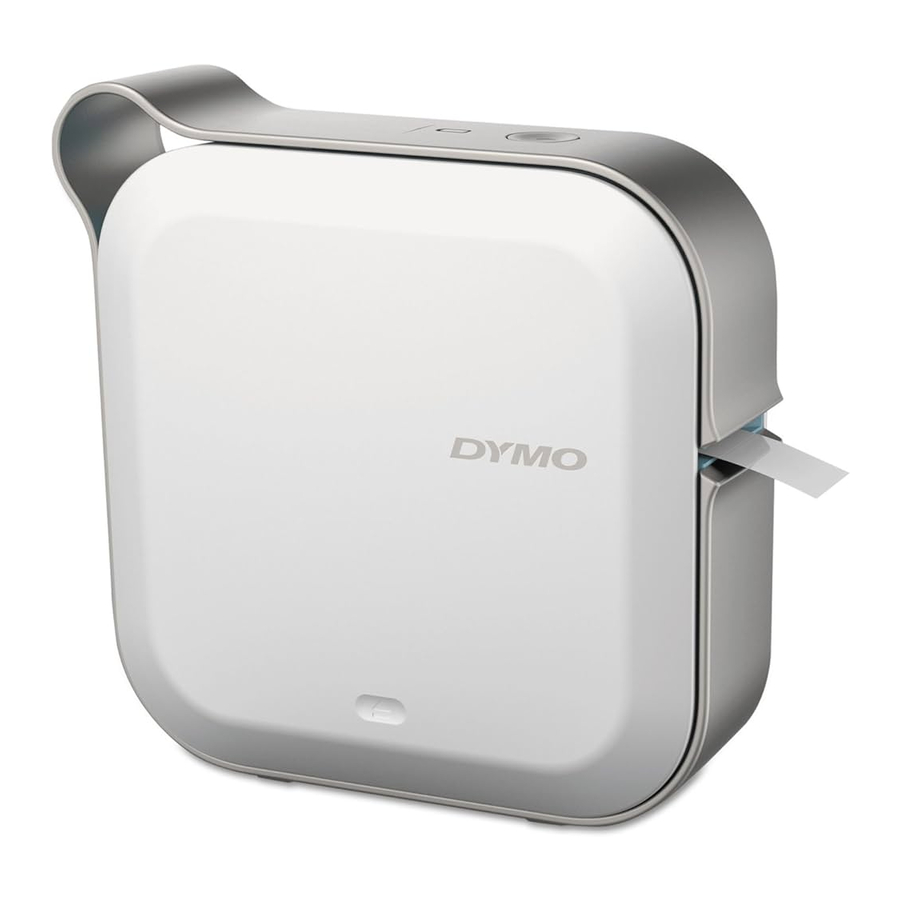
With the DYMO® MobileLabeler electronic label maker, you can create a wide variety of high-quality, self-adhesive labels and print using Bluetooth® wireless technology from your Apple® or Android™ mobile device. You can also print from your Windows® or Mac computer using Bluetooth wireless technology or the included USB cable.
You can choose to print your labels in many different fonts, font sizes, and styles. The label maker uses DYMO D1 label cassettes in widths of 6 mm (1/4"), 9 mm (3/ 8"), 12 mm (1/2"), 19 mm (3/4"), or 24 mm (1"). Labels are available in a wide range of colors.
Visit www.dymo.com for information on obtaining labels and accessories for your label maker.
Registering Your Label Maker
Visit www.dymo.com/register to register your label maker online. During the registration process, you will need the serial number, which is located on the bottom of the label maker. See Figure 1.
Register your label maker to receive these benefits:
- An additional one year of warranty
- Email notification of free software upgrades
- Special offers and new product announcements
Wireless Safety Warnings
 Nearly every electronic device is susceptible to electromagnetic interference (EMI) if inadequately shielded, designed, or otherwise configured for electromagnetic compatibility.
Similar to a mobile phone, your DYMO device is a low power transmitter/receiver and is covered by regulations pertaining to such devices.
- Turn off your DYMO device in any facility where posted notices instruct you to do so. These facilities may include hospitals or health care facilities that may be using equipment that is sensitive to external RF energy.
- Observe all signs and instructions that require an electrical device or RF radio product to be switched off in designated areas, such as gas/refueling stations, hospitals, blasting areas, potentially explosive atmospheres, or aircraft.
- Some Bluetooth devices may interfere with some hearing aids. In the event of such interference, you may want to consult your hearing aid manufacturer or physician to discuss alternatives.
- If you use any other personal medical device, consult the manufacturer of your device to determine if it is adequately shielded from RF energy. Your doctor or physician may be able to assist you in obtaining this information.
- If you are in doubt about whether your device can be safely turned on or used, please consult an authorized person in the location you want to use your device. If no authorized person is available or you remain uncertain, DYMO recommends that you turn off your Bluetooth device.
Safety Precautions for Lithium-Polymer Rechargeable Battery
Battery Type: LiPolymer 7.4V 1500mAh 11.1Wh
Improper handling of a lithium-polymer rechargeable battery may cause leakage, heat, smoke, an explosion, or fire. This could cause deterioration of performance or failure. This may also damage the protection device installed in the battery. This could damage equipment or injure users. Thoroughly follow the instructions below.

- Use the battery only in the MobileLabeler label maker.
- Battery can only be charged while inserted in the label maker using the charging adapter provided (9VDC/4A).
- Do not connect directly to an electric outlet or cigarette lighter charger.
- Do not store battery close to fire or inside the car where temperature may be over 140°F (60°C).

- Stop charging the battery if charging is not completed within three hours.

- Do not use the label maker or battery in a place that generates static electricity.
- Use the label maker only at room temperature.
- Battery can only be charged within +50°F to 95°F (+10°C to 35°C) temperature range.
General Safety Precautions
Follow the guidelines in this section to use this product safely. In addition, make sure to read the Safety Precautions for Lithium-Polymer Rechargeable Battery.
Charging Adapter and Power Cord
- Only use the charging adapter and power cord that came with the label maker.
- Do not handle charging adapter or power cord if your hands are wet.
- Do not cut, damage, alter, or place heavy objects on the charging adapter or power cord.
- Do not use the charging adapter or power cord if either are damaged.
Label Maker
- Only use the USB cable that came with the label maker.
- Do not insert objects into or block the label exit slot.
- Do not touch the cutter blade. Personal injury could result.
- Do not allow any liquids to come into contact with the label maker.
- Do not disassemble the label maker. For inspection, adjustment, or repair, contact DYMO Customer Support (http://support.dymo.com).
- Unplug the power cord immediately if you notice any abnormal odor, heat, smoke, discoloration, deformation, or anything unusual while the label maker is in use.
DYMO D1 Label Cassettes
- Use only DYMO-branded D1 label cassettes in this label maker.
- Do not use any unauthorized accessories or supplies.
- Clean the surface before applying the adhesive label or the label may not adhere correctly and could peel off easily.
- Do not expose the labels to extreme heat or sunlight.
Getting to Know the Label Maker
Become familiar with the features shown in the following figure.

- Bluetooth status
- Battery status
- Power button
- Label exit slot
- Press to open
- RESET button
- Bluetooth button
- USB port
- Power connector
- Battery
- Label cassette
- Serial number/Regulatory label
Power
The ![]() button turns the label maker power on and off. A short press of the
button turns the label maker power on and off. A short press of the ![]() button turns the power on. A long press turns the power off.
button turns the power on. A long press turns the power off.
A short press of the ![]() button will also cancel any ongoing print job.
button will also cancel any ongoing print job.
After a period of inactivity, the printer will enter a power-saving standby mode. The period of time before entering standby mode will vary based on your mobile device.
Power Status Light
![]() The power status light visually shows the power status of the label maker.
The power status light visually shows the power status of the label maker.
| Status Light | Power Status |
| Off | The power is turned off; the battery may still be charging if plugged into a wall outlet. |
| Glowing | The label maker is in standby mode. |
| Fast Blinking | The label maker is on and there is an error. |
| Solid | The power is turned on. |
When the label maker is turned on but not connected to a power source, the power status light remains on but is dimmed.
Battery Status Light
![]() The battery status light visually shows the charge status of the battery.
The battery status light visually shows the charge status of the battery.
| Status Light | Label Maker Status |
| Off | The battery is empty. |
| Moving | The battery is charging. |
| Solid |  The battery is fully charged. The battery is fully charged. The battery is partially charged. The battery is partially charged. |
Bluetooth Connection
The label maker can connect to a maximum of two devices using Bluetooth wireless technology. For example, two phones, a phone and a tablet, or a laptop and a phone.
By default, the label maker is always discoverable when the power is turned on. You can change the label maker's discoverability in the desktop software.
- General - Always discoverable.
- Limited - Discoverable for two minutes.
- Off - Never discoverable.
When set to limited discoverability, the two minute discoverable time period can be started by pressing the Bluetooth  button on the back of the label maker.
To change the discovery mode
- Connect the MobileLabeler label maker to the computer where you have DYMO Label software installed.
- From DYMO Label software, select the MobileLabeler label maker as the current printer.
![]()
- Click
![]() to open MobileLabeler Options.
to open MobileLabeler Options. - Select the desired discovery option.

 to open MobileLabeler Options.
Bluetooth Status Light
The Bluetooth status light visually shows the connection status of the label maker.
| Status Light | Label Maker Status |
| Off | The label maker is not discoverable. |
| Blinking | The label maker is discoverable. |
| Solid | The label maker is connected. |
RESET
The RESET button resets the label maker to the factory default settings. Resetting the label maker results in the loss of all current settings, including all Bluetooth settings. Press this button only if you want to erase all current information on the label maker.
To press the RESET button, use a narrow pointed object such as the tip of a pen or pencil.
Getting Started
Follow the instructions in this section to set up your label maker.
Connecting the Power
The label maker is powered by a rechargeable, lithium-polymer (LiPo) battery. The battery included with your label maker comes partially charged.
 For best performance, fully charge the battery before using your label maker.
Inserting the Battery
Make sure all cables are disconnected before inserting the LiPo battery.
To insert the battery
- Press
![]() and then lift to open the side cover of the label maker.
and then lift to open the side cover of the label maker. - Insert the battery into the battery compartment as shown in Figure 2.
![]()
- Close the side cover of the label maker.
 and then lift to open the side cover of the label maker.
Make sure to read the LiPo Safety Precautions.
Removing the Battery
Remove the battery when the label maker will not be used for more than seven days.
Make sure all cables are disconnected before removing the LiPo battery.
To remove the battery
- Press
![]() and then lift to open the side cover of the label maker.
and then lift to open the side cover of the label maker. - Remove the battery from the battery compartment as shown in Figure 3.
![]()

Make sure to read the LiPo Safety Precautions.
Charging the Battery
The battery can only be charged using the DYMO charging power adapter included with the label maker. Fully charging the battery will take approximately 2.5 to 3 hours.
For best performance, fully charge the battery before using your label maker.
Make sure to read the LiPo Safety Precautions.
To charge the battery
- Make sure the battery is inserted in the label maker.
- Plug the power cord into the power adapter as shown in Figure 4.
![]()
- Plug the power adapter into the power connector on the back of the label maker and plug the power cord into a power outlet. See Figure 5.
![]()
Movement of the battery status lights indicate that the battery is charging. The battery continues to charge even if you turn the label maker off.
The battery status lights stop moving and are both on when the battery is fully charged.


Inserting the Label Cassette
Your label maker uses DYMO D1 label cassettes. Visit www.dymo.com for information about purchasing additional label cassettes.
 Cutter blade is extremely sharp. While replacing the label cassette, keep fingers and other body parts away from cutter blade and do not press the cutter button.
To insert the label cassette
- Press
![]() and then pull outward to open the side cover of the label maker.
and then pull outward to open the side cover of the label maker. - Make sure the tape and ribbon are taut across the mouth of the cassette and that the tape passes under the label guides. See Figure 6.
![]()
If necessary, turn the ribbon rewind spool clockwise to tighten the ribbon. See Figure 7.
![]()
- Insert the cassette and press firmly until the cassette clicks into place.
- Close the side cover of the label maker.


Cutting the Labels
The label maker has an automatic cutter which will cut the label after each label is printed. Clear the label exit slot of labels after every 10 labels to prevent a label jam.
Printing Labels from a Mobile Device
You can design and print labels from the MobileLabeler label maker using the DYMO Connect mobile app.
 DYMO Connect is recommended for use with recently released versions of Android and iOS mobile devices.
Pairing the Label Maker to your Mobile Device
Pair the label maker to your mobile device using Bluetooth settings on your device. The label maker displays in your list of Bluetooth devices with the name DYMO ML xxxx where xxxx is unique for every label maker.
If you are asked for a pairing code, use 0000.
Pairing with an iOS device
- In Settings, turn on the Bluetooth setting.
![]()
- Tap DYMO ML xxxx under MY DEVICES to connect the label maker.
After a few seconds, Connected is displayed when paring is complete.

Pairing with an Android device
- In Settings, turn on the Bluetooth setting.
![]()
- Tap DYMO ML xxxx under Available devices to pair the label maker.
After a few seconds, is listed under Paired devices when paring is complete.

Downloading the DYMO Connect App
 The DYMO MobileLabeler label maker works wirelessly with the DYMO Connect mobile app available on the Apple® App store or the Google Play™ store.


About the DYMO Connect Mobile App
Learn about the features available in the DYMO Connect mobile app.
Home Screen

Design Screen

From the DYMO Connect menu  , you can view the DYMO Connect Help for more information.
Printing Labels from your Computer
The label maker can connect to your computer using Bluetooth wireless technology or the USB cable supplied with the label maker.
Downloading and Installing DYMO Desktop Software
You can print to the label maker from our DYMO Desktop software.
To install the software on a Windows® system
- Download the latest version of our desktop software from the Support section of the DYMO Web site at support.dymo.com.
- Close all open Microsoft Office applications.
- Double-click the installer icon.
After a few seconds, the installation screen appears. - Click Install and follow the instructions in the installer.
To install the software on a Mac
- Download the latest version of our desktop software from the Support section of the DYMO Web site at support.dymo.com.
- Double-click the installer icon and follow the on-screen instructions.
Connecting your Label Maker to your Computer
The label maker connects to your computer using the USB connection located on the back of the label maker.

Use only the USB cable included with your label maker.
To connect the label maker to your computer
- Plug the USB cable into the USB port on the back of the label maker.
- Plug the other end of the USB cable into a USB port on your computer.
Caring for the Label Maker
Your label maker is designed to give you long and trouble-free service, while requiring very little maintenance. Clean your label maker regularly to keep it working properly.
Cleaning the Cutter Blade
Clean the cutter blade each time you replace the label cassette.

The cutter blade is extremely sharp. Avoid direct contact with the cutter blade while cleaning the blade.
To clean the cutter blade
- Press
![]() and then lift to open the side cover of the label maker.
and then lift to open the side cover of the label maker. - Remove the label cassette.
- Make sure the label maker is turned on and paired to the mobile device running DYMO Connect.
- Open DYMO Connect and tap
![]() .
. - Tap Cutter cleaning and then Expose cutter blade.
The cutter blade will advance into a position where you can clean both sides. - Use a cotton ball and alcohol to clean both sides of the blade.
- After cleaning the blade, tap Hide cutter blade in DYMO Connect.
Cleaning the Print Head
The print head is very delicate, so use care when cleaning.
To clean the print head
- Disconnect the power adapter, if connected.
- Press
![]() and then lift to open the side cover of the label maker.
and then lift to open the side cover of the label maker. - Remove the label cassette and battery.
- Use a small, soft brush or cotton swab to wipe away dust and other stray particles from the inside of the label compartment.
- Wipe the print head with a cotton swab and a small amount of alcohol.
![]()
- Insert the label cassette and close the cover.

Troubleshooting
Review the following sections if you encounter a problem with your label maker.
When the printer is showing a error, turn the power off and on to clear the error.
General
| Problem/Error Message | Solution |
| Label did not print correctly |
|
| Label jam |
|
| Poor print quality |
|
| Poor cutter performance |
|
| Label maker error; power LED is blinking quickly |
|
| Label maker does not turn on |
|
| Label maker does not print |
|
| Battery is not charging |
|
| Battery level is low |
|

Bluetooth Connection
Many connection issues can be resolved quickly by disconnecting the power adapter, and removing and reinserting the battery.
For safety, all cables must be disconnected when handling the LiPO battery.
| Problem | Solution |
| Label maker status is Not connected or does not appear in the printer list in the DYMO Connect mobile app |
|
| Paired label maker will not connect in my device's Bluetooth settings |
|
| Authentication error | Perform a hard restart of the label maker.
|
If you need further assistance, visit the Support section of the DYMO Web site at http://support.dymo.com.
Technical Specifications
DYMO MobileLabeler label maker
| Dimensions (WHD) | 2.18" x 5.8" x 5.75" (55.4 mm x 147.2 mm x 146 mm) |
| Weight (without battery) | 17.4 ounces (494 grams) |
| Maximum print width | 3/4" (19 mm) |
| Maximum label width | 1" (24 mm) |
| Label type | DYMO D1 label cassettes |
| Battery | LiPolymer 7.4V 1500mAh 11.1Wh |
| Power adapter | 9 VDC, 4 Amp |
| Print method | Thermal transfer |
| Print resolution | 300 dpi |
| USB | USB 2.0 Full speed |
| Bluetooth® version | BR/EDR V2.1 or newer |
| Bluetooth® range | ≤ 32 feet (10 meters) |
| Regulatory approvals | FCC, IC, TUV CB, RCM, R-NZ, RoHS, REACH |
| Warranty | 2 year limited (refer to Quick Start Guide for full warranty statement) |

Documents / Resources
References
Download manual
Here you can download full pdf version of manual, it may contain additional safety instructions, warranty information, FCC rules, etc.
Download Dymo MobileLabeler - Label Maker with Bluetooth Smartphone Connectivity Manual
Advertisement


Need help?
Do you have a question about the MobileLabeler and is the answer not in the manual?
Questions and answers