Advertisement
Table of Contents
Contents
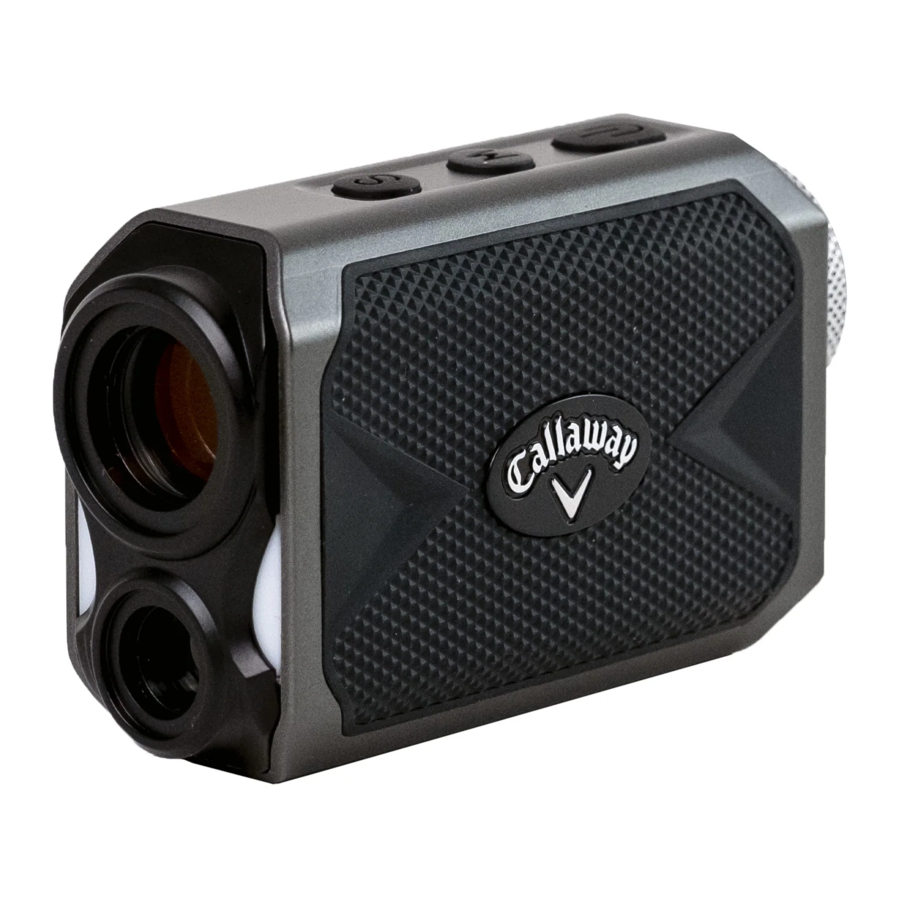
Callaway Micro Pro - Laser Rangefinder Manual
SLOPE FUNCTION
To turn Slope on/off, press the "S" button on the top of the unit
- If GREEN is flashing: Slope function is off. The Laser is tournament legal when the slope is turned off.
- If RED is flashing: Slope function is enabled. Slope adjusted yardage will be displayed after every time the laser is fired. The Laser is not tournament legal when the slope is enabled.
Front indicator lights:

CHARGING
- Insert the USB-C charger end into the Micro Pro & then insert the USB end of the charging cord into a USB charging port or AC adapter (not included). The recommended USB charging rate is 5V, 1A.
- A complete full charge will take about 6 hours. the indicator light will turn green when charging is completed.
- A full charge should last 100+ rounds of golf
![]()


Use of controls or adjustments or performance of procedures other than those specified herein may result in hazardous radiation exposure.
RANGEFINDER DIAGRAM

- Eye Piece
- Diopter Adjustment
- Power Button
- Mode Button
- Slope Button
- Charging Port
LCD DISPLAY

- Zero-In Aiming Square
- Laser Indicator
- P.A.T. Mode Indicator
- Pulse Indicator
- Distance
- Unit of Measure
- Angle of Incline/Decline
- Slope Adjusted Distance
FOR MORE SUPPORT VISIT: www.CallawayDMD.com/product-support
HOW TO USE
- While looking through the Eye Piece, PRESS & RELEASE the Power Button.The rangefinder is now powered on.
![]()
- To focus/increase clarity, use the Diopter Adjustment by turning the Eye Piece.
![]()
- Continue looking through the Eye Piece, aim the Zero-In Aiming Square at your intended target & PRESS the Power Button.
![]()
The laser will fire and the Laser Indicator will appear to the left of the Zero-In Aiming Square.The measurement will be displayed at the top of the LCD display.


MEASUREMENT MODES
- Standard - Standard Mode is recommended when measuring distances to larger objects. (Fig. A)
![]()
- P.A.T. with Pulse Technology - P.A.T. Mode is best used when measuring the distance to a Flagstick or smaller objects. Device will provide a short vibration to confirm that the laser has locked on to the pin. To toggle between Standard and P.A.T Mode, quickly PRESS the Mode Button once while device is powered on. When P.A.T. Mode is activated, the flagstick icon will appear on the right side and the Pulse icon will appear on the left of the LCD display (Fig. B).
![]()
- Scanning - To measure distances to multiple targets in succession, PRESS and RELEASE Power Buttonto power on. Then HOLD Power Button, the Laser Indicator will flash and the laser will continuously fire. Measurements will change as you scan the landscape and change targets. This mode will continuously fire the laser for 3 seconds & the laser will lock on to the closest distance during the firing period.
NOTE: While scanning in P.A.T. Mode, the measurement will only change when a shorter distance is measured. This is useful when measuring the distance to a flagstick when there are trees or other objects in the background. - Unit of Measure - To change the unit of measure from Yards to Meters, start with the device powered off. Then HOLD the Mode Button for 3 sec. The unit of measure is indicated by a "Y" or "M" shown directly to the right of the distance displayed.


Documents / Resources
References

Download manual
Here you can download full pdf version of manual, it may contain additional safety instructions, warranty information, FCC rules, etc.
Advertisement


Need help?
Do you have a question about the Micro Pro and is the answer not in the manual?
Questions and answers