Advertisement
Advertisement
Table of Contents

Related Manuals for Callaway EZ


Summary of Contents for Callaway EZ
- Page 1 LASER RANGEFINDER...
-
Page 2: Specifications
INTRODUCTION Thank You for choosing the Callaway EZ Laser Rangefinder featuring EZ Mode which allows the user to scan the flagstick to quickly acquire accurate distances without having to be completely steady when aiming. Simply press the EZ Button & begin scanning... -
Page 3: Battery Installation
INCLUDES CR2 - 3-Volt Lithium Battery (installed) Carry Case Cleaning Cloth BATTERY INSTALLATION Lift hatch tab. Turn counterclockwise to open. Remove protective plastic battery cover. Replace battery cap & tighten by turning clockwise. NOTE: If the Low Battery Icon is present on LCD display, there are approximately 200 ranges left until the battery is completely drained. -
Page 4: Lcd Display
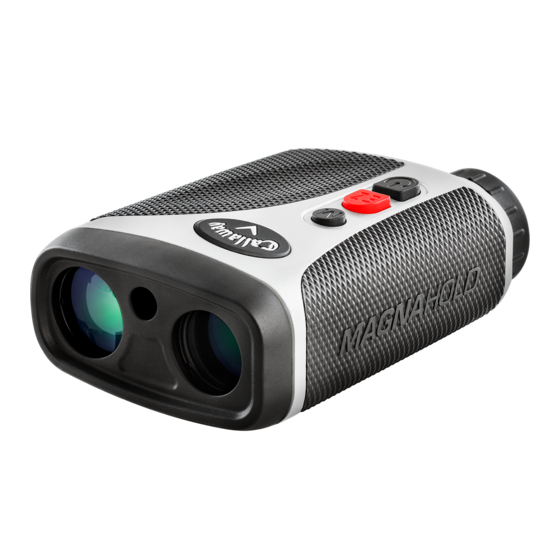
RANGEFINDER DIAGRAM Eye Piece Diopter Adjustment Power Button EZ Mode Mode Button LCD Display Battery Door Support Strap LCD DISPLAY Zero-In Aiming Square Laser Indicator Box P.A.T. Mode Indicator Distance Unit of Measure Low Battery EXTERNAL LCD DISPLAY Distance Unit of Measure (Y or M) P.A.T. - Page 5 HOW TO USE While looking through the Eye Piece, PRESS and RELEASE the Power Button. The rangefinder is now powered on. To focus/increase clarity, use the Diopter Adjustment by turning the Eye Piece. Continue looking through the Eye Piece, aim the Zero-In Aiming Square at your intended target and PRESS the Power Button.
-
Page 6: Measurement Modes
MEASUREMENT MODES Standard - Standard Mode is recommended when measuring distances to larger objects. To quickly range targets, SINGLE PRESS the Power Button for a single fire from the laser or PRESS and HOLD the Power Button to continuously fire the laser. (Fig. - Page 7 MEASUREMENT MODES (continued) EZ Mode - This mode will continuously fire the laser for 3 seconds & the laser will lock on to the closest distance during the firing period. First, PRESS the Power Button once to power the unit on. Then EZ Button on top of the laser to start PRESS &...
-
Page 8: Operational Notes
OPERATIONAL NOTES The maximum measurement range is 5-800 yards to objects and 5-275 yards to a flagstick with +/- 1 yard accuracy. NOTE: Maximum range can depend on several factors, including target characteristics and environmental conditions. For instance, longer maximum distances may be obtained to targets that are large in size, brightly colored, or have a reflective finish. -
Page 9: Troubleshooting
TROUBLESHOOTING Rangefinder is consistently providing inaccurate measurements. • Make sure the device is set to the desired unit of measure (Yards or Meters). • Weak battery signal can affect the accuracy of the device. If the Low Battery Indicator is present on the LCD display, replace the battery. -
Page 10: Warranty Policy
TROUBLESHOOTING (CONTINUED) When should P.A.T. Mode be used? • When measuring the distance to smaller targets such as a flagstick. • When scanning the landscape to measure distances to a smaller target such as a flagstick and there are trees or other objects in the background. - Page 11 DO NOT store the laser rangefinder in extreme cold/hot temperatures (<50°F - >110°F). © 2018 CALLAWAY GOLF COMPANY. Callaway Golf and the Chevron device are trademarks of Callaway Golf Company. IZZO Golf is an official licensee of Callaway Golf Company. WARNING...
- Page 12 © 2018 CALLAWAY GOLF COMPANY. Callaway Golf and the Chevron device are trademarks of Callaway Golf Company. IZZO Golf is an official licensee of Callaway Golf Company.
Need help?
Do you have a question about the EZ and is the answer not in the manual?
Questions and answers