Sign In
Upload
Download
Table of Contents
Contents
Add to my manuals
Delete from my manuals
Share
URL of this page:
HTML Link:
Bookmark this page
Add
Manual will be automatically added to "My Manuals"
Print this page
×
Bookmark added
×
Added to my manuals
Manuals
Brands
ChargePoint Manuals
Battery Charger
SM-A127FZBVEUA
Manual
ChargePoint SM-A127FZBVEUA Manual
Networked charging station
Hide thumbs
1
2
3
4
Table Of Contents
5
6
7
8
9
10
11
12
13
14
15
16
17
18
19
20
21
22
23
24
25
26
27
28
29
30
31
32
33
34
35
36
37
38
39
40
41
42
43
44
45
46
47
48
49
50
51
52
53
54
55
56
57
58
59
60
61
62
63
64
65
66
67
68
69
70
71
72
73
74
75
76
77
78
79
80
81
82
83
page
of
83
Go
/
83
Contents
Table of Contents
Bookmarks
Table of Contents
Important Safety Instructions
Table of Contents
Introduction
Accessing Complete Documentation
Power Management
Site Requirements
Bring These Tools and Materials
Inspect the Boxes for Contents
Install a Pedestal Mount
Prepare the Pedestal for Mounting
Mount the Pedestal
Install the Housing
Install the CMK
Install a Wall Mount
Mount the Brackets
Mount the CMK
Prepare the Housing
Install the Housing
Install the Conduit
Connect Wiring - North America
Grounding Requirements
Install Circuit Sharing Jumpers
Install the Power Plate
Connect the Wiring
Check Voltages
Assemble the Station
Connect the Head Assembly
Install Cable Clamps
Complete Station Setup
Power up
Configure and Pinpoint the Station
Start a Charging Session
Questions
Advertisement
Quick Links
Download this manual
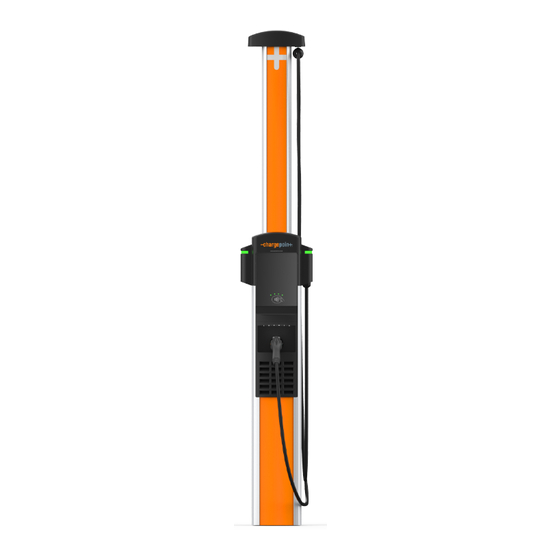
ChargePoint CP6000 Series
Networked Charging Station
Installation Guide
Table of
Contents
Previous
Page
Next
Page
1
2
3
4
5
Advertisement
Table of Contents
Need help?
Do you have a question about the SM-A127FZBVEUA and is the answer not in the manual?
Ask a question
Questions and answers
Related Manuals for ChargePoint SM-A127FZBVEUA
Battery Charger ChargePoint CP4000 Manual
Networked charging station (40 pages)
Battery Charger ChargePoint CPF50 Installation Manual
Networked charging station for fleet vehicles (56 pages)
Battery Charger ChargePoint Home Flex J1772 Installation Manual
16a-50a flexible amperage charger (28 pages)
Battery Charger ChargePoint CP6000 Series Manual
(134 pages)
Battery Charger ChargePoint Express 250 Installation Manual
Dc fast charging station (52 pages)
Battery Charger ChargePoint CP6000 Design Manual
Networked charging station, site design (45 pages)
Battery Charger ChargePoint CT4000 Family Installation Manual
Networked charging station (74 pages)
Battery Charger ChargePoint Express 250 Manual
Dc fast charging station (44 pages)
Battery Charger ChargePoint CT1000 series Installation Manual
Networked charging station (38 pages)
Battery Charger ChargePoint Power Block Design Manual
Express plus dc fast charging station (50 pages)
Battery Charger ChargePoint CT4000-HD Replacement Instructions Manual
Head assembly (12 pages)
Battery Charger ChargePoint Express Plus Design Manual
Dc fast charging platform (74 pages)
Battery Charger ChargePoint Home Installation Manual
Ev charger (32 pages)
Battery Charger ChargePoint CPE200 Installation Manual
Dc fast charging station (52 pages)
This manual is also suitable for:
Cp6021b
Table of Contents
Print
Rename the bookmark
Delete bookmark?
Delete from my manuals?
Login
Sign In
OR
Sign in with Facebook
Sign in with Google
Upload manual
Upload from disk
Upload from URL


Need help?
Do you have a question about the SM-A127FZBVEUA and is the answer not in the manual?
Questions and answers