
Subscribe to Our Youtube Channel
Related Manuals for Rohnson R-8400


Summary of Contents for Rohnson R-8400
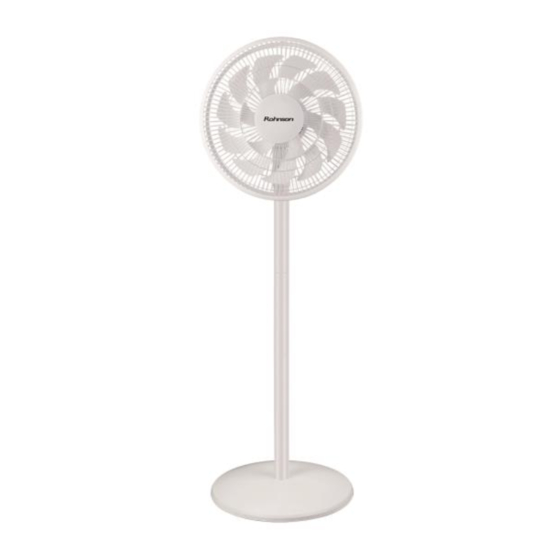
- Page 1 STAND FAN 30 cm 220-240V, 50-60Hz, 60W Model : R-8400 Instruction Manual Read this Instruction Manual carefully before assembling or operating the appliance and keep it for future reference.
- Page 2 SAFETY WARNING Read this Instruction Manual carefully before assembling or operating the appliance and keep it for future reference. When using electrical appliances, basic precautions should always be followed to reduce the risk of fire, electric shock, and injury to persons, including the following: To reduce the risk of electric shock, do not immerse or expose this appliance or flexible cord to rain, moisture, or any other liquid.
- Page 3 Place the fan on a stable level, dry surface when operating to avoid overturning. Only connect to a suitable AC 220-240V~50Hz earthed mains socket. Do not operate fan in the presence of explosive and/or flammable fumes. Do not place the fan near an open flame, cooking or other heating appliance.
- Page 4 Do not place this appliance on any flooring that may be marked or damaged by vibration of appliances. If the supply cord is damaged, it must be replaced by the manufacturer, its service agent, or similarly qualified persons in order to avoid a hazard.
- Page 5 ASSEMBLY Please install the fan according to the following step Assembly of base For Stand fan (Maximum height) 1. Insert the lower column into the base, fix them by bottom plastic nut 2. Insert the middle column into the lower column, turn the middle column clockwise and fix them 3.
- Page 6 fasten the lock nut firmly to fix the back grill 3. Assemble the fan blade Align the hole of blade and the lock nut for blade onto the motor shaft, then fasten the lock nut firmly to fix the blade. 4.
- Page 7 Press the « » button three times, the fan will work at high fan speed. When the fan work at high fan speed, press the button again, it will stop working. Timer The fan is equipped with a 7-hour timer. Press button, the fan can be set from 1 to 7 hours.
- Page 8 hard objects to clean the appliance as these can cause scratches on the surfaces. • Clean the appliance regularly. • Never use solvents, benzene, or oil-based cleaners as these can damage the housing. • Re-tighten visible screw connections on the appliance regularly in order to ensure that the device is functioning properly.
Need help?
Do you have a question about the R-8400 and is the answer not in the manual?
Questions and answers