
Related Manuals for Flo Fab 2FFEH


Summary of Contents for Flo Fab 2FFEH
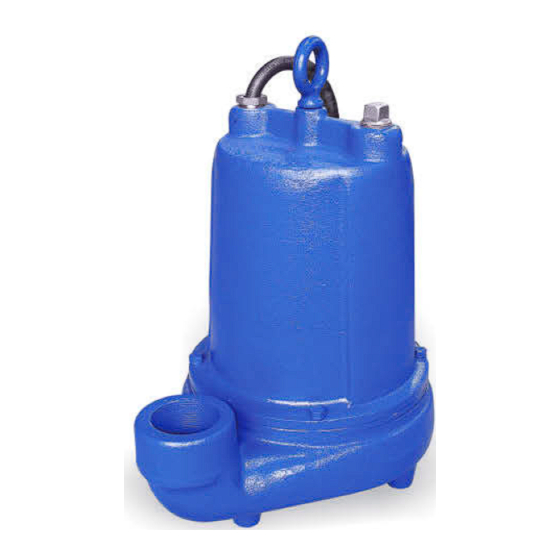
- Page 1 Installation, Operation & Maintenance Manual Submersible E uent Pumps 2FFEH 0.5 & 1 HP @ 3500 RPM IMPORTANT! - Read all instructions in this manual before operating or servicing a pump.
-
Page 2: General Safety Information
IMPORTANT! - Flo Fab Pumps is not swimming pools or water systems, that are required to reduce... -
Page 3: Optional Equipment
Speci cations & Dimensions DISCHARGE: 2" NPT, vertical. SPHERICAL SLD HNDLG: 3/4" LIQUID TEMPERATURE: 104° F (40° C) max. VOLUTE: Cast iron ASTM A-48 class 30. MOTOR HOUSING: Cast iron ASTM A-48 class 30. SEAL PLATE: Cast iron ASTM A-48 class 30. IMPELLER: 2 vane, open, with vanes on back side, dynamically balanced ISO G6.3. -
Page 4: Recommendations And Warnings
Recommendations and Warnings Receiving inspection Installation Liquid Level Controls Upon receiving the pump, it should There are two methods of installing The level control(s) should be inspected damage e uent pumps: mounted on the discharge piping, a shortages. If damage has occurred, 1. -
Page 5: Installation & Service
Installation & Service Servicing IMPORTANT! - The overload will then NOTE: Item numbers in ( ) refer to automatically reset and start the Figure 6 and 7. pump up after the motor cools to a safe temperature. In the event of an overload, the source of this condition should be determined and corrected Cooling Oil - Anytime the pump is... - Page 6 Service Pressure Test (If oil has been Pressure builds up extremely To reassemble: drained) - Remove pipe plug (16) fast, increase pressure by 4. Clean the threads with thread "TAPPING" air nozzle. Too locking compound cleaner. Apply from housing (4). Apply pipe sealant much pressure will damage removable Loctite®...
- Page 7 Service 7. Check motor capacitor (29) with an interchange seal 3. Slide retaining ring (5d) and spring Ohm meter by rst grounding the (5c) over shaft and let rest on components, replace the entire capacitor by placing a screwdriver bearing. Lightly oil (Do not use shaft seal (6).
- Page 8 Service THREE-PHASE 208/230V AC Cable Assembly: POWER CORD 4x12 14. Check power cord (18) for cracks or damage and replace if required. G L1 Insert one washer (20), grommet (21), washer (20) into motor housing (4). Apply pipe sealant to gland nut (19) and screw into motor housing (4).
-
Page 9: Repair Parts
Repair Parts Figure 6 For Repair Part Please supply: Model Number and Serial as shown on Name Plate, and Part Description and Part Number as shown on Parts List. - Page 10 Repair Parts Figure 7 For Repair Part Please supply: Model Number and Serial as shown on Name Plate, and Part Description and Part Number as shown on Parts List.
-
Page 11: Parts List
Parts List For Repair Part Please supply: Model Number and Serial as shown on Name Plate, and Part Description and Part Number as shown on Parts List. -
Page 12: Troubleshooting Chart
NOTE: Flo Fab Pumps assumes no responsibility for damage or injury due to disassembly in the field. Disassembly of the pumps or supplied accessories other than at Flo Fab Pumps or its authorized service centers, automatically voids warranty.
Need help?
Do you have a question about the 2FFEH and is the answer not in the manual?
Questions and answers