Sign In
Upload
Download
Table of Contents
Contents
Add to my manuals
Delete from my manuals
Share
URL of this page:
HTML Link:
Bookmark this page
Add
Manual will be automatically added to "My Manuals"
Print this page
×
Bookmark added
×
Added to my manuals
Manuals
Brands
ASUSTOR Manuals
Storage
AS3302T v2
Quick installation manual
ASUSTOR AS3302T v2 Quick Installation Manual
Hide thumbs
1
Table Of Contents
2
3
4
5
6
7
8
9
10
11
12
13
14
15
16
17
18
19
20
21
22
page
of
22
Go
/
22
Contents
Table of Contents
Troubleshooting
Bookmarks
Table of Contents
Table of Contents
Notices
Safety Precautions
Package Contents
Optional Accessories
Hardware Installation Guide
Tools Needed for Hard Disk Installation
Hard Disk Installation
Securing the Power Cord
Connecting and Powering on the Nas
Software Installation Guide
Download Center Installation
Web Installation
Installation Using a Mobile Device
Appendix
Led Indicators
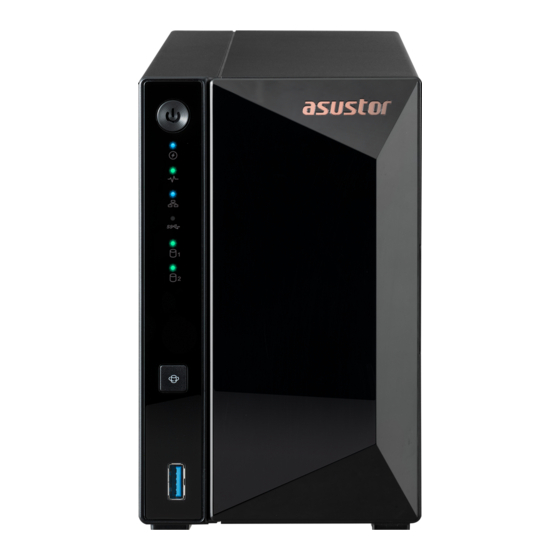
Front Panel
Rear Panel
Shutting down Your Nas
Troubleshooting
Advertisement
Quick Links
1
Hardware Installation Guide
2
Front Panel
Download this manual
Quick Installation Guide
Applicable Models
AS3302T v2 / AS3304T v2
Ver.2.3.0903 (2015-3-2)
Ver. 4.2.3.0816
Table of
Contents
Previous
Page
Next
Page
1
2
3
4
5
Advertisement
Table of Contents
Need help?
Do you have a question about the AS3302T v2 and is the answer not in the manual?
Ask a question
Questions and answers
Related Manuals for ASUSTOR AS3302T v2
Storage Asustor AS3102T Quick Installation Manual
(26 pages)
Storage ASUSTOR AS3102T v2 Quick Installation Manual
(28 pages)
Storage ASUSTOR AS3204T v2 Quick Installation Manual
(28 pages)
Storage ASUSTOR AS3302T Quick Installation Manual
(23 pages)
Storage ASUSTOR Drivestor 4 PRO Quick Installation Manual
(23 pages)
Storage ASUSTOR AS3304T User Manual
Network attached storage (153 pages)
Storage ASUSTOR AS3304T v2 Quick Installation Manual
(22 pages)
Storage ASUSTOR AS6404T Quick Installation Manual
(35 pages)
Storage ASUSTOR AS6510T Installation Manual
M.2 ssd drive (8 pages)
Storage ASUSTOR AS-604T Quick Start Manual
Network attached storage (16 pages)
Storage ASUSTOR LOCKERSTOR 6 Gen2 Installation Manual
M.2 ssd drive (8 pages)
Storage ASUSTOR AS1002T Quick Installation Manual
(25 pages)
Storage ASUSTOR AS4002T Quick Installation Manual
(24 pages)
Storage ASUSTOR AS6204RS Quick Installation Manual
(29 pages)
Storage ASUSTOR AS5402T Quick Installation Manual
(29 pages)
Storage ASUSTOR AS1102TL Quick Installation Manual
(22 pages)
This manual is also suitable for:
As3304t v2
Table of Contents
Print
Rename the bookmark
Delete bookmark?
Delete from my manuals?
Login
Sign In
OR
Sign in with Facebook
Sign in with Google
Upload manual
Upload from disk
Upload from URL


Need help?
Do you have a question about the AS3302T v2 and is the answer not in the manual?
Questions and answers