Easee Ready Installer's Manual
Hide thumbs
Also See for Ready:
- User's installation manual (18 pages) ,
- Important product information (32 pages)
Table of Contents
Advertisement
Quick Links
Advertisement
Table of Contents

Related Manuals for Easee Ready


Summary of Contents for Easee Ready
- Page 1 Installer guide Easee Ready...
- Page 2 Introduction Read the Important product information guide in the product packaging or at easee.com/manuals before installing the product. Installation of this product requires a mobile device with NFC or Bluetooth support. WARNINGS AND CAUTIONS A Warning indicates a condition, hazard or unsafe practice that can result in serious personal injury or death.
-
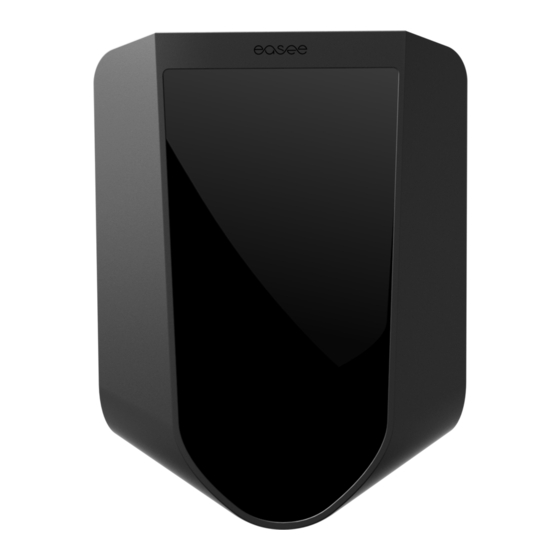
Page 3: Product Overview
Product overview Blind cover Backplate Protects the electrical For attaching and connecting to connections from external the charging infrastructure. influences. Installation kit Strain relief Blind plug Sealing plug Strain relief and Wall screws Blind cover tool front cover (T25) screws (T25) -
Page 4: Technical Specifications
Technical specifications General Dimensions 256 x 193 x 78 mm (H x W x D) Drilling hole distance c/c 160 x 125 mm (H x W) Backplate technical specifications Max charging power capacity 1.4–22 kW 6 A 1 phase – 32 A 3 phase Up to 7.36 kW at 32 A 1 phase Up to 22 kW at 32 A 3 phase Voltage... -
Page 5: Planning The Installation
Site Key: During installation, a Site Key must be used to assign the Charging Robots to the correct location in the Easee Cloud. A Site Key will automatically be generated when creating a new charging site using the Easee Installer App or it can be obtained by creating a new charging site at easee.cloud. -
Page 6: Installation Instructions
Installation Easee Ready Opening instructions Screw the locking screw at the bottom of the Easee WARNING Ready. Always work with the power off and in accordance with local regulations. Use Insert the two ends of the blind cover tool into the extreme caution and follow instructions two openings at the bottom of the cover. - Page 7 The installation wall must cover the entire back of supplied blind plugs. the product. If this is not possible to achieve, it is possible to use the Easee Mount. NOTE If you are going to install multiple backplates, now would be a good time to mount them as well.
- Page 8 Backplate Wiring TN/TT 3-phase IT/TT 3-phase (3x 230/400 V) (3x 230 V) Strip each wire, exposing 12 mm of copper on each. If the cable has flexible conductors, then you must use ferrules on stranded wires to make the connection. Use the correct tools to press them.
- Page 9 "Add another backplate". Follow the on-screen instructions and return to this guide afterwards. Scan the QR code to download the Easee Installer App and create your free account. NOTE...
- Page 10 Screw in the blind cover screw at the bottom of the charger to secure the blind cover. NOTE! The locking screw is necessary to secure the cover and protect the backplate from exposure. Your Easee Ready is now installed! ”CLICK!”...
-
Page 11: Maintenance
Avoid using strong chemicals that contain needs to be repaired within this warranty period, please oil or alcohol, as this will discolour the plastic. contact your Easee supplier. Further information can be — Do not use running water or high pressure water jets. - Page 12 Easee or its subsidiaries in writing. Any permitted use shall always be done in accordance with good practice and ensure that no harm may be caused to Easee or by misleading the consumer. Easee and Easee products, product names, trademarks and slogans, whether registered or not, are Easee’s intellectual...
Need help?
Do you have a question about the Ready and is the answer not in the manual?
Questions and answers