Advertisement
Quick Links
Advertisement

Subscribe to Our Youtube Channel
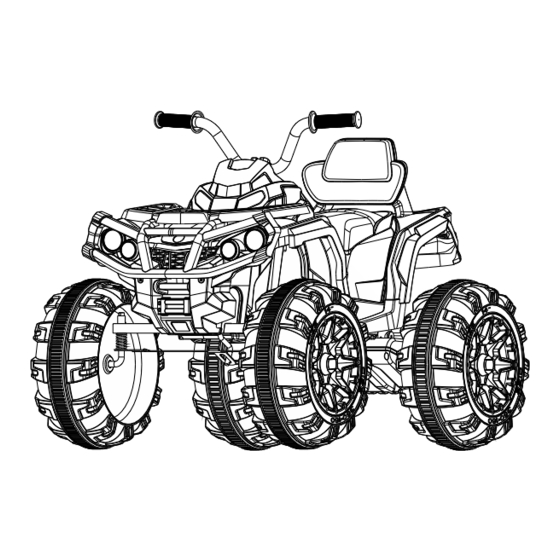
Summary of Contents for Aosom 370-043V80
- Page 1 INfac012V03_US_CA 370-043V80 READ AND SAVE THIS INSTRUCTION FOR FUTURE USE ASSEMBLY INSTRUCTION...
- Page 2 Specifications: Battery: Double drive (12V7AH/12V10AH) Motor: Double drive 12V 12V/Double drive motor 12V/Steering motor 12V 37-96 months Suitable ages: Maximum weight: 30KG Speed : 3-6KM/h Power way: Charging type Charg: 12 hours ; Use: 2 hours Use of time: Input AC 110~ 240V, output DC 12 V 1000mA Charger:...
- Page 3 STORAGE BATTERY INFORMATION AND MAINTENANCE ●Please charge 8 to 12 hours before first time use. ●Please use the suitable adapter to charge storage battery, otherwise the ride-on will be damaged. ●Please charge the car once the speed is slower than normal, otherwise it will decrease storage battery life.
- Page 4 PREVENT FIRE AND ELECTRIC SHOCK: - Use the only rechargeable battery and charger supplied with your vehicle. -NEVER substitute the battery or the charger with another brand. Using another battery or charger may cause a fire or explosion. -Do not use the battery or charger for any other product. Overheating, fire or explosion could occur.
-
Page 5: Parts List
Parts List PICTURE PICTURE A(Rear axle) B(Front wheel) D(Wheel cover) C(Rear wheel) E(handlebar) F(Lazy back) S3(big flat head tapping screws 4*12mm) G(front axle) J(Instruction) I(Charger) (optional) K(M8 spanner) *Photos are for reference ONLY. - Page 6 *The above parameters contain optional features, specific parameters please refer to our samples. Step 1:Open the packaging box, take out all components. Components include Instruction, front wheels, rear wheels, charger, handlebar, wheel covers, instrument board,M8 spanner,M5 spanner, seat, tapping screws, and rear axle which is fixed on the car body as figure1 (please take it down for later installation) .
- Page 7 B:Find the corresponding position on the car body as shown, use 4 S3( big flat head tapping screws 4*12mm) to fix the G(front axle) into this position.(Note: the L(steering yoke) need to be pointed at the Steering hole ).Put the S5(M8*16 gasket)on the L(Steering yoke) first, then fix it by S4(M8 nut).
- Page 8 step3:lnstall the front and rear wheel A. Install the front wheel: Install the B(front wheel) into the G(front axle),two S1(M8*22 gasket)need to be placed out of the B(front wheels) and securely fix them with S4(M8 nut).B.Install the rear wheel: Install the C(rear wheel) into the both sides of the A(rear axle).(Note:the convex side of the C(rear wheel) is inside)then put two S1(M8*22 gasket)out of the C(rear wheels)securely fix them with S4(M8 nut).C.Press and fix 4 D(Wheel cover)onto the corresponding position on wheels.
- Page 9 step5:lnstall lazyback Press and fix the F(lazyback) on the corresponding position on the car body. step6:Take off the seat use tool to remove screw from seat, and take off the seat. Take out the charger, instruction book and remote control ( optional )inside. step7:Power connection red terminal red terminal...
- Page 10 After the driver is seated, press the power switch, the car will send out as tarting sound(2-5seconds).Put the Forward/Stop/Backward switch in to the position of "forward”(Press forward), the hi/lo speed switch into the position of“low speed", step on the foot switch the car will move forward slowly, loosen the pedal the car will stop.
- Page 11 2.Operation guide for remote control (forward, backward , speed control and lighting switch): Remote control prior to manual control (the car will follow the instructions from remote control when the remote control and manual control are both in operation).Press forward key, car will move forward. Press backward key, car will move backward.
-
Page 13: Charging Instructions
.Charging instructions. - Page 14 Trouble elimination methods...


Need help?
Do you have a question about the 370-043V80 and is the answer not in the manual?
Questions and answers