Advertisement
Forward and reverse functions
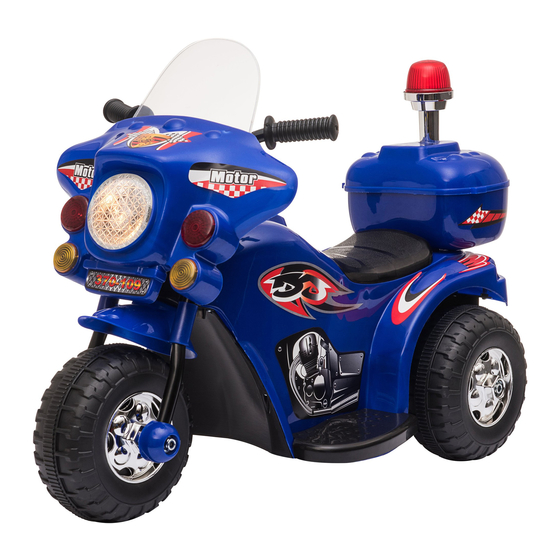
Realistic lighting and sound systems
With back tool box
Suitable age: 18 - 60 months
This product should be assembled by an adult, charging must be done by an adult.
Instructions contains important safety information content, please keep as a reference.
ASSEMBLY INSTRUCTION
CHILDREN ELECTRIC MOTORCYCLE MANUAL
INfaa030V01_US_CA
370-109V80
Advertisement
Table of Contents

Subscribe to Our Youtube Channel
Summary of Contents for Aosom 370-109V80
- Page 1 INfaa030V01_US_CA 370-109V80 CHILDREN ELECTRIC MOTORCYCLE MANUAL Forward and reverse functions Realistic lighting and sound systems With back tool box Suitable age: 18 - 60 months This product should be assembled by an adult, charging must be done by an adult.
- Page 2 Thank you for choosing our children electric car. Please read this instruction carefully before use, it will tell you the right way of assembling and operating. To avoid incorrect operations damaging the product or injuring your baby, please keep this instruction.
-
Page 3: Parts Diagram
Parts diagram Part Part Name Picture Quantity Name Picture Quantity Number Number Front Fork (Optional) Front Wheel Fender Dashboard Wheel (Optional) Cover Car body Saddle Toolbox Wrench Rear Gearbox Fender ForwarÇ = and reverse functions Realistic lighting and sound systems With back tool box Charger Znstruction... -
Page 4: Installing Instructions
Installing Instructions Fix the front wheel Fork Fix the wheel cover from both Front wheel cap side of the front wheel. Then fi x other parts by the order as picture 1 showed, last fi x the nut at both side of the wheel and tight up. - Page 5 plug Figure 4 Fix the tool box and use it A」 ゥ Put the fibe r on the alarm lamp cross the hole on tool box, connect the 3 plug-inë, and fix them. B」 ゥ Match the two parts of the tool box, and fasten it. C」...
- Page 6 The connection of battery wires Remove the screws at the back of the saddle, take off the saddle. B)Connect the wires to the battery, red side to red side, black side to black side, otherwise, it may cause damage to the battery. (The black side is already connected.) C)Fix the saddle back and fasten by the screws.
-
Page 7: Troubleshooting
Troubleshooting Fault type Test site Remedy Is the battery terminal connector off? 1. Yes: connect the terminal plug; No: next. 2. Is the fuse intact? 2. Yes : next; No: change the fuse. Non-function 3. Is the connection wire of battery and motor 3. -
Page 8: Maintenance
MAINTENANCE Check the main parts regularly, check if there's any damage of the battery, charger, plug , cover and other parts, check if the screws are tight, check if the wire lead is old. If any damage, please stop use and deliver to the professional service.


Need help?
Do you have a question about the 370-109V80 and is the answer not in the manual?
Questions and answers