
Related Manuals for Atmor Europe InLine 800 Series


Summary of Contents for Atmor Europe InLine 800 Series
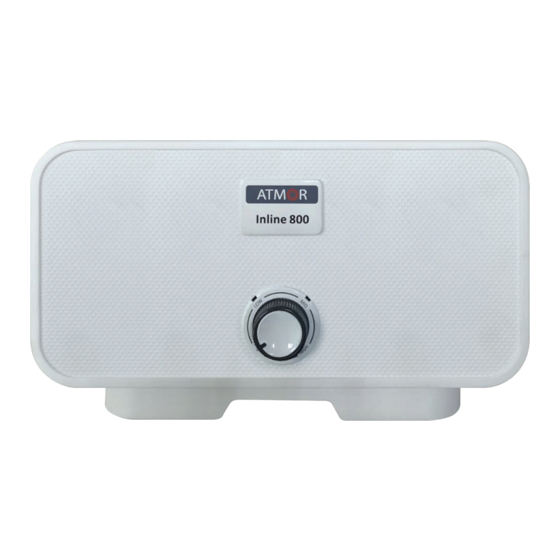
- Page 1 Hot Water on Demand Installation and Operation Guide Europe InLine 800 Series 3.5kW-12kW P.N. 107343C...
- Page 2 GENERAL SAFETY INSTRUCTIONS CAUTION! 1. This manual is an integral part of the product. Keep it with care with the appliance, and hand it on to the next user/owner in case of change of property. 2. Read the instructions and warning in this manual carefully, they contain important information regarding safe installation, use and maintenance.
-
Page 3: General Safety Standards
Symbol Meaning Failure to observe this warning can result in injury, which may even be fatal in certain circumstances Failure to observe this warning can result in damage or injury, even to property; plants and animals Observe the product's general and specific safety instructions. GENERAL SAFETY STANDARDS Symbol Ref. -
Page 4: Technical Characteristics
TECHNICAL CHARACTERISTICS For the technical specifications, refer to the nameplate (the nameplate is located on the right side of the water heater). Remark: Venturi product is up to 10.5kW only. Product Information Power (kW) 9.5 10.5 12.0 Voltage 220-240V 400-415 Phases Mono 3 phase... -
Page 5: Installation Instructions
INSTALLATION INSTRUCTIONS The appliance must be installed and commissioned by a qualified technician in accordance with established regulations and local health and safety regulations.. 1. Open the four screws located on the top and bottom of the device and remove the cover from base. - Page 6 11. WARNING: UNIT MUST BE PROPERLY GROUNDED 12. THIS HEATER MUST HAVE ITS OWN INDEPENDENT CIRCUIT USING A CORRECTLY RATED CIRCUIT BREAKER AND SUITABLE WIRE, SEE TABLE RECOMMENDED CABLE. OPERATING INSTRUCTIONS 1. Your new Instant Water Heater is flow activated. Regulate the knob in one of the 3 setting power (Low, Med, High) the product will switch ON and turn on the hot water tap.
- Page 7 Electrical Diagram: InLine InLine+ELCB 3.0-7.0kW (220V-240V) 3.0-7.0kW (220V-240V) Install Line 1 (L1), E(G)-Ground, Line 2 (L2) Install Line 1 (L1), E(G)-Ground, Line 2 (L2) Led 1 Led 1 85 º 85 º 85 º 85 º 57 º 57 º Led 2 Led 2 Led 1...
- Page 8 Electrical Diagram: Venturi 3.0-5.5kW (220V-240V) - Install Line 1 (L1), E(G)-Ground, Line 2 (L2) 1. Terminal block 2. Thermostat Led 1 3. Ventury Part 4. Switch 0- Off 1- Low Switch 2- Medium Ventury Led 2 3- High 5. Light 6.
- Page 9 WARNING! BEFORE BEGINNING ANY WORK ON THE ELECTRICAL INSTALLA- TION BE SURE THAT THE CIRCUIT BREAKER IS IN THE “OFF” POSI- TION TO AVOID DANGER OF ELECTRICAL SHOCK Correct Installation Incorrect Installation Inline 800 Inlet and Inlet Outlet outlet at the bottom Table I: Recommended Cable Model Name...
- Page 10 Inline 800 Power Led Power Knob Water Inler Pressure Relief Device Filter Water Outlet Close cover Steps...
-
Page 11: Product Sizes
This product conforms to Directive WEEE 2012/19/EU. The symbol of the crossed waste paper basket on the ap pliance indicates that at the end of its working life the pro duct should be disposed of separately from normal domestic household rub- bish, it must be disposed of at a waste dispo sal center with dedicated facilities for electric and electronic appliances or returned to the retailer when a new replace ment product is purchased. -
Page 12: Troubleshooting
Troubleshooting SYMPTOM POSSIBLE CAUSE SOLUTION Water not hot Too much water flowing through Reduce the flow rate of the water via enough the heater the outlet tap. Reduction In tha ambient Switch to higher temperature setting. temperature Check if the mains stop valve is fully Water Pressure below of 100 open and that the there are no other restriction in the supply line.
Need help?
Do you have a question about the Europe InLine 800 Series and is the answer not in the manual?
Questions and answers