Table of Contents
Advertisement
Quick Links
Advertisement
Table of Contents

Summary of Contents for Diamond Diverso WR-FD24-MT
- Page 1 10/2017 Mod: WR-FD24-MT Production code: P07EN10080 / ENTRY 4+4...
- Page 2 ENTRY OVENS EFP/4R÷EFP/6R÷EFP/44R÷EFP/66R Instruction manual...
- Page 3 October 2004 on materials and articles intended to come into contact with food. Type of appliance / Machine ELECTRIC OVEN Trademark DIAMOND Model EFP/4R÷EFP/6R÷EFP/44R÷EFP/66R The harmonised standards or technical specifications (designations) that have been applied in agreement with the highest professional standards on safety in force in the EEC are:...
- Page 4 INDEX SAFETY RECOMMENDATIONS WARNINGS FOR THE INSTALLER WARNINGS FOR THE USER WARNINGS FOR THE MAINTENANCE TECHNICIAN INSTALLATION EQUIPMENT HOOK-UP GROUND CONNECTION OVEN START UP AND USE COMMAND PANNEL DESCRIPTION FIRST LIGHTING OF THE OVEN START UP FASE USE EXAUSTER VALVE SHUT DOWN PHASE MAINTENANCE AND CLEANING SAFETY PRECAUTIONS...
-
Page 5: Safety Recommendations
1 SAFETY RECOMMENDATIONS WARNINGS FOR THE INSTALLER Check that the location of the oven is in compliance with local, national and European regulations. Adhere to the instructions in this manual. Do not execute electrical connections using temporary or uninsulated cables. -
Page 6: Installation
respect the instructions and warnings displayed on the machine labels. The labels are accident prevention devices, and therefore must always be perfectly legible. If these should be damaged and illegible, it is mandatory to replace them by requesting replacements from the Manufacturer. - Page 7 connect to the terminal block the power cable. The power supply cable must be of H07-RNF type, with approved minimum cross section as prescribed by the specific directive. The electrical outlet must be easy to access, no moving should be necessary.
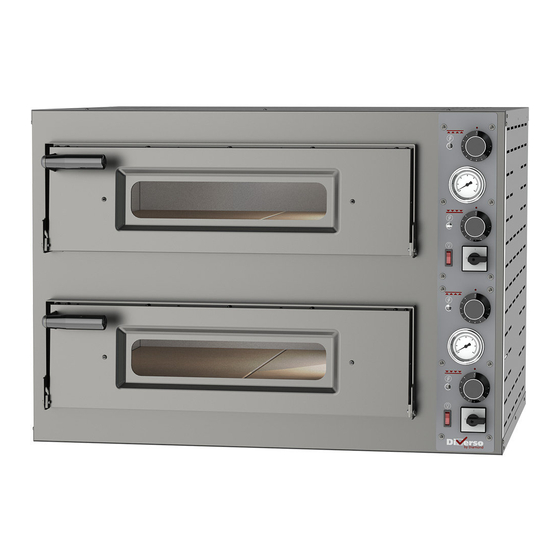
- Page 8 3 OVEN START UP AND USE COMMAND PANEL DESCRIPTION Pilot light Analogic control thermometer Thermostat for the regulation Top Pilot light Thermostat for Bottom the regulation Bottom Cooking chamber Main switch light switch - 28 -...
-
Page 9: Start Up Phase
FIRST LIGHTING OF THE OVEN At the first use of the appliance it is advisable to heat the empty oven to eliminate bad smells caused by the refractory stones evaporation and the inner metallic parts. Procedure: - fully open the exhauster valve; - turn the main switch in position “1”;... -
Page 10: Maintenance And Cleaning
MAINTENANCE AND CLEANING SAFETY PRECAUTIONS Before performing any maintenance operations, including cleaning, take the following precautions: ensure that the oven is not working end completely cold ensure that the electrical power is not present make certain that the electrical power cannot be accidentally reinserted. - Page 11 ALARM AND POSSIBLE FAULTS WORKING ANOMALIES Anomalies Possible Causes Solutions The oven does not heat even though the Turn the main Main switch in position “0” temperatures are set correctly. switch in position “1” The pilot lights are off. The oven doesn't heat despite the main Check the general switch is on (position 1) and the contactor, the...
-
Page 12: Information For Demolition And Disposal
INFORMATION FOR DEMOLITION AND DISPOSAL The equipment falls under application of the European Directives 2002/95/CE, 2002/96/CE, 2003/108/CE which states to never dispose of this product together with normal domestic waste. To prevent any possible damage to the environment or to human health, please keep this product separately from other waste so it can be recycled safely from an environmental point of view.


Need help?
Do you have a question about the Diverso WR-FD24-MT and is the answer not in the manual?
Questions and answers