
Related Manuals for Austa Austa-1P6002G


Summary of Contents for Austa Austa-1P6002G
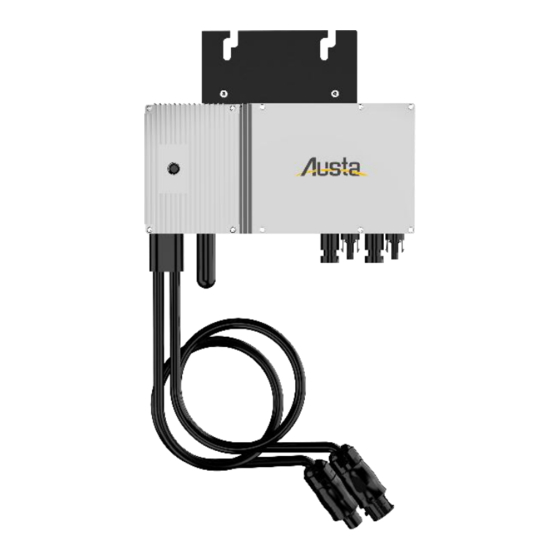
- Page 1 Installation and Operation Manual Austa-1P6002G &Austa-1P8002G Email: marketing@austasolar.com Web: https://www.austasolar.net 152167...
-
Page 2: Table Of Contents
CONTENTS COMPANY PROFILE 1. INTRODUCTION 1.1 Prefix 1.2 Grid-tied PV System 1.3 How to Use This Manual 1.4 Label 2. SAFETY INSTRUCTION 3. FCC COMPLIANCE 4. INSTALLATION Parts Included Other Parts and Tools Required Lightning Surge Suppression Installation Procedure Step 1 - Install the AC Branch Circuit Junction Box Step 2 - Attach the AU-1P600/8002G to the Racking Step 3 - Connect the AU-1P600/8002G Wiring Harnesses Step 4- Ground the System... -
Page 3: Company Profile
COMPANY PROFILE AUSTA SOLAR is a high-tech subsidiary company under OSDA Group, who started solar panel factory since 2009 located in Ningbo,China,including 6GW solar module production capacity. AUSTA SOLAR started inverter R&D research in 2013. inverter technology was original from Germany inverter expert 3.We are always committed to the... -
Page 4: Introduction
Dear customer, thank you for choosing the AU-1P600/8002G micro inverter from FOLLOWING THIS MANUAL IS NOT COVERED BY THE WARRANTEE. AUSTA. We hope you will find our products meet your need for renewable energy. Meantime, we appreciate your feedback regarding our products. -
Page 5: Installation
AU-1P600/8002G can be exceeded, and the equipment can be damaged. Since the AUSTA Limited Warranty does not cover “acts of God” such as lightning Step 1 - Install the AC Branch Circuit Junction Box strikes, and since lightning strikes can occur anywhere, it is best practice to install 1. -
Page 6: Step 2 - Attach The Au-1P600/8002G To The Racking
Step 3 - Connect the AU-1P600/8002G Wiring Harnesses 2. Mount the adapter plate at a suitable location on the PV racking system (typically Each AU-1P600/8002G comes with one 3-pin bulkhead receptacle mounted on at the end of a row of modules). the case. -
Page 7: Step 4- Ground The System
AU-1P600/8002G in your PV installation. The virtual the groundconnector in the junction box. array in AUSTA micro inverter gateway AUG-256 is created from the map you create. Step 5 – Ground the system through racking (option) Complete the connection map AU-1P600/8002G may also be grounded through the racking as shown below. -
Page 8: Commissioning
Status: grounding fault 5. COMMISSIONING The LED light is in solid red color. In case of fault, AUM-250 has multiple protective functions and stops output power. WARNING: CONNECT AU-1P600/8002G TO THE ELECTRICAL UTILITY GRID ONLY AFTER The fault message may be sent to a connected AUG-256 gateway through power RECEIVING PRIOR APPROVAL FROM THE UTILITY COMPANY. - Page 9 4. Replace the old PLC_ID in the AUG-256 gateway with the new PLC_ID of micro inverter system to block interference from adjacent other systems. the replacement micro inverter. 7. If the problem persists, please call customer support at AUSTA. WARNING: DO NOT ATTEMPT TO REPAIR THE AU-1P600/8002G; IT CONTAINS NO USER-SERVICEABLE PARTS.
-
Page 10: Specification
AU-1P8002G-230-EU MODEL 8. SPECIFICATION Max Recommended PV Power (Wp) 600x 2 Vmax PV (absolute maximum) (Vdc) AU-1P6002G-230-EU MODEL PV Input Operating Voltage Range (Vdc) 22-55 INPUT(DC) Maximum Operating PV Input Current (Adc) Max Recommended PV Power (Wp) 480x 2 MPPT Tracking Accuracy >99.5% Vmax PV (absolute maximum) (Vdc) Isc PV (absolute maximum) (Adc) -
Page 11: Warranty And Production Information
Austa will not be responsible for any defect in or damage 9.WARRANTY AND PRODUCTION INFORMATION to: a) the product if it has been misused, neglected, improperly installed, physically damaged or altered, either internally or externally, or damaged from improper use or use in an unsuitable environment;... - Page 12 For the information on our warranty terms and conditions, please feel free to contact us. All fields must be completed in order to process claim. Customer Signature: Date: *All rights reserved by AUSTA. This information is subject to changes without notice.
- Page 13 Email: info@austasolar.com Web: https://www.austasolar.com/...
Need help?
Do you have a question about the Austa-1P6002G and is the answer not in the manual?
Questions and answers