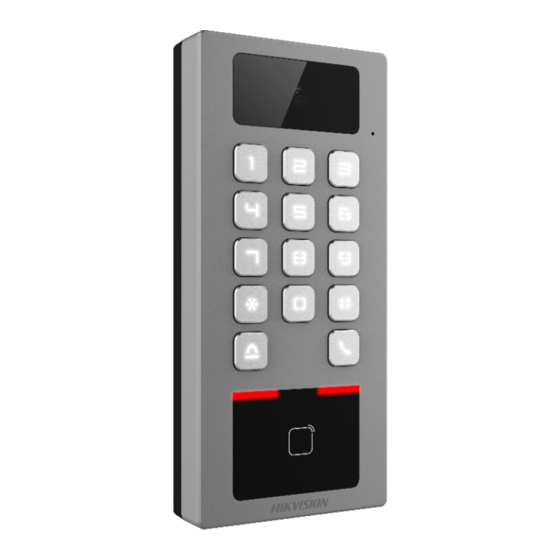
HIKVISION DS-K1T502 Quick Start Manual
Hide thumbs
Also See for DS-K1T502:
- User manual (106 pages) ,
- How to use (5 pages) ,
- Instructions (5 pages)
Advertisement
Quick Links
Advertisement

Related Manuals for HIKVISION DS-K1T502


Summary of Contents for HIKVISION DS-K1T502
- Page 1 Quick Start Guide of DS-K1T502...
- Page 2 1. Activate the Device via Mobile Phone When the device is not activated, we can use the device AP hotspot connection to activate the DS-K1T502 device and connect to the device WEB for configuration operation. 1) AP Connection: the initial password is the device serial number, for example: K49645302.
- Page 3 Title: Quick Start Guide of DS-K1T502 Version: V1.0 Date: 2/22/2022 Product: DS-K1T502 Page: 2 of 10 4) Choose device language. Communication Settings: Privacy Wizard: 2. Activate the Device via SADP...
- Page 4 Title: Quick Start Guide of DS-K1T502 Version: V1.0 Date: 2/22/2022 Product: DS-K1T502 Page: 3 of 10 1) Run the SADP software and search the online devices. Find and select your device in online device list. 2) Input new password (admin password) and confirm the password. Click Active to start activation.
- Page 5 Title: Quick Start Guide of DS-K1T502 Version: V1.0 Date: 2/22/2022 Product: DS-K1T502 Page: 4 of 10 4) Select three questions to answer and click Confirm. (If you forget the device activation password, you can change the password via security question.) 5) Change the device IP address to the same subnet as your computer by either modify the IP address manually or checking Enable DHCP.
- Page 6 Title: Quick Start Guide of DS-K1T502 Version: V1.0 Date: 2/22/2022 Product: DS-K1T502 Page: 5 of 10 6) Input the admin password and click Modify to activate your IP address modification. 7) Select the device and double-click the IP address to access the Web Client.
- Page 7 Title: Quick Start Guide of DS-K1T502 Version: V1.0 Date: 2/22/2022 Product: DS-K1T502 Page: 6 of 10 8) Enter the device user name and the password. Click Login. 3. Add device to HikCentral Access Control 1) Enter HikCentral Access Control Web Client then choose...
- Page 8 Title: Quick Start Guide of DS-K1T502 Version: V1.0 Date: 2/22/2022 Product: DS-K1T502 Page: 7 of 10 4. Apply person to device 1) Create a name for the access level.. 2) Click Add to add the access level and return to the access level management page.
- Page 9 Title: Quick Start Guide of DS-K1T502 Version: V1.0 Date: 2/22/2022 Product: DS-K1T502 Page: 8 of 10 4) On the top, select Access Control → Select Access Level → Manage Access Level on the left → Click Add to enter the Add Access Level page.
- Page 10 Title: Quick Start Guide of DS-K1T502 Version: V1.0 Date: 2/22/2022 Product: DS-K1T502 Page: 9 of 10 6) On the assignee panel, click Assign To to show person list. 7) Select the persons whom you want to assign the access level to and click Add.
- Page 11 Title: Quick Start Guide of DS-K1T502 Version: V1.0 Date: 2/22/2022 Product: DS-K1T502 Page: 10 of 10 3) Chose Authentication method: card or fingerprint or password. Click Save. 4) Check the authentication event on the platform real-time monitoring.
Need help?
Do you have a question about the DS-K1T502 and is the answer not in the manual?
Questions and answers