Advertisement
Quick Links
Quick Installation Guide
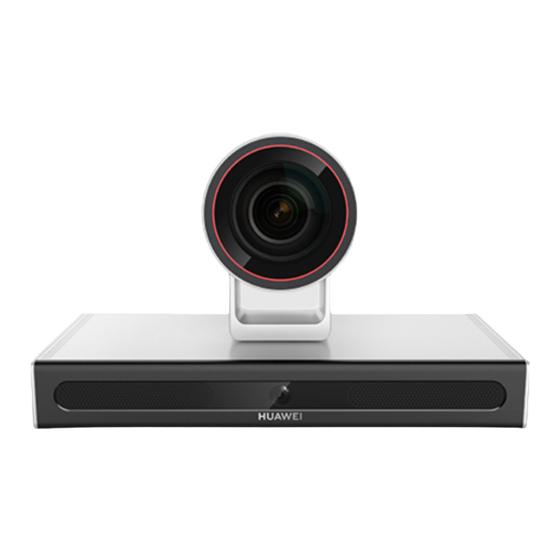
HUAWEI Bar 300
1
Included Items
Bar 300
3-meter network cables (2)
10-meter Touch network cable
PoE adapter, power adapter
M3 x 6 Phillips flat head
Plastic expansion bolt
machine screws
(tapping screws and plastic
Lens
Quick Installation Guide
This list is for reference only. The delivered components may differ in appearance. The cables and power
adapter work only with the included endpoints. If a component is damaged, missing, or wet upon being
removed from the box, contact Huawei technical support.
Copyright © Huawei Technologies Co., Ltd. All rights reserved.
Touch
HDMI cable
Power cables
M3 x 10 screw
1/4"-20 UNC screw
Base
L-shaped bracket
Velcro tape strips
expansion sleeves)
Quick Installation Guide
HUAWEI Bar 300
2
Installing the Bar 300
The Bar 300 can be placed horizontally, mounted on top of a display, wall-mounted,
ceiling-mounted, or placed on a tripod. Choose the best method for your site requirements.
Keep the default position of the slider before installation.
Horizontal Placement
Place the Bar 300 on a flat tabletop and connect the cables.
If you have to place the Bar 300 on a sloping surface, the slope must be less 15° for the camera PTZ to
function properly.
Mounting on Top of a Display
The Bar 300 can be mounted on top of a display if the display:
• Is thinner than or equal to 80 mm (3.15 in.) , or the thickness of the display ranges from 100 mm
(3.94 in.) to 160 mm (6.30 in.) .
• Is placed horizontally.
Required Materials:
Included: L-shaped bracket, base, 1/4"-20UNC screw, M3 x 10 screw, and velcro tape strips.
Not included: ruler.
• Secure the displays before installation. If you need to move the display after installation, remove the Bar
300 together with its base and L-shaped bracket to avoid damage to it. Then, move the display to a
required place and reinstall the Bar 300.
• If the frame width of the display is less than 11.8 mm (0.46 in.) , the front panel edge of the base may
block part of the screen.
Install the Bar 300 on the base and
1
tighten the 1/4"-20 UNC screw.
3
Install the L-shaped bracket on the base.
Display thickness ≤ 80 mm (3.15 in.) 100 mm (3.94 in.) < Display thickness
≤ 160 mm (6.30 in.)
Note the bracket direction.
2
Measure the display thickness.
Stick a velcro tape strip to the
4
back of the display.
119.5 (4.70 in.) –139.5 mm (5.49 in.)
Advertisement

Summary of Contents for Huawei Bar 300
- Page 1 Horizontal Placement Place the Bar 300 on a flat tabletop and connect the cables. If you have to place the Bar 300 on a sloping surface, the slope must be less 15° for the camera PTZ to function properly. Mounting on Top of a Display The Bar 300 can be mounted on top of a display if the display: •...
- Page 2 Included: plastic expansion bolts, L-shaped bracket, base, 1/4"-20 UNC screw, and M3 x 6 Phillips flat head machine screws. • A location pillar that fits into the location hole of the Bar 300. The distance between the screw Not included: hammer drill, cordless electric screwdriver, hammer and Phillips screwdriver.
- Page 3 Endpoint in the Bar 300 Configuration Guide. Powering On the Bar 300 Installing and Using the "Smart Eye" Cover Once all cables are connected correctly, connect the Bar 300 to a power supply using the power Understand the "smart Attach the adhesive side of the To enable the "smart eye",...


Need help?
Do you have a question about the Bar 300 and is the answer not in the manual?
Questions and answers