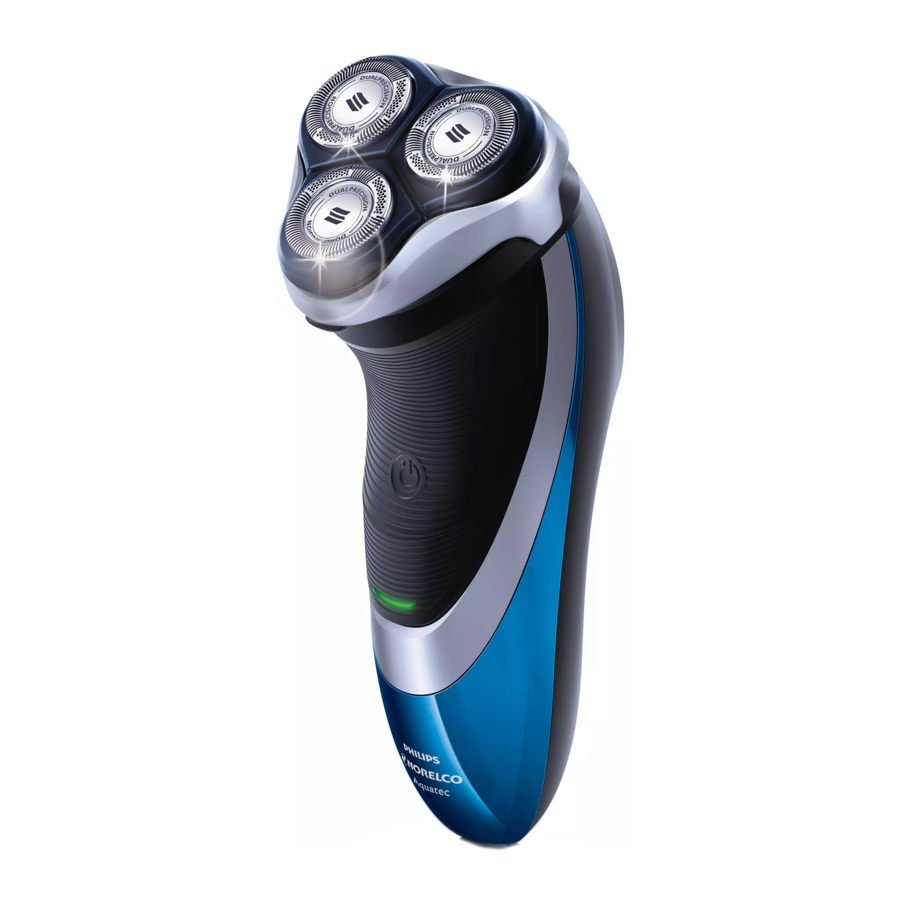
Philips NORELCO AT810 - Electric Shaver Operation and Service Manual
- Operation manual and extended service plan (2 pages) ,
- Manual (56 pages) ,
- User manual (29 pages)
Advertisement

OPERATION OVERVIEW
Buttons explained for new Philips Norelco AT810 shaver.
CHARGING & POWER
To prolong shaver lifespan charge before first use and only when indicated. Power shaver on or off by pressing on/off button once.
- Power shaver off by pressing on/ off button once.
- Connect shaver to supplied AC charger only and any 100V-240V AC outlet.
- Shaver display will indicate battery is charging.
- Unplug shaver when charge indicator flashes three continuous white lights.

Lift and Cut System.
Shaver Head Assembly.
Protective Cap.
Individually Floating Heads.
Shaver Head Release Button.
- Hair Chamber captures shaven hair.
LED Charge Indicators.
- Battery Charge, Full, Low & Quick Charge Indicators.
LED DISPLAY
BATTERY CHARGE INDICATOR
- Charging Indicator.
- Full Charge Indicator.
- Low Battery Indicator.
- Three continuous white lights.
- Shaver Head Replacement Indicator.
CLEANING
- Always clean your shaver after each use.
- Always switch shaver OFF, unplug and remove power cord before cleaning.
- Press the Shaver Head Release Button to open the Shaver Head Assembly.
- Clean inside shaving heads and hair chamber by running under hot water.
- Clean outside of Shaver Head Assembly by running under hot water.
- Never clean, remove or replace head assembly while motor is on.
- Regular cleaning guarantees better shaving results.
- Do not immerse shaver in water.
- While rinsing shaving heads, water may drip out of the base of shaver. This is a normal occurrence.
- Do not apply pressure to combs. Do not touch shaving heads with hard objects as this may dent or damage precision-made slotted combs.
- Do not use shaver if combs are damaged or broken. Facial injury may occur.
- Do not use compressed air, abrasives, scourers or aggressive liquids such as gasoline or acetone to clean the shaver.
AFTER EACH USE: TRIMMER
- Turn shaver OFF.
- Push down spring-release trimmer switch.
- Clean trimmer with the short-bristled side of the brush every time you use it. Brush up and down along the trimmer teeth.
- Lubricate the trimmer teeth with onedrop of mineral oil every 6 months.
- Close trimmer by pressing trimmer down.
REPLACING THE SHAVING HEADS
- Turn shaver OFF, remove the charging plug from the outlet and power cord from the shaver.
- Press the Shaver Head Release Button to open the Shaver Head Assembly.
- Pull the shaving unit OFF the shaver.
- Turn the lock counterclockwise to unlock.
- Remove the shaving heads and place the new shaving heads in the shaving unit.
- Replace the frame and turn the lock clockwise until it locks into place.
- Insert the notch of the shaving unit into the slot in the top of the shaver.
- Press and hold the on/off button for at least 5 seconds to reset. The orange shaver head replacement indicator symbol will go out.
- NOTE: If the shaving unit does not close smoothly, make sure you inserted the shaving heads properly and that the retaining frame is locked.
AVAILABLE ACCESSORIES
NOTE: THE ACCESSORIES SUPPLIED MAY VARY FOR DIFFERENT PRODUCTS. THE PACKAGE SHOWS ACCESSORIES THAT HAVE BEEN SUPPLIED WITH YOUR PRODUCT.
AT810 SHAVER, CHARGER, OPERATION GUIDE, 1-YEAR EXTENDED SERVICE.


Documents / ResourcesDownload manual
Here you can download full pdf version of manual, it may contain additional safety instructions, warranty information, FCC rules, etc.
Download Philips NORELCO AT810 - Electric Shaver Operation and Service Manual
Advertisement


Need help?
Do you have a question about the NORELCO AT810 and is the answer not in the manual?
Questions and answers