Table of Contents
Advertisement
Advertisement
Table of Contents

Related Manuals for Bissell CROSSWAVE 2203 Series


Summary of Contents for Bissell CROSSWAVE 2203 Series
- Page 1 CROSSWAVE ™ _______________ USER GUIDE 1713, 2203 SERIES...
-
Page 2: Important Safety Instructions
ONLY ON SURFACES MOISTENED BY THE CLEANING » Use only the type and amount of liquids specified PROCESS. USE ONLY BISSELL CLEANING PRODUCTS under the Operations section of this guide. INTENDED FOR USE WITH THIS MACHINE. -
Page 3: What's In The Box
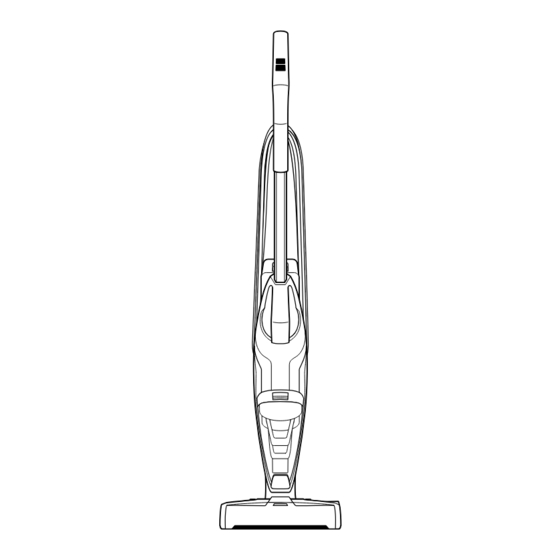
Since 1876 Thanks for buying a BISSELL CrossWave™ We love to clean and we’re excited to share one of our innovative products with you. We want to make sure your multi-surface cleaner works as well in years to come as it does today, so this guide has tips on using (pages 6-8), maintaining (pages 9-13), and if there is a problem, troubleshooting (page 14). - Page 4 Easy Remove Brush Window SmartClean Fingertip Controls Easy Clean Storage Tray Integrated Carrying Handle 10 Solution Spray Trigger Float Stack In-Use Cord Clip Dirty Water Tank Clean Water Tank Solution Spray Indicator LED Quick Release Cord Wrap Foot Lower Cord Wrap www.BISSELL.com...
- Page 5 Assembly WARNING Do not plug in your CrossWave™ until you are familiar with all instructions and operating procedures. Your BISSELL CrossWave™ machine comes • Handle in three easy to assemble components and • Body does not require any tools to assemble. The •...
- Page 6 Screw the cap back onto the clean water tank. A few notes about filling the clean water tank: • Fill with warm (140°F/60°C MAX) tap water and add the appropriate BISSELL solution. DO NOT USE BOILING WATER. DO NOT HEAT WATER OR TANK IN MICROWAVE. www.BISSELL.com...
-
Page 7: Cleaning Your Hard Floors
Using short passes while NOTE: When solution the trigger for best results. holding the trigger is flowing, you will see allows the multi-surface bubbles forming at the brush to go to work. edges of the brush roll window. www.BISSELL.com... - Page 8 ATTENTION Do not over wet carpet. Be careful not to run over loose objects or edges of area rugs. Stalling the brush may result in premature belt failure. www.BISSELL.com...
-
Page 9: Maintenance
Remove the filter from the dirty water inside of the dirty water tank. tank top by pulling it up. Hand wash the vacuum filter and screen Rinse the float located at the bottom with warm water and mild detergent. of the dirty water tank’s top. www.BISSELL.com... - Page 10 Angle the dirt tank back into body of Once parts are dry, reassemble and machine inserting bottom first. Then replace the top of dirty water tank. tilt the top of the dirt tank toward the machine and push into place until you hear a click. www.BISSELL.com...
- Page 11 Then press the window Then lock the pull tab into place by back into place until you hear a click. pressing downward. www.BISSELL.com...
- Page 12 Allow the machine to run for 10-15 Grasp brush roll window at the front of seconds until all water is picked up. the window and pull upward to remove. Repeat as needed. Pull brush roll out by grabbing the brush roll tab and pulling upward. www.BISSELL.com...
- Page 13 Replace the brush roll window by first lining up the brush window tabs with the edges of the foot. Then press the window back into place until you hear a click. www.BISSELL.com...
-
Page 14: Troubleshooting
Machine is Cap of clean water tank is not Remove the clean water tank and leaking closed properly re-apply the cap www.BISSELL.com... - Page 15 Notes www.BISSELL.com...
- Page 16 Consumer Guarantee BISSELL DOES NOT EXCLUDE OR LIMIT IN ANY WAY ITS LIABILITY FOR (A) DEATH OR PERSONAL INJURY CAUSED BY OUR NEGLIGENCE OR THE NEGLIGENCE OF OUR EMPLOYEES, AGENTS OR SUBCONTRACTORS; (B) FRAUD OR FRAUDULENT This Guarantee only applies outside of the USA and Canada. It is provided MISREPRESENTATION;...
Need help?
Do you have a question about the CROSSWAVE 2203 Series and is the answer not in the manual?
Questions and answers