
Related Manuals for Huazheng HZJD-2


Summary of Contents for Huazheng HZJD-2
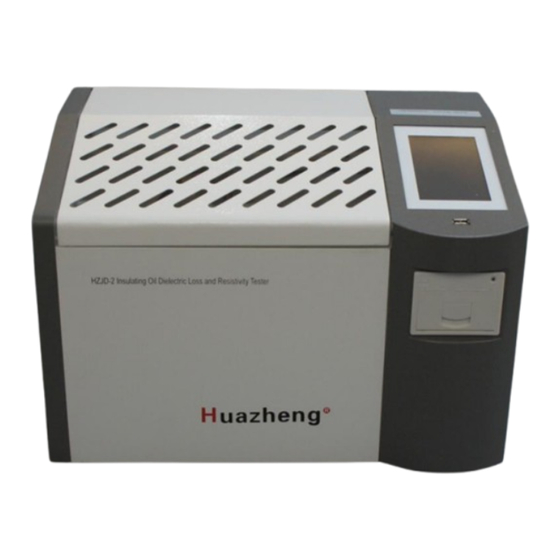
- Page 1 HZJD-2 Insulating Oil Dielectric Loss And Resistivity Tester Huazheng Electric Manufacturing (Baoding) Co., Ltd...
- Page 2 Dear user: Thank you for choosing HZJD-2 Insulating Oil Dielectric Loss And Resistivity Tester. We hope that this instrument will make your work more relaxed and enjoyable, and make you feel office automation in your test and analysis work. Before using the instrument, please read this manual, and operate and maintain the instrument according to the manual to extend its service life.
-
Page 3: Table Of Contents
I.OVERVIEW .........................1 II.The main functions and features ..................1 III.MAJOR TECHNICAL INDICATORS ................2 IV.USE CONDITIONS ....................... 2 V.PANEL DESCRIPTION AND OPERATION MATTERS NEEDING ATTENTION .2 VI.OPERATION APPROACH ....................5 Ⅶ.OIL CUP INTRODUTION ....................10... -
Page 4: I.overview
I.OVERVIEW Insulation Oil Dissipation Fact or and Resist ivit y Measuring Syst em DT L , is designed and manufactured based on GB/T5654-2007 of《Liquid insulating material of relative permittivity, dielectric loss factor and DC resistivity measurements》. It is used for measuring dielectric dissipation factor and DC resistivity of insulating oil and other insulating liquids. -
Page 5: Iii.major Technical Indicators
automatically store and print test results. Built-in real-time clock, the test date and time may be saved, displayed and printed with the test results. Calibration functions of cleaned dry cell. The measurement of dry cell’s capacitance and dielectric loss factor can determine its cleaning and assembly conditions. The calibration data is automatically saved and so that it facilitates the calculation of relative permittivity and DC resistivity. - Page 6 Full touch display USB Interface Printer Fig.1 Operating Panel Test probe Fig.2 Top panel...
- Page 7 Fig.3 Back panel 2. Instrument operating instructions and matters needing attention ⑴The instrument must be reliable grounding, power entrance lead into AC220V power. ⑵Open tank cover, and take out the test cell, we should shut the tank cover, when heating and testing the dielectric loss.
-
Page 8: Vi.operation Approach
Align the locating slot when the internal electrode into the external electrode. Do not operate in humid environments. Do not operate in explosive environments. Keep the surface clean and dry. Special notice: This instrument has high voltage output, improper use can compromise personal safety, prior to the use of this instrument, be sure to read the instruction manual carefully! VI.OPERATION APPROACH 1、Place the cleaned test cell in the groove, and connect the test cable as shown in Fig.2. - Page 9 Fig.5 ① Parameter range:Temperature:0~125℃ AC Voltage:500~2000V DC Voltage:0~500V ② Method for setting parameters Tap the display position and enter the parameters you want to set. Tap the [Return] key, the instrument saves the set parameters and returns to the main menu.The power-on instrument retains the last set parameters and does not need to be reset.
- Page 10 Fig.6 ①Since the temperature has no significant effect on the capacitance and dielectric loss factor of the air-filled electrode cup, a lower test temperature can be set. It is recommended to set the temperature to 10℃ above room temperature.Tap the [Return] button to return to the main menu. ②Calibration result----After the empty cup calibration measurement is completed, the calibration result is displayed in the screen of Fig.
- Page 11 Before entering the automatic measurement, make sure that the oil cup is filled with oil and that the test cable is connected.Tap [Test] on the main interface to enter the automatic measurement screen, as shown in Fig.8. Fig.8 As shown in the above picture, there are 2 options.Tap the [dielectric loss factor dielectric constant] button to turn the dielectric loss factor test on/off.Tap the [DC Resistivity] button to turn the DC resistivity test on/off.After selecting it, tap the [Test] button, the instrument will automatically complete the selected test item, and the experiment can be suspended or canceled during the test.
- Page 12 ② DC resistivity screen is shown in Figure 9-2: Fig.9-2 ③Test Results----After the test is over, the test results are displayed in the screen shown in Figure 10.If the automatic print item is selected earlier, the printer automatically prints the test result.If there is no automatic print item selected, tap the [Print] button and the printer will print the displayed test result.Tap the [Return] button to return to the main menu.
-
Page 13: Ⅶ.oil Cup Introdution
Fig.11 The instrument screen displays the total number of pages and the current number of pages, up to 100 pages.Tap the [PgUp] and [PgDn] buttons to page up and down.Tap the [Delete] button to delete the data of the currently displayed page.Tap the [Print] button to print the current page data. Tap the clear button in the upper left corner to clear all test records, and tap the [Return] button to return to the main menu. - Page 14 Fig.12 Oil cup exploded view...
- Page 15 Fig.13 Oil cup assembly drawing 2、oil cup technical standards The test cell used of three-electrode structure in line with the national standard of GB/T5654-2007, with electrode gap spacing 2mm, can eliminate the effects of stray capacitance and reducing leakage on the dielectric loss test results. (1)1Distance between high voltage and low voltage 2mm (2) Dry cell capacitance 60±5PF...
- Page 16 bubbles in the oil as much as possible. The inner electrode is then loaded into the oil cup and needs to be stationary for more than 15 minutes so that the bubbles can be completely discharged before testing. Try. 6、Cleaning the test cell This step is important for the cleaning of the oil cup before measurement.
- Page 17 test cell must be cleaned before you make the next test.
Need help?
Do you have a question about the HZJD-2 and is the answer not in the manual?
Questions and answers