Advertisement
Table of Contents
- 1 Table of Contents
- 2 AMS Trex Device Communicator User Guide
- 3 AMS Trex Device Communicator Overview
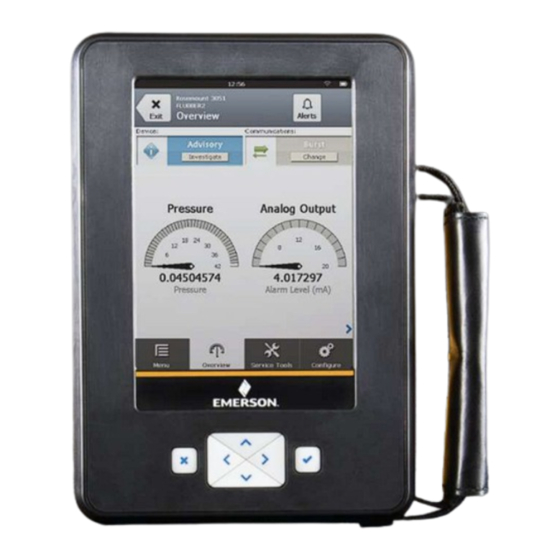
- 4 Field Communicator Application
- 5 Loop Diagnostics Application
- 6 Fieldbus Diagnostics Application
- 7 Appendix A Troubleshooting
- 8 Appendix B Technical Specifications
- 9 Appendix C Product Certifications
- 10 Appendix D Wireless/Spectrum Approvals
- Download this manual
Advertisement
Table of Contents


Need help?
Do you have a question about the AMS Trex Device Communicator and is the answer not in the manual?
Questions and answers