Advertisement
Quick Links
quality products designed to enhance your home. Visit us online to see our full line of products available for your home improvement needs.
USE AND CARE GUIDE
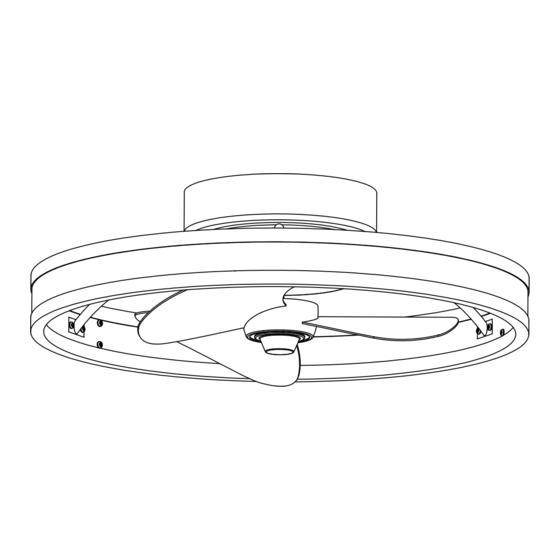
20-INCH INDOOR CEILING FAN
Questions, problems, missing parts? Before returning to the store,
call Hampton Bay Customer Service
8 a.m. - 7 p.m., EST, Monday-Friday,
9 a.m. - 6 p.m., EST, Saturday.
1-855-HD-HAMPTON
HAMPTONBAY.COM
Thank you for choosing Hampton Bay!
THANK YOU
Item #1008 624 851
Model #45071-050
Item #1008 624 853
Model #45071-010
Item #1008 624 858
Model #45071-040
Advertisement

Subscribe to Our Youtube Channel
Related Manuals for HAMPTON BAY 45071-050


Summary of Contents for HAMPTON BAY 45071-050
- Page 1 9 a.m. - 6 p.m., EST, Saturday. 1-855-HD-HAMPTON HAMPTONBAY.COM THANK YOU quality products designed to enhance your home. Visit us online to see our full line of products available for your home improvement needs. Thank you for choosing Hampton Bay!
-
Page 2: Table Of Contents
Table of Contents Operation ................9 Table of Contents ..............2 Care and Cleaning ............. 11 Safety Information ............... 2 Troubleshooting ..............11 Warranty ................3 FCC Statement ..............12 Pre-Installation ..............3 Installation ................6 Safety Information READ AND SAVE THESE INSTRUCTIONS. □... -
Page 3: Warranty
Warranty We warrant the fan motor to be free from defects in workmanship and material present at time of shipment from the factory for a period of a lifetime after the date of purchase by the original purchaser. We warrant that the light kit to be free from defects in workmanship and material at the time of shipment from the factory for a period of three years after the date of purchase by the original purchaser. - Page 4 Pre-Installation (continued) HARDWARE INCLUDED NOTE: Hardware not shown to actual size. Description Part Quantity Mounting screw Wire nut Remote control holder screw (Wood screws ST3.0 ) Remote control holder screw (Machine screws #6/32 ) Remote control holder screw (Wood screws ST3.0 ) Plastic anchor Machine screw Wood screw...
- Page 5 Pre-Installation (continued) PACKAGE CONTENTS ON / OFF ON / OFF 6 SPEED BRIGHTNESS BREEZE COLOR TEMP. TIMER Part Quantity Description Mounting plate Fan motor assembly Remote control Receiver Remote control holder Battery AAA 1.5 V Lead wire with connector HAMPTONBAY.COM Please contact 1-855-HD-HAMPTON for further assistance.
-
Page 6: Installation
Installation MOUNTING OPTIONS WARNING: To reduce the risk of fire, electric shock, or personal injury, mount to outlet box marked “acceptable Option 1 for fan support of 15.9 Kg (35 lbs) or less” using the screws provided with the outlet box. An outlet box commonly used for the support of lighting fixtures may not be acceptable for fan support and may need to be replaced. - Page 7 Installation - Hanging the Fan Attaching the mounting plate to Hanging the fan-motor assembly the electrical box □ □ Secure the mounting plate (A) to the ceiling outlet box by using Carefully lift the fan-motor assembly (B) and engage the slot the metal washers (II), spring washers (JJ) and the screws in the motor bracket on the top of the fan motor assembly (B) provided with your outlet box.
- Page 8 Installation - Hanging the Fan (continued) Completing the fan assembly □ Install the two mounting screws (AA) on two diagonal sides of the top of the mounting plate (A). □ Push the fan motor assembly (B) up and turn it counterclockwise to lock in the mounting plate (A).
-
Page 9: Operation
Operation Operating the Remote Control NOTE: On start up, your ceiling fan will oscillate back and forth. This is NORMAL OPERATION for a DC ceiling fan as it goes through its calibration cycle. The fan is NOT DEFECTIVE. Part Symbol Part Symbol LED light... - Page 10 Operation (continued) □ Install two 1.5V (F) batteries into the remote control (C). To prevent damage to the remote control, remove the battery if not used for long periods of time. WARNING: Do not short-circuit, disassemble, heat up, connect improperly, or dispose of used batteries in fire. Do not recharge or mix batteries with used or other battery types.
-
Page 11: Care And Cleaning
Care and Cleaning WARNING: Make sure the power is off before cleaning your fan. □ Because of the fan’s natural movement, some connections may become loose. Check the support connections, brackets, and blade attachments twice a year. Make sure they are secure. It is not necessary to remove the fan from the ceiling. □... -
Page 12: Fcc Statement
(2) this device must accept any interference received, including interference that may cause undesired operation. The following responsible party designated in FCC §2.909 is responsible for this declaration: Model Number: 45071-050, 45071-010, 45071-040, Company Name: Eurofase Inc. Company Address: 60 Industrial Parkway, Unit 802, Cheektowaga, NY 14227-2713...
Need help?
Do you have a question about the 45071-050 and is the answer not in the manual?
Questions and answers