Table of Contents
Advertisement
Quick Links
Advertisement
Table of Contents

Subscribe to Our Youtube Channel
Related Manuals for ILVE 940SKMP


Summary of Contents for ILVE 940SKMP
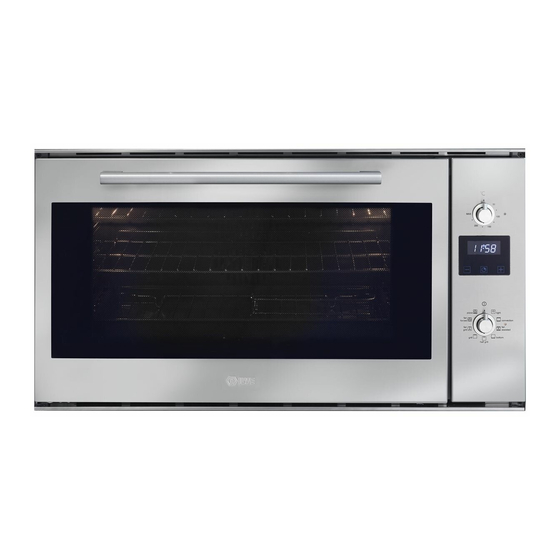
- Page 1 INSTRUCTION MANUAL FOR 90 SERIES BUILT-IN OVEN 940SKMP...
- Page 2 DEAR CUSTOMER, We thank you and con- gratulate you on your choice. This new carefully designed product, manufactured with the highest quality mate- rials, has been carefully tested to satisfy all your cooking demands. We would therefore request you to read and follow these easy instructions which will allow you to obtain excellent results right from the start.
-
Page 3: Table Of Contents
CONTENTS First use Self-cleaning panel Control panel Instructions for use: - conventional cooking fan cooking grill cooking Thermostat Electronic timer Light replacement Removing the oven door INSTALLATION INSTRUCTIONS Flush fitting Electrical connections Technical features Dimensions THIS APPLIANCE IS CONCEIVED FOR DOMESTIC USE ONLY. THE MANUFACTURER SHALL NOT IN ANY WAY BE HELD RESPONSIBLE FOR WHATEVER INJURIES OR DAMAGES ARE CAUSED BY INCORRECT INSTALLATION OR BY UNSUITABLE, WRONG OR ABSURD USE. -
Page 4: First Use
THE FIRST TIME YOU USE THE OVEN Clean the oven thoroughly with soapy water and rinse well. To remove the lateral frames from smooth-walled ovens, proceed as shown in the figure. Operate the oven for about 30 minutes at maximum temperature to burn off all traces of grease which might otherwise create unpleasant smells when cooking. -
Page 5: Control Panel Instructions For Use
CONTROL PANEL FUNCTIONS FUNCTION SYMBOLS ON THE SELECTOR Oven light (stays on while oven is in use). Bottom heating element. Thermostat setting from 50°C to MAX. Top and bottom heating elements. Thermostat setting from 50°C to MAX. Top and bottom heating elements with fan. Thermo- stat setting from 50°C to MAX. -
Page 6: Conventional Cooking
INSTRUCTIONS FOR USE CONVENTIONAL COOKING Conventional cooking uses top and bottom heat to cook a single dish. Place the food in the oven only once cooking temperature has been reached, i.e. when the heating indicator goes out. If you want to increase top or bottom temperature to- wards the end of the cook- ing cycle, set the temperature control to the right position.It is advisable to open the oven door... -
Page 7: Grill Cooking
GRILL COOKING Use the grill to grill or brown foods. Some ovens may be equipped with an electric motor, spit and skewers for turning on the spit. Place the shelf with the food to be cooked in the 1st or 2nd position from the top. Pre-heat the oven for 5 minutes. -
Page 8: Electronic Timer
cooking timer to the left to the symbol. 6 KEY ELECTRONIC TIMER Setting the clock Press the duration and the end of cooking key simultaneously, then press the +/- keys to set the time. MANUAL OPERATION To start cooking without setting end of cooking time, press the manual key SETTING ONLY THE DURATION OF COOKING IN SEMI AUTOMATIC MODE ... -
Page 9: Light Replacement
PROGRAMMING ERRORS You cannot program in a cooking period which starts earlier than the time displayed on the clock. If you try to do so, the buzzer sounds and the AUTO symbol flasher. Simply change the duration or cooking time to correct the error. CANCELLING A COOKING PROGRAMME ... -
Page 10: Installation Instructions
INSTALLATION INSTRUCTIONS Flush fitting The oven can be installed under a work top or in a cooking column. Figure shows the installation dimensions. Make sure that surrounding materials are heat resistant. Align the oven centrally with respect to the side walls of the units surrounding it and fix it in place with the screws and Allen screws provided. - Page 12 Built-under type Vertical type...
- Page 13 The manufacturer declines all responsibility for possible inaccuracies contained in this pamphlet, due to printing or copying errors. We reserve the right to make on our own products those changes to be considered necessary or useful, without jeopardising the essential characteristics.
- Page 14 (including deterioration of parts and 48-50 Moore Street, Leichhardt N.S.W 2040 accessories and glass breakage); Post: (b) use for purpose for which the ILVE product Locked Bag 3000, Annandale, N.S.W 2038 was not sold or designed; P: 1300 856 411...
- Page 15 Address: State: Postcode: Email: Home Phone: Mobile: Purchase Date: (Please attach proof of purchase to validate warranty) SERIAL NUMBER MODEL NUMBER (if you cannot locate the serial number please call ILVE on 1300 85 64 11) ILVE Operating Manual 01072016...
- Page 16 Australia National Telephone Number 1300 MYILVE (694 583) New Zealand Telephone Number 0508 458 369 ilve.com.au ILVE showrooms are open daily from 9am-5pm and Saturdays 10am-4pm NSW & ACT (Head Office) VIC & SA WA & NT TAS (Crisp Ikin)
Need help?
Do you have a question about the 940SKMP and is the answer not in the manual?
Questions and answers