Advertisement
Quick Links
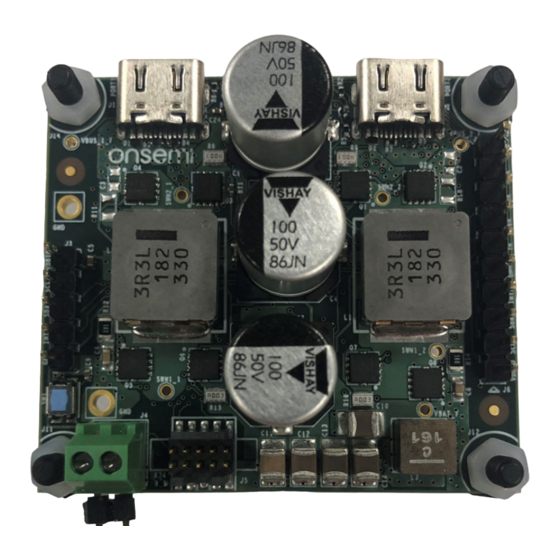
FUSB15201DV Dual Port
USB TYPE-C[/PD Controller
Flash Programming Guide
UM70093/D
INTRODUCTION
The FUSB15201DV Evaluation Board (EVB), together
with the firmware binary provided in the release package,
permits a customer to program the flash memory and
non−volatile memory (NVM) of the FUSB15201DV.
REQUIRED HARDWARE AND SETUP INSTRUCTIONS
The following hardware is required:
A.FUSB15201DV Evaluation Board (EVB)
B.SEGGER J−Link Pro
JTAG/SWD programming and debug probe
C.9−Pin Cortex−M Adapter
D.External Power Supply
To set up the hardware, refer to the itemized hardware list above and perform these steps:
1. Make sure the EVB is configured for SWD. Install R48 (0 W) resistor on the board.
2. Use (C) the 9−pin adapter to connect (B) the J−Link Pro to the SWD connector (J5) on the socket EVB, as shown in
Figure 1.
3. Setup (D) the power supply to 12 V (~200 mA) and connect the positive and negative jumpers to the board.
Semiconductor Components Industries, LLC, 2023
July, 2023 − Rev. 0
to connect (A) the EVB to (B) J−Link Pro
Figure 1.
Figure 2.
1
USER MANUAL
www.onsemi.com
FUSB15201DUAL60WGEVB
Publication Order Number:
UM70093/D
Advertisement

Related Manuals for onsemi FUSB15201DV


Summary of Contents for onsemi FUSB15201DV
- Page 1 USB TYPE-C[/PD Controller Flash Programming Guide UM70093/D INTRODUCTION The FUSB15201DV Evaluation Board (EVB), together with the firmware binary provided in the release package, permits a customer to program the flash memory and non−volatile memory (NVM) of the FUSB15201DV. REQUIRED HARDWARE AND SETUP INSTRUCTIONS...
-
Page 2: Required Software
Download and install the J−Link Software and ADDING FUSB15201 SUPPORT TO J−LINK Documentation Pack To allow FUSB15201DV to support J−Link, add the Note: Please make sure SEGGER J−Flash is installed. FUSB15201 to the list of J−Link supported devices. J−Link B.FUSB15201 Flash Loader provides a device list in xml format. - Page 3 Complete the following steps to program the EVB: 1. Connect J−Link to the EVB: Open the SEGGER J−Flash and select Create new project, then select Start J−Flash. Figure 3. Click on the selection box (shown with a red outline below). Figure 4. www.onsemi.com...
- Page 4 UM70093/D Select FUSB15201DV. Figure 5. Select Target interface: SWD. Select Speed: 4000 kHz. Click OK for the new project to be created. Figure 6. From the menu, choose Target. www.onsemi.com...
- Page 5 If the connection is established, the log shows a message indicating a successful connection. Figure 7. 2. Erase the chip: From the menu, choose Target. From the resulting window, choose Manual Programming. Select Erase Chip. J−Flash erases the chip and reports a successful Erase operation. Figure 8. www.onsemi.com...
- Page 6 Drag an appropriate .bin or .hex file into the J−Flash window. For .bin files, J−Flash asks for a start address. Figure 9. After you select a start address for a .bin or load a .hex file, J−Flash shows the file in HEX format. Figure 10. www.onsemi.com...
- Page 7 Once you have confirmed that the file is correct, the file can be flashed, either by pressing F6 or by using the Target context menu to Program & Verify the chip. Figure 11. USB, USB−C, USB Type−C and the USB logos are registered trademarks of USB Implementers Forum, Inc. www.onsemi.com...
- Page 8 All operating parameters, including “Typicals” must be validated for each customer application by customer’s technical experts. onsemi does not convey any license under any of its intellectual property rights nor the rights of others. onsemi products are not designed, intended, or authorized for use as a critical component in life support systems or any FDA Class 3 medical devices or medical devices with a same or similar classification in a foreign jurisdiction or any devices intended for implantation in the human body.