
Related Manuals for real living 5838-7037-GM


Summary of Contents for real living 5838-7037-GM
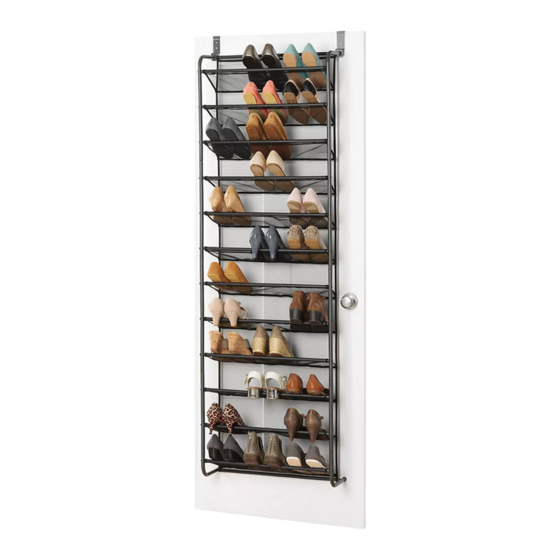
- Page 1 GUNMETAL FINISH MESH SHOE RACK OVER THE DOOR ASSEMBLY INSTRUCTION ITEM#: 5838-7037-GM SKU#: 810605446 Made in China ©Whitmor, Inc Need help? We are here for you! 1(888)944-8667 • Toll Free...
- Page 2 Read all instructions before starting. Clear a flat covered space to begin. Always best to do it with a friend. Note that hardware required is provided for every step. Pay attention to orientation. Assemble on soft, smooth surface to protect finish from being scratched. Do not overload the unit.
-
Page 3: Parts List
PARTS LIST Horizontal Poles Middle Vertical Frames Top Vertical Frames with Push Tab Over the Door Brackets Bottom Vertical Frames Hex Screws Part Reference F11516 F11517 F11518 F11519 F11520 F11521 F11522 F11523 Hex Wrench Mesh Shelves F11524 F11525 Wall Screws Wall Anchors NOTE: Part (J) is for optional mounting of frame. - Page 4 STEP 1 Place one of each frame sections (C,D) and two of middle frame section (B) on a flat hard surface and clip together with the push tabs. Attach thirteen horizontal poles (A) to frame sections using thirteen hex screws (E). Tighten with hex wrench (I). Install over the door bracket (F) by sliding onto the top vertical frame pole (C) past the first hole.
- Page 5 STEP 2 Attach remaining horizontal pole (A) and hex screw (E) behind the bracket (F). Tighten with hex wrench (I). Unfold the mesh shelves (H) and install onto horizontal poles. Make sure the tag on the mesh shelves (H) is at the top of the unit.
- Page 6 STEP 3 Clip together remaining frame sections (B,C,D) with the push tabs. Install over the door bracket (F) by sliding onto the top vertical frame pole (C) past the first hole. Align assembled side frame section with horizontal poles (A) and attach using hex screws (E). Tighten with hex wrench (I). BOTTOM...
- Page 7 Lift the assembled shoe rack and place over an interior door.
- Page 8 Break off the top of over the door bracket (F) perforation. Use a drill (not included) to pre-drill holes if you are installing this shoe rack onto drywall or soft wall. Insert wall anchors (K). Use a Phillips screwdriver (not included) to tighten screws (J) into wall.