Advertisement
Caring For Your Product
- Please keep the product in a dry, clean, dust-free environment.
- Keep corrosive chemicals, liquids and heat source away from the product to prevent mechanics damage.
- Use only a soft and dry cloth for cleaning the product.
- Malfunction may be caused by dropping, impact of external force.
- Do not attempt to disassemble the product. Doing so voids warranty.
- Please have the product checked or repaired by authorized technicians if any malfunctions happened.
- Failure to follow all the instructions may result in mechanics damage.
- Warranty does not apply to human errors.
Package List

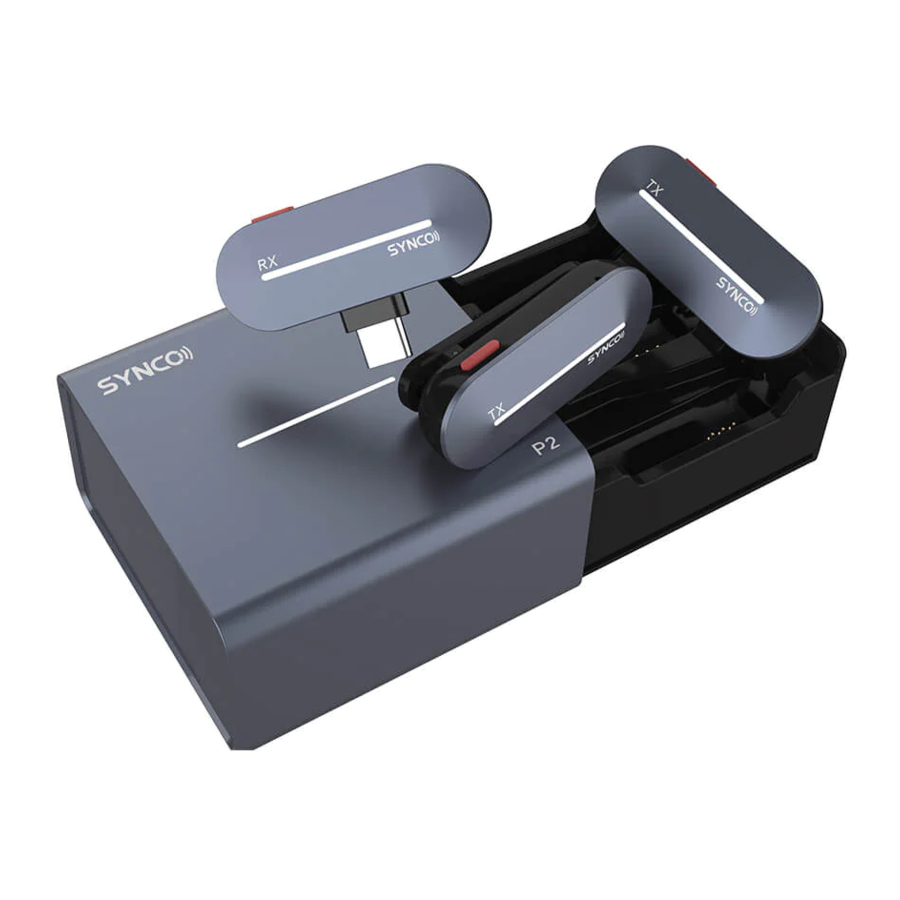
Product Introduction
TX Transmitter

- Power Key
- Working Indicator
- Built-in Microphone
- Contacts
- Back Clip
RX Receiver

- Volume Button
- Type-C Port
- Working Indicator
- Connector
- Contacts
Wireless Charging Case

- Pairing Key / Power Indicator Key
- Type-C port
- Working Indicator
- Contacts
Indicator
*Note: The indicator identification shown as follows:

Transmitter
Working Indicators (White Light) On:  Flash: Flash:  | |
Fast Flash | Pairing |
| Slow Flash | Unpaired |
Illuminate sequentially | Paired, normal working |
Single indicator keeps on | Noise cancellation on |
| Working Indicators (Red Light) On: Flash: | |
| Single indicator keeps on (In the case) | Charging, and turns off when fully charged |
Receiver
| Working Indicators (White Light) On: Flash: | |
| Fast Flash | Pairing |
| Slow Flash | Unpaired |
1~5 indicators on | Connected and working normally. The number of lights on indicates the current volume |
Single indicator flashed slowly | Mute on |
Wireless Charging Case
| Working Indicators (White Light) On: Flash: | |
1~5 indicators on | The number of lights on indicates the current volume |
Operations
Basic operations
Tap the drawer to the right of the charging box and take out the transmitter and receiver.

Turn it on/off
Transmitter:
The transmitter(s) automatically turn(s) on after be taken out, and automatically shut down when be put back into the charging box;
(Force switch on and off: long press the power button of the transmitter for 3 seconds)
*Note: disconnected for 5 minutes. The transmitter will shut down automatically if it unpaired or
Receiver:
Insert the mobile phone device to switch on automatically, and the indicator flashes.
*Note: receiver indicator is not on after be inserted to the mobile phone. You can check whether the mobile phone OTG is on when he
Charge
Transmitter:
Connect the contact of transmitter to the charging box when put the transmitter back into the charging box.

Charging case:
Connected the charging box to the power supply through the charging cable, and the charging box water lamp circulates during charging.
Short press the power indicator button, the number of indicator lights shows the power condition.
Charging Mobile phone:
Insert your phone's charging cable into the Type-C port of the receiver when in use, and the charging current is adjusted according to the phone's battery max up to 800mA。
*Note: The receiver does not need to be charged and can be used directly when plugged in the phone

Pairing
Pairing in the charging box:
- Place the transmitter and receiver in the charging box, and connect the contact with the contact of the charging box;
- Open the charging box, press and hold the matching button on the box for 3 seconds;
- The indicator lights of the transmitter and receiver cycle, and the pairing is successful.
Pairing in use:
- The receiver has been inserted into the mobile phone and is switched on;
- Turn off the transmitter, press and hold for 8 seconds when it is turned off, and wait for five indicator lights to flash quickly to enter the frequency alignment state.

- The working indicator light of transmitter and receiver is broken, and the matching is successful.

Adjust the volume
Click the receiver volume button to adjust the volume and the number of indicators shows the current volume level.
Double click the volume button to enable or disable mute and single indicator keeps on when mute is on.
Noise reduction
Click the power button of the transmitter to turn on the noise reduction, and single indicator keeps on.
* Double click the power button of the transmitter to turn off/on the light effect.
Specifications
| TX Transmitter | |
| RF Frequency Band | 2400-2483.5MHz |
| Frequency Response | 20Hz-20KHz |
| Working Distance | 492ft/150m(LOS area); 164ft/50m(NLOS area) |
| Sampling Rate | 48KHz |
| Bit Depth | 16Bit |
| Sensitivity | -36dB |
| SNR | > 75dB |
| Battery Type | Built-in Lithium Battery, 120mAh |
| Battery Charging Time | 1.5H |
| Battery Life | 5H |
| Dimensions | 49x19x19 (mm) |
| Material | ABS |
| RX Receiver | |
| Wireless Transmission | Digital 2.4GHz |
| RF Frequency Band | 2400-2483.5MHz |
| Working Distance | 492ft/150m(LOS area); 164ft/50m(NLOS area) |
| Sampling Rate | 48KHz |
| Bit Depth | 16Bit |
| Connector | Type-C or Lightning Output |
| Power Input | Type-C |
| Dimensions | 49x30x9 (mm) |
| Material | ABS |
| Weight | 5g |
| Wireless Charging Case | |
| Battery Type | Built-in Lithium Battery, 700mAh |
| Battery Charging Time | 2H |
| Charging Port | Type-C Port |
| Power Requirements | 5V 2A |
| Dimensions | 70x68x38(mm) |
| Weight | 87.5g |

Documents / ResourcesDownload manual
Here you can download full pdf version of manual, it may contain additional safety instructions, warranty information, FCC rules, etc.
Advertisement


Need help?
Do you have a question about the P2 Series and is the answer not in the manual?
Questions and answers