Advertisement
Installation instructions
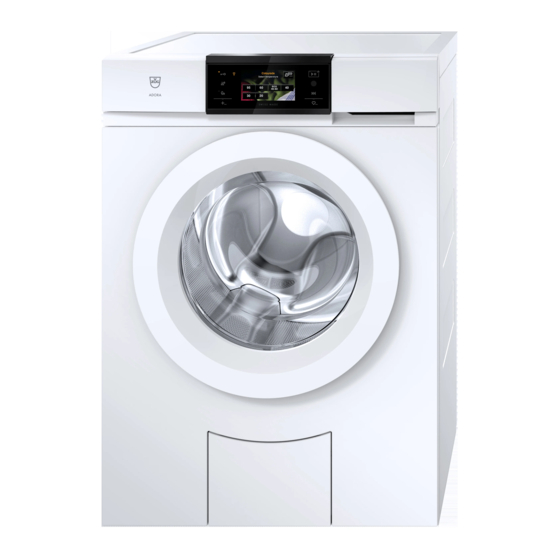
«Front loader» washing machine
One-family household
Validity
These installation instructions apply to the models: 11021, 11023, 11025, 11041, 11042, 11043
Warnings
The appliance should be installed by qualified personnel only.
Each step must be carried out and checked in full in the order specified.
If the weight of the appliance is greater than your lifting capacity, the appliance must be transported by several
people or using a transport aid. The weight of the appliance is given on the appliance packaging and in the operating
instructions.
Transport the appliance in an upright position only! Transporting it in any other position will cause damage. When
carried carefully without being shaken, the appliance may be tilted a maximum of 90° to the right (viewed from the
front).
Applicable only to models 11025 and 11043:
In the event that the appliance is tilted during transportation or installation it must not be put into operation for 2
hours.
Identification plate / Accessories / Dimensions
Identification plate
▸
Open the drain tray below the appliance door (see page 2).
– The identification plate 1 is located below the emergency door
release tool.
Installation accessories supplied
The necessary installation accessories are located in the washing drum and in the appliance packaging.
Designation
Installation set, incl.:
▪ Rubber stopper
▪ Screw material (3 each of
screws, washers, rawlplugs)
▪ Drain hose
▪ Wire hose clamp
▪ Hose support
Installation plate (incl. double-
sided adhesive tape)
Article no.
Number
W41152
1
2
1
1
1
1
W40653
1
1064372-11
1
See installation step
Removing the transport lock (see page 3)
Fastening down the installation plate (see page 4)
Plumbing in (see page 6)
Plumbing in (see page 6)
Plumbing in (see page 6)
Fastening down the installation plate (see page 4)
1
1064372-11
19/10/2022
Advertisement
Table of Contents

Related Manuals for V-ZUG 11021


Summary of Contents for V-ZUG 11021
- Page 1 One-family household 1064372-11 Validity These installation instructions apply to the models: 11021, 11023, 11025, 11041, 11042, 11043 Warnings The appliance should be installed by qualified personnel only. Each step must be carried out and checked in full in the order specified.
- Page 2 1064372-11 Installation instructions 19/10/2022 «Front loader» washing machine One-family household 1064372-11 Dimensions The stated dimensions do not include distances from walls. To prevent disturbing noise and vibration the appliances must not come into contact with the surrounding walls of their installation location. (42) Cold water connection ▪...
-
Page 3: Removing The Transport Locks
5 minutes and this can cause damage to the washing machine door and/or the niche door. V-ZUG accepts no responsibility for any bacteria/germs and odours that form or any damage that may arise as a result. Niche variant a) - Page 4 1064372-11 Installation instructions 19/10/2022 «Front loader» washing machine One-family household 1064372-11 Fastening down the installation plate Use the installation plate supplied to install the appliance. It fixes the appliance in position, and is for use with both free-standing appliances and appliances positioned in a niche. The use of an unsuitable installation plate or a soft, sound-insulating underlay can affect the proper functioning of the appli- ance.
-
Page 5: Preparing The Electrical Connections
Valid for all washing machines and tumble dryers in the Adora, AdoraWash and AdoraDry model range. The mains cable may only be replaced by the manufacturer, its Customer Services or a similarly qualified person. Valid for 11021, 11023, 11025, 11041, 11042, 11043 washing machine models installed in Switzerland 11023, 11025, 11042, 11043... -
Page 6: Positioning And Levelling The Appliance
1064372-11 Installation instructions 19/10/2022 «Front loader» washing machine One-family household 1064372-11 Setting up the water inlet Local water authority regulations must be observed. Any old water supply and drain hoses must always be replaced with new hoses. Only cold water G¾” permitted, possible pressure range: 0.1–1.0 MPa (1–10 bar). The appliance must not be connected to a mixer tap or a continuous flow boiler! Preferred alignment for Aquastop valve block 1 (sound-optimized install- ation):... - Page 7 ▸ Check stability and, if necessary, realign adjuster feet. ▸ If necessary, close appliance door and repeat stability check: ▪ Models 11021, 11023, 11025: Depress the buttons simultaneously for 5 seconds. ▪ Models 11041, 11042, 11043: Hold the button depressed for 5 seconds.
Need help?
Do you have a question about the 11021 and is the answer not in the manual?
Questions and answers