
Related Manuals for GreenWorks STF311


Summary of Contents for GreenWorks STF311
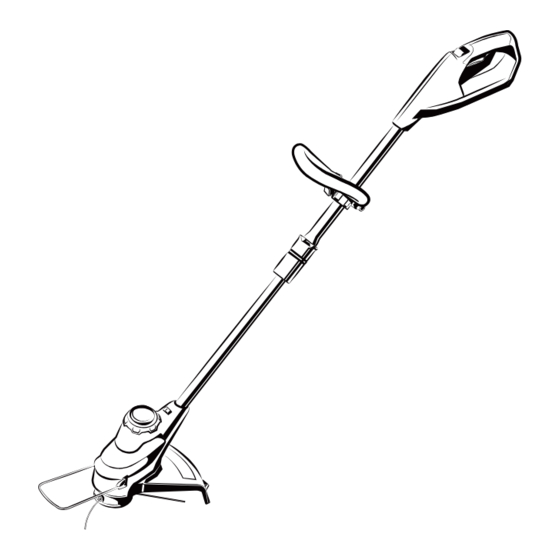
- Page 1 STRING TRIMMER OPERATOR MANUAL COUPE-HERBE MANUEL DE L’UTILISATEUR CORTABORDES MANUAL DEL OPERADOR 40V 12” String Trimmer STF311 www.greenworkstools.com ST40B02...
-
Page 3: Table Of Contents
English Start the machine..........8 Description......... 4 Stop the machine..........8 Purpose.............. 4 Adjust the length of the shaft......8 Overview............4 Change to the edging mode....... 8 Important safety instructions...4 Operation tips............ 9 Symbols on the machine....5 Cutting tips............9 Risk levels...........5 Line cut-off blade.......... -
Page 4: Description
English DESCRIPTION WARNING Read and understand all instructions before using this PURPOSE product. Failure to follow all instructions listed below may result in electric shock, fire, and/or serious personal injury. This machine is used to cut grass, light weeds, and other similar vegetation at or around ground level. -
Page 5: Symbols On The Machine
Some of the following symbols can be used on this machine. battery packs may create a risk of injury and fire. Use Please study them and learn their definition. Proper only Greenworks BAF701 battery or other BAF series. interpretation of these symbols will let you operate the tool •... -
Page 6: Service
English WARNING SYM- SIGNAL MEANING If the battery pack cracks or breaks, with or without leaks, do not recharge it and do not use. Discard it and replace DANGER Indicates an imminently haz- with a new battery pack. DO NOT TRY TO REPAIR IT! To ardous situation,which, if not prevent injury and risk of fire, explosion, or electric shock, avoided, will result in death... -
Page 7: Attach The Edge Guide
English WARNING • If the parts are damaged, do not use the machine. • If you do not have all the parts, do not operate the machine. • If the parts are damaged or missing, speak to the service center. 1. -
Page 8: Install The Battery Pack
English START THE MACHINE 1. Pull back on the lock-out button (2) and pull the trigger (1). STOP THE MACHINE 1. Release the trigger to stop the machine. INSTALL THE BATTERY PACK WARNING • If the battery pack or charger is damaged, replace the battery pack or the charger. -
Page 9: Operation Tips
English 1. Stop the machine and flip down the edge guide from • Keep the machine connected to the correctly worn stored position. harness. • Keep a firm hold with the two hands on the machine 2. Pull the edging coupler (1) and turn the trimmer head 180 while you operate the machine. -
Page 10: Line Cut-Off Blade
English ADJUST THE LENGTH OF THE CUTTING LINE While you operate the machine, the cutting line gets worn and shorter. You can adjust the length of the cutting line. 1. Hit the trimmer head against the ground while you operate the machine. 2. - Page 11 English 8. Put the spring in the spool housing (5). 2. Remove the spool cover (2) and the spool (4). 9. Put the spool in the spool housing. 3. Remove the coil protection (3) from the spool. 10. Put the ends of the cutting lines through the holes (7). 4.
-
Page 12: Replace The Cutting Line
English REPLACE THE CUTTING LINE • Keep the machine away from corrosive agents such as garden chemicals and de-icing salts. NOTE • Secure the machine during transportion to prevent damage or injury. Clean and examine the machine for any Remove the remaining cutting line on the spool. damage. -
Page 13: Technical Data
English Problem Possible Cause Solution Problem Possible Cause Solution The ma- The guard is not Remove the battery pack The line The machine is 1. Cut with the tip of the chine stops attached to the ma- and attach the guard to keeps used incorrectly. -
Page 14: Limited Warranty
(3) years against defects in materials, parts or workmanship. Greenworks, at its own discretion will repair or replace any and all parts found to be defective, through normal use, free of charge to the customer. -
Page 15: Exploded View
English EXPLODED VIEW No. Part No. Description No. Part No. Qty Description R0201068-00 AUXILIARY HANDLE R0201052-00 SPOOL & SPOOL COVER R0201069-00 KNOB R0201070-00 GUARD...
Need help?
Do you have a question about the STF311 and is the answer not in the manual?
Questions and answers