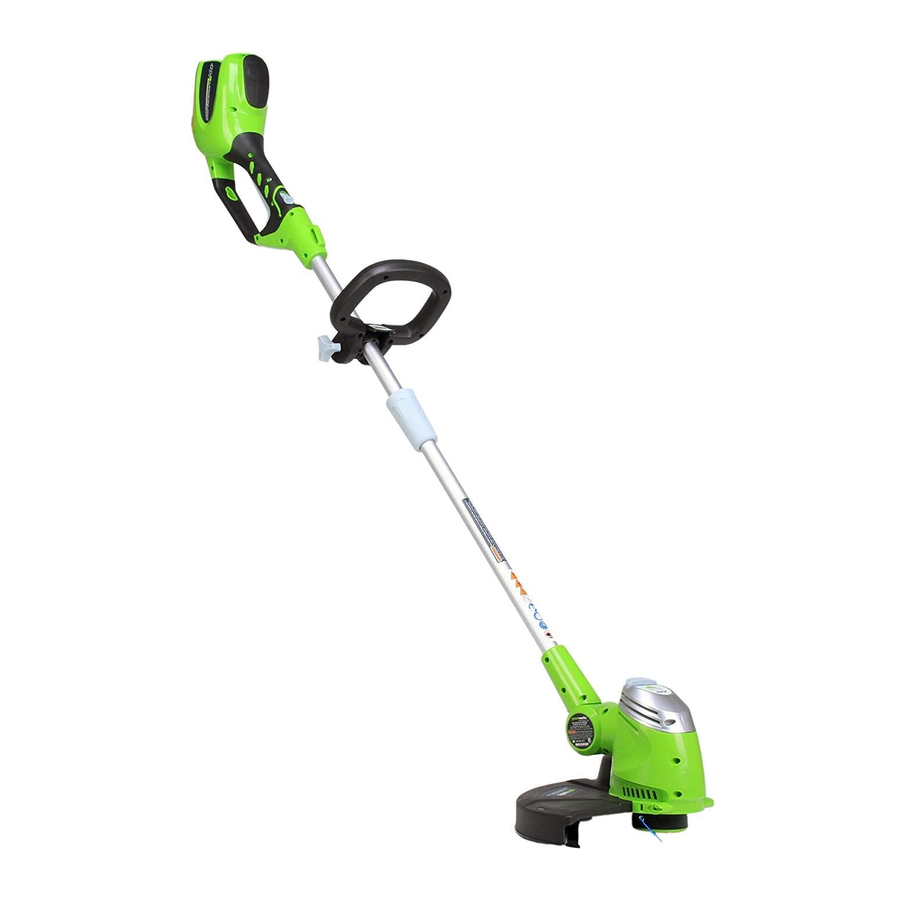
GreenWorks STF 305 Operator's Manual
Hide thumbs
Also See for STF 305:
- Operator's manual (57 pages) ,
- Operator's manual (28 pages) ,
- Operator's manual (188 pages)
Summary of Contents for GreenWorks STF 305
- Page 1 2101507AU STRING TRIMMER OPERATOR MANUAL Greenworks Australia A Division Jak Max P/L 380 Foley’s Road Derrimut Victoria, Australia 3026 STF 305 www.greenworksaustralia.com...
- Page 2 STF305...
- Page 3 STF305...
- Page 4 English Description......... 2 Operation........... 5 Purpose.............. 2 Controls............. 6 Overview............2 Start the machine..........6 Introduction........2 Stop the machine..........6 Operation tips............ 6 General power tool safety Cutting tips............6 warnings..........2 Adjust the length of the cutting line....6 Training..............2 Adjust the length of the cutting line Preparation............2...
- Page 5 English DESCRIPTION GENERAL POWER TOOL SAFETY WARNINGS PURPOSE WARNING This machine is used to cut grass, light weeds, and other Read all safety warnings and all instructions. Failure to similar vegetation at or around ground level. The cutting follow the warnings and instructions may result in electric plane must be approximately parallel to the ground surface.
-
Page 6: Operation
English off the power tool and remove mains, remove the disabling the battery immediately. Do device or removable battery) not use the power tool if the • whenever the power tool is battery is damaged or worn. left unattended; • Before use, always visually •... -
Page 7: Symbols On The Product
English power tool repaired only by an Symbol Explanation Thrown objects can ricochet and re- authorized repairer. sult in personal injury or property damage. Wear protective clothing and • When not in use, store the boots. power tool out of the reach of Beware of thrown or flying objects. -
Page 8: Installation
English ASSEMBLE THE SHAFT At the end of their useful life, discard batter- ies with a precaution for our environment. Figure 3. The battery contains material that is danger- ous to you and the environment. You must 1. Loosen the knob on the coupler. remove and discard these materials separate- 2. - Page 9 English CONTROLS NOTE If the cutting line does not automatically advance, it can be START THE MACHINE tangled or empty. Figure 6. 1. When the machine is on, release the trigger. 1. Push the lock-out button and pull the trigger. 2.
-
Page 10: Transportation And Storage
English • Stop the machine. 4. Wind the cutting lines around the spool tightly in the indicated direction. • Remove the battery pack. • Cool the motor. 5. Put the cutting lines in the guide slots. • Store the machine in cool and dry place. 6. -
Page 11: Technical Data
English Problem Possible Cause Solution Problem Possible Cause Solution The ma- The guard is not Remove the battery pack The line The machine is 1. Cut with the tip of the chine stops attached to the ma- and attach the guard to keeps used incorrectly. -
Page 12: Warranty
English WARRANTY (The full warranty terms and conditions can be found on webpage) The warranty is 4 years on the product, and 2 years on batteries (consumer/private usage) from the date of purchase. This warranty covers manufacturing faults. A faulty product under warranty might be either repaired or replaced.


Need help?
Do you have a question about the STF 305 and is the answer not in the manual?
Questions and answers