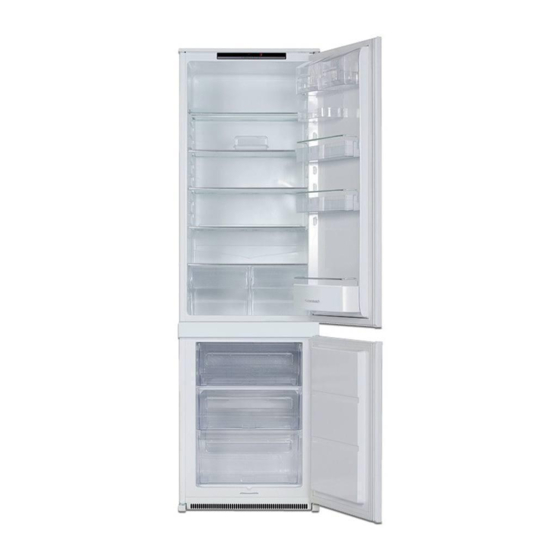
Summary of Contents for Kuppersbusch IKE3270-1-2T
- Page 1 Gebruiks- Notice Benutzer- User manual aanwijzing d'utilisation information Koel-vries- Réfrigérateur/ Kühl-Gefrier- Fridge-Freezer combinatie congélateur schrank IKE3270-1-2T...
-
Page 2: Table Of Contents
Contents Safety information Care and cleaning Operation What to do if… Control panel Technical data First use Installation Daily use Environmental concerns Helpful hints and tips Subject to change without notice. Safety information In the interest of your safety and to ensure ance. - Page 3 Warning! Any electrical component • Do not place carbonated or fizzy drinks in (power cord, plug, compressor) must the freezer compartment as it creates be replaced by a certified service agent pressure on the container, which may or qualified service personnel to avoid cause it to explode, resulting in damage hazard.
-
Page 4: Operation
Service in either its refrigerant circuit or insula- tion materials. The appliance shall not • Any electrical work required to do the be discarded together with the urban servicing of the appliance should be car- refuse and rubbish. The insulation foam ried out by a qualified electrician or com- contains flammable gases: the appli- petent person. -
Page 5: First Use
• turn the Temperature regulator toward • the quantity of food stored lower settings to obtain the minimum • the location of the appliance. coldness. Fast freezing function • turn the Temperature regulator toward You can activate the Fast freezing function higher settings to obtain the maximum by pressing the Fast freezing button. -
Page 6: Helpful Hints And Tips
Cold accumulators Positioning the door shelves The freezer contains at least one cold accu- The model is equipped with a variable stor- mulator which increases storage time in the age box which is fitted under a door shelf event of a power cut or breakdown. compartment and can be slide sideways. -
Page 7: Care And Cleaning
• prepare food in small portions to enable it Hints for storage of frozen food to be rapidly and completely frozen and To obtain the best performance from this to make it possible subsequently to thaw appliance, you should: only the quantity required; •... -
Page 8: What To Do If
means that there is no buildup of frost when it is in operation, neither on the inter- nal walls nor on the foods. The absence of frost is due to the continu- ous circulation of cold air inside the com- partment, driven by an automatically con- trolled fan. - Page 9 Problem Possible cause Solution Water flows on the rear During the automatic defrosting This is correct. plate of the refrigerator. process, frost defrosts on the rear plate. Water flows into the re- The water outlet is clogged. Clean the water outlet. frigerator.
-
Page 10: Technical Data
3. If necessary, replace the defective door gaskets. Contact the Service Center. Technical data Dimension of the recess Height 1780 mm Width 560 mm Depth 550 mm Rising Time 21 h Voltage 230-240 V Frequency 50 Hz The technical information are situated in the rating plate on the internal left side of the appliance and in the energy label. - Page 11 50 - min. 200 cm min. 200 cm On the opposite side: Installing the appliance 1. Install the lower pin. 2. Install the lower door. Caution! Make sure that the mains 3. Refit the pins (B) and the spacers (C) on cable can move freely.
- Page 12 3. Install the appliance in the niche. Push the appliance in the direction of 44mm the arrows (1) until the upper gap cover stops against the kitchen furniture. Push the appliance in the direction of the arrows (2) against the cupboard on the opposite side of the hinge.
- Page 13 7. Attach the covers (C, D) to the lugs and the hinge holes. Install the vent grille (B). Attach the hinge covers (E) to the hinge. 10. Install the part (Ha) on the inner side of the kitchen furniture. ca. 50 mm 90°...
-
Page 14: Environmental Concerns
Put together the appliance door and Align the kitchen furniture door and the the furniture door and mark the holes. appliance door by adjusting the part (Hb). 8 mm 13. Remove the brackets and mark a dis- tance of 8 mm from the outer edge of 15. - Page 16 222358171-A-432011...


Need help?
Do you have a question about the IKE3270-1-2T and is the answer not in the manual?
Questions and answers