
Related Manuals for Kuppersbusch IKE3260-2-2T


Summary of Contents for Kuppersbusch IKE3260-2-2T
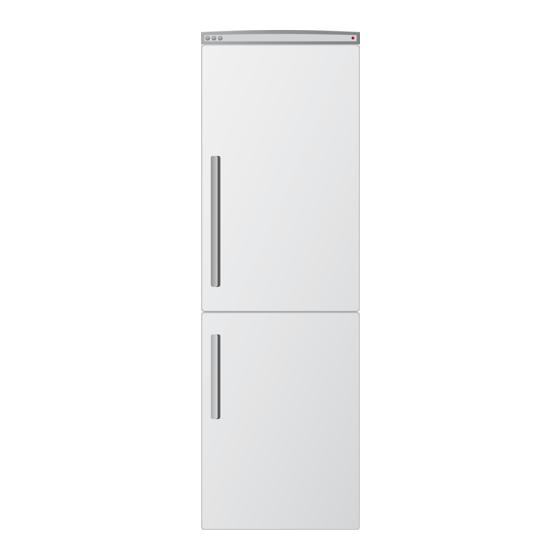
- Page 1 Gebruiks- Benutzer- User manual aanwijzing information Koel-vries- Kühl - Gefrier- Fridge-Freezer combinatie schrank IKE3260-2-2T...
-
Page 2: Table Of Contents
CONTENTS Safety instructions Care and cleaning Operation What to do if… First use Technical data Daily use Installation Helpful hints and tips Environmental concerns Subject to change without notice. SAFETY INSTRUCTIONS In the interest of your safety and to ensure usable before you discard the old appli- the correct use, before installing and first ance. - Page 3 – avoid open flames and sources of igni- • Frozen food must not be re-frozen once tion it has been thawed out. – thoroughly ventilate the room in which • Store pre-packed frozen food in accord- the appliance is situated ance with the frozen food manufacturer's •...
-
Page 4: Operation
• The appliance must not be located close in either its refrigerant circuit or insula- to radiators or cookers. tion materials. The appliance shall not • Make sure that the mains plug is accessi- be discarded together with the urban ble after the installation of the appliance. -
Page 5: Daily Use
DAILY USE Freezing fresh food of the upper section (where applicable) The freezer compartment is suitable for freezing fresh food and storing frozen and Important! In the event of accidental deep-frozen food for a long time. defrosting, for example due to a power To freeze fresh foods it is not necessary to failure, if the power has been off for longer change the medium setting. -
Page 6: Helpful Hints And Tips
Positioning the door shelves To permit storage of food packages of vari- ous sizes, the door shelves can be placed at different heights. To make these adjustments proceed as fol- lows: gradually pull the shelf in the direction of the arrows until it comes free, then reposi- tion as required. -
Page 7: Care And Cleaning
• prepare food in small portions to enable it Hints for storage of frozen food to be rapidly and completely frozen and To obtain the best performance from this to make it possible subsequently to thaw appliance, you should: only the quantity required; •... -
Page 8: What To Do If
Defrosting the refrigerator Frost is automatically eliminated from the evaporator of the refrigerator compartment every time the motor compressor stops, during normal use. The defrost water drains out through a drain hole into a special con- tainer at the back of the appliance, over the motor compressor, where it evaporates. - Page 9 Problem Possible cause Solution The appliance does not The appliance is switched off. Switch on the appliance. operate. The lamp does not operate. The mains plug is not connected Connect the mains plug to the to the mains socket correctly. mains socket correctly.
-
Page 10: Technical Data
1. At the same time, with the fingers expand up and down the transparent cover and unhook it in the direction of the arrows. 2. Replace the lamp with one of the same power and shape, specifically designed for household appliances. (the maximum power is shown on the light bulb cover). - Page 11 Door reversibility The door of the appliance opens to the right. To open the door to the left, do these steps before you install the appliance. • Loosen and remove the upper pin. • Remove the upper door. • Remove the spacer. •...
- Page 12 Ventilation requirements The airflow behind the appliance must be min. 5 cm sufficient. 200 cm min. 200 cm Installing the appliance Do the following steps: Caution! Make sure that the mains cable can move freely. If necessary cut the adhesive sealing strip and apply it to the appliance as shown in figure.
- Page 13 Adjust the appliance in the niche. Make sure that the distance between the appliance and the cupboard front-edge is 44 mm. The lower hinge cover (in the accessories bag) makes sure that the distance be- tween the appliance and the kitchen fur- niture is correct.
- Page 14 Attach the covers (C, D) to the lugs and the hinge holes. Install the vent grille (B). Attach the hinge covers (E) to the hinge. Connect the appliance laterally to the kitchen furniture sidewall: 1. Loosen the screws of the part (G) and move the part (G) till the furniture sidewall.
- Page 15 Install the part (Ha) on the inner side of ca. 50 mm the kitchen furniture door. 90° 21 mm 90° ca. 50 mm 21 mm Push the part (Hc) on the part (Ha). Open the appliance door and the kitchen furniture door at an angle of 90°.
-
Page 16: Environmental Concerns
Remove the brackets and mark a dis- tance of 8 mm from the outer edge of the 8 mm door where the nail must be fitted (K). Place the small square on the guide again and fix it with the screws supplied. Align the kitchen furniture door and the appliance door by adjusting the part (Hb). - Page 19 222366002-A-172013...
Need help?
Do you have a question about the IKE3260-2-2T and is the answer not in the manual?
Questions and answers