Advertisement
Quick Links
Advertisement

Subscribe to Our Youtube Channel
Related Manuals for Candy CTS9CX


Summary of Contents for Candy CTS9CX
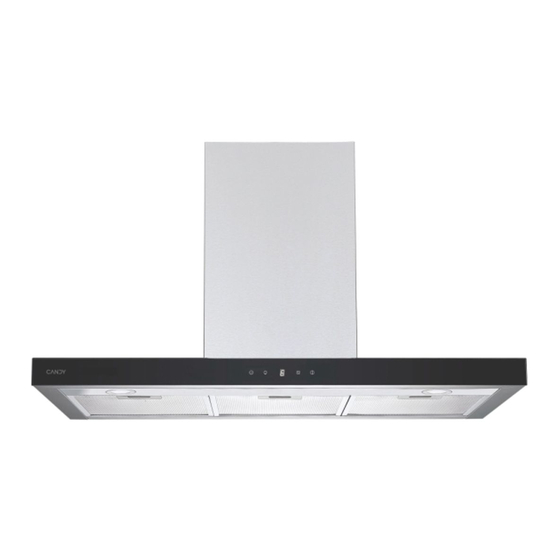
- Page 1 CTS9CX Cooker Hood Instruction Manual...
-
Page 2: Table Of Contents
Content 1…………………………………..………………………………Safety instructions 2…………………………………..………………………………Installation 3…………………………………..………………………………Start using your cooker hood 4…………………………………..………………………………Troubleshooting 5…………………………………..………………………………Maintenance and cleaning 6…………………………………..………………………………Environment protection... -
Page 3: Safety Instructions
SAFETY INSTRUCTIONS his manual explains the proper installation and use of your cooker hood, please read it carefully before using even if you are familiar with the product. The manual should be kept in a safe place for future reference. Never to do: Always to do: ●... - Page 4 Always to do: Always to do: ● ● lways put lids on pots and pans aution: The appliance and its when cooking on a gas cooker. accessible parts can become hot during operation. Be careful to avoid ● hen in extraction mode, air in the touching the heating elements.
- Page 5 INSTALLATION (VENT OUTSIDE) MOUNTING OF THE V-FLAP(the parts not included) If the cooker hood does not have an assembled V-flap 1, you should mount the half- parts to its body.The images only show an example of how to mount the V-flap, because the outlet may vary according to different models and configurations.
- Page 6 3. Install the hook on a suitable place once the installation height is fixed, and keep it in line. The fixed position of the inside chimney bracket is the place of highest chimney. See pic 2. 4. Install the v-flap(not included) and expansion pipe(not included) on the cooker hood.
- Page 7 Electrical Installation All installation must be carried out by a competent person or qualified electrician. Before connecting the mains supply ensure that the mains voltage corresponds to the voltage on the rating plate. Direct Connection The appliance must be connected directly to the mains using an omnipolar circuit breaker with a minimum opening of 3mm between the contacts.
- Page 8 HINTS FOR EXHAUST DUCT INSTALLATION The following rules must be strictly followed to obtain optimal air extraction: • Keep expansion pipe short and straight. • Do not reduce the size or restrict the expansion pipe. • When using the expansion pipe always install the pipe pulled taut to minimize pressure loss.
-
Page 9: Start Using Your Cooker Hood
Start Using Your Cooker Hood LED touch control 1.Press the “Power” button, the button control the “on” & “off ” of the hood. 2.Press the button “Speed” time after time, the motor runs as low / mid / high / low / mid…, the speed runs circularly;... -
Page 10: Maintenance And Cleaning
NOTE: Any electrical repairs to this appliance must conform to your local, state and federal laws.Please contact the service centre if in any doubt before undertaking any of the above.Always disconnect the unit from the power source when opening the unit. MAINTENANCE AND CLEANING Caution: •... - Page 11 INSTALLING GREASE MESH FILTERS • To install filters for the following four steps: - Angle the filter into the slots at the back of the hood. - Push the button on the handle of the filter. - Release the handle once the filter fits into a resting position. - Repeat to install all filters.
- Page 12 BULB REPLACEMENT The bulb must be replaced by the manufacturer, its Important : service agent or similarly qualified persons. Always switch off the electricity supply before carrying out any operations on the appliance. When handling bulb, make sure it has completely cooled down before any direct contact with hands.
-
Page 13: Environment Protection
ENVIRONMENTAL PROTECTION: This product is marked with the symbol on the selective sorting of waste electronic equipment. This means that this product must not be disposed of with household waste but must be supported by a system of selective collection in accordance with Directive 2012/19/EU.
Need help?
Do you have a question about the CTS9CX and is the answer not in the manual?
Questions and answers