Advertisement
Quick Links
TRACK 1100 Installation and activation manual
Install the tracker with bolts
Bolt M6
Spring washer Washer
Install the tracker with rivets
Rivets diameter 5mm
Other installation methods
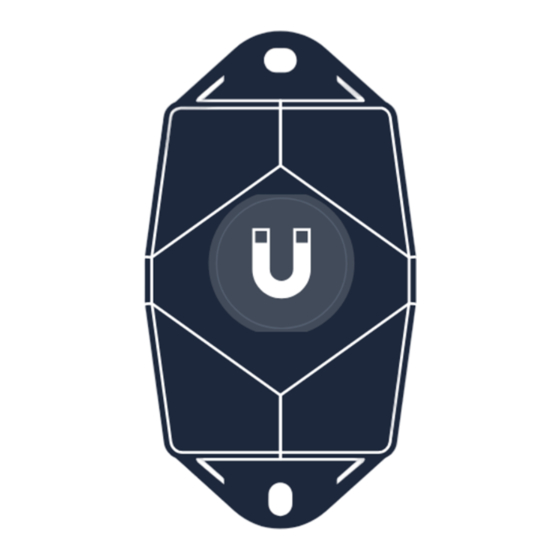
For alternative fixation methods such as magnets, glue and double sided tape or tie
wraps please contact the Sensolus Help Desk.
support@sensolus.com or +32.9.298.09.43
Installation advice
Avoid blocking the tracker's
Place the tracker has high as
view with metal or carbonfibre
possible on the asset to ensure
walls. They weaken or block the
good network coverage.
radiofrequency signals.
If your asset is handled in a
Make sure the tracker has a clear
rough environment, you can
view on the sky.
place the tracker in a protected
location, but never with metal or
carbonfibre above the tracker.
www.sensolus.com | info@sensolus.com
Nut
1. Use the appropriate size of screws, it is recommended to use the M6 type and to use
thread locking glue on the bolts. We recommend Loctite Thread Locker Blue 242.
2. Protect the tracker casing appropriately: protect the casing with a washer and use a
spring washer to mitigate the effects of vibration and temperature variations.
3. Don't apply too much torque during the fixation: the maximum allowed torque is
3.5NM for an M6 screw used with a washer. Applying more torque may severely damage
the tracker's casing.
Drilled hole
min 5.1 mm
Use the appropriate size of rivets.
Choose the right length of the rivets.
The height of the casing where the mounting holes are located is 8mm.
We recommended to use rivets with a diameter of 5mm.
Make sure the mounting surface
is flat and clean, for a strong and
durable bond.
Avoid placing the tracker in a
place that can collect water.
Do not install the tracker on
Install the tracker vertically, with
parts that receive frequent
the logo facing up.
shocks or vibrations.
If you can't install vertically, do
not mount the tracker upside
down.
Advertisement

Related Manuals for sensolus TRACK 1100


Summary of Contents for sensolus TRACK 1100
- Page 1 TRACK 1100 Installation and activation manual Install the tracker with bolts Bolt M6 Spring washer Washer 1. Use the appropriate size of screws, it is recommended to use the M6 type and to use thread locking glue on the bolts. We recommend Loctite Thread Locker Blue 242.
- Page 2 This equipment complies with FCC radiation exposure limits set forth for an uncontrolled environment. This equipment should be installed and operated with minimum distance 20cm between the radiator & your body. This equipment is not suitable for use in locations where children are likely to be present www.sensolus.com | info@sensolus.com...
Need help?
Do you have a question about the TRACK 1100 and is the answer not in the manual?
Questions and answers