Juniper QFX5100-48S Quick Start Manual
Hide thumbs
Also See for QFX5100-48S:
- Hardware documentation (669 pages) ,
- Hardware manual (176 pages)
Table of Contents
Advertisement
Quick Links
Quick Start Guide
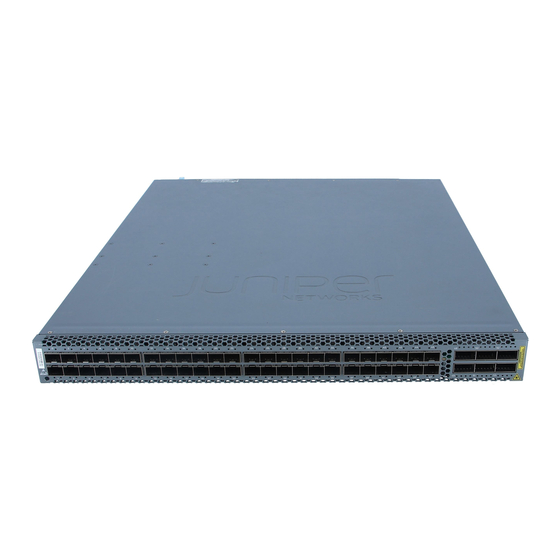
QFX5100-48S
IN THIS GUIDE
Step 1: Begin | 1
Step 1: Begin
IN THIS SECTION
To install and configure a Juniper Networks QFX5100-48S Switch, you need:
Electrostatic discharge (ESD) grounding strap (not provided)
One pair of front mounting-rails (provided)
One pair of rear mounting-blades (provided)
Twelve screws to secure the mounting-rails and mounting-blades to the chassis (provided)
Eight screws to secure the chassis and mounting-blades to the rack (not provided)
Screwdriver appropriate for your rack mounting screws (not provided)
Two power cords with plugs appropriate for your geographical location (provided)
RJ-45 cable and RJ-45 to DB-9 serial port adapter (provided)
Advertisement
Table of Contents

Related Manuals for Juniper QFX5100-48S


Summary of Contents for Juniper QFX5100-48S
- Page 1 IN THIS SECTION Mount the QFX5100-48S | 2 Connect Power to the Switch | 3 To install and configure a Juniper Networks QFX5100-48S Switch, you need: Electrostatic discharge (ESD) grounding strap (not provided) One pair of front mounting-rails (provided) One pair of rear mounting-blades (provided)
- Page 2 QFX5100 documentation at https://www.juniper.net/documentation/product/en_US/qfx5100. Mount the QFX5100-48S The QFX5100-48S can only be mounted in a four-post rack configuration. To mount the device in a 19 inch rack: 1. Attach the ESD grounding strap to your bare wrist and to a site ESD point.
- Page 3 Connect Power to the Switch The switch is supplied with two factory-installed power supplies. Connecting QFX5100-48S to AC power To connect power to an AC-powered switch: 1. If the AC power source outlet has a power switch, set it to the OFF (0) position.
- Page 4 Step 2: Up and Running IN THIS SECTION Set Parameter Values | 4 Perform the Initial Configuration | 4 Set Parameter Values You must perform the initial configuration of the switch through the console port. Before you begin, set the following parameter values in the console server or PC: Baud Rate—9600 Flow Control—None...
- Page 5 4. Enter configuration mode. root> configure 5. Add a password to the root administration user account. [edit] root@# set system root-authentication plain-text-password New password: password Retype new password: password 6. (Optional) Configure the name of the switch. If the name includes spaces, enclose the name in quotation marks (“ ”). [edit] root@# set system host-name host-name 7.
- Page 6 Before connecting the switch to a power source, read the installation instructions in the QFX5100 switch documentation. The QFX5100-48S switch weighs approximately 21.8 lb (9.8 kg). Manually installing the QFX5100-48S switch in a rack or cabinet at a height above 60 in. (152.4 cm) requires two people to lift the switch and install mounting screws. To prevent injury, keep your back straight and lift with your legs, not your back.
- Page 7 For technical support, see: http://www.juniper.net/support/requesting-support.html Juniper Networks, the Juniper Networks logo, Juniper, and Junos are registered trademarks of Juniper Networks, Inc. in the United States and other countries. All other trademarks, service marks, registered marks, or registered service marks are the property of their respective owners.
Need help?
Do you have a question about the QFX5100-48S and is the answer not in the manual?
Questions and answers