Advertisement
- 1 Find the Product Serial Number
- 2 What's in the box
- 3 Assembly
- 4 Operation
- 5 Emptying the bin
- 6 Removing telescopic handle and using duster
- 7 Handheld use and stair cleaning
- 8 Recharging
- 9 Clearing the brush bar
- 10 Carrying
- 11 Changing the battery
- 12 Product Care
- 13 Troubleshooting
- 14 Product Support
- 15 DEVICE TECHNICAL SPECIFICATION
- 16 Documents / Resources
Find the Product Serial Number
Make a note of your product serial number code for future reference. You can find this on the underside of item

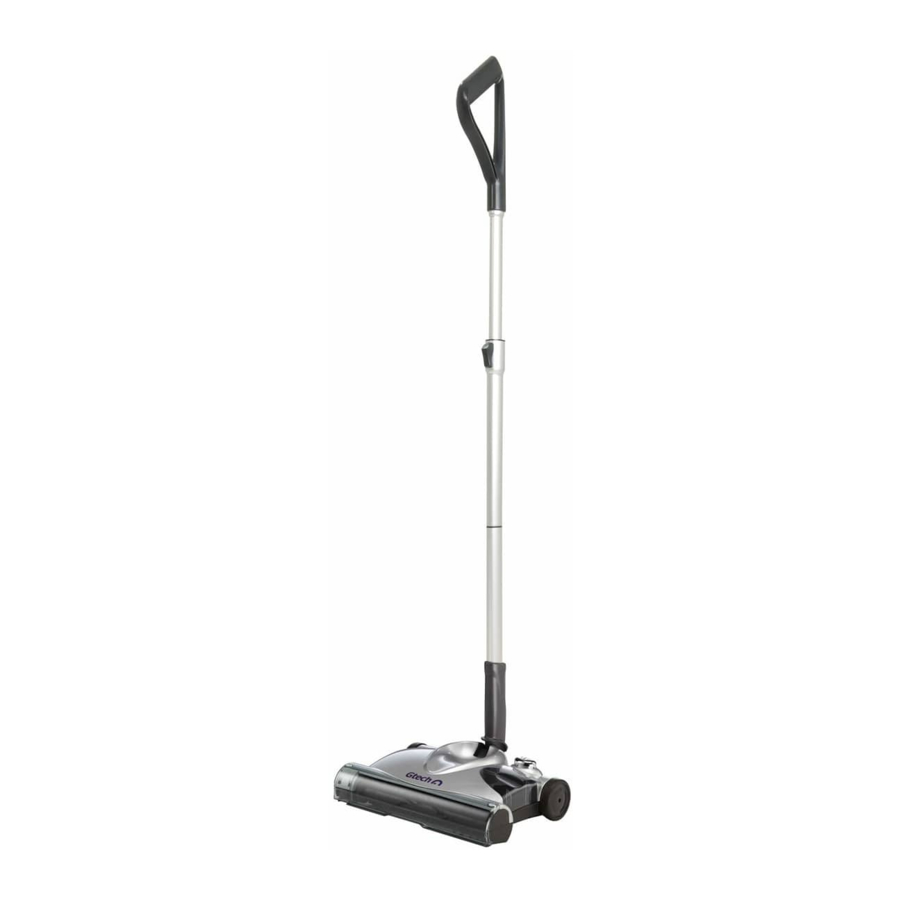
What's in the box

- Sweeper
- Upper Handle
- Telescopic Handle Tubes
- Lower Handle
- Charger (inside dust tray)
- Duster
- Duster clip
Assembly

To assemble the lower handle Pull out the locking clip.

Place the lower handle into the socket. Push the locking clip back into place. Push handle forward.

The three parts of the telescopic handle also click into place. The duster can be clipped onto the back of the handle.
Operation

Pull back the handle and press the "on" button with your foot.
Normal operation

Push flat over the floor.
Deeper cleaning

Lift the handle to lower the brush bar into the carpet.
Emptying the bin

Remove the dust tray by pinching the window slightly, and pulling out.

Tip the dirt into the bin. If you need to you can wipe the tray clean with a dry cloth.
Removing telescopic handle and using duster

Remove the telescopic handle by pressing the button at the front of the lower handle and pulling the tube out.

The telescopic handle can now be attached to the duster.
Handheld use and stair cleaning

Remove the visor by unclipping the bottom outer edges at the same time then lifting off. Push lower handle fully forward.

Use on stairs, starting at the top and front of each step then moving down and towards you.
Recharging

Plug in the charger and connect the jack to the socket at the rear of the sweeper. A full recharge will take 16 hours. Do not charge for longer than 24 hours.

The light will show red while the sweeper is charging and green while it is running.
Clearing the brush bar

From time to time you may need to remove hair and thread from the brush bar. Take off visor and use a pair of scissors to remove the hair.
Carrying

Try to avoid carrying the sweeper 'nose down' as you risk spilling dirt from the dust tray.
Changing the battery

Locate the battery cover.

Lift off the battery cover.

Lift out the battery pack. Straighten up the cable connectors so you can handle them more easily.

Slide plastic cover off the BLACK cable connector ONLY. Leave cover on the red cable connector.

Gently press down fixing latch on cable connector.

Repeat the previous two steps for the RED wire.

Re-attach the wires to the new battery, attaching the BLACK wire first. Fold the terminals back along the battery.

Put the battery back into the compartment and replace the cover.
Product Care
Your Gtech sweeper doesn't need much maintenance: empty the dust tray, remove hair and fibre from the brush bar and edge wheel and charge the battery. Wipe it with a dry cloth if it gets dirty, including in and around the bin. Never wash it with liquid or run it under a tap. Avoid cleaning over rug tassels or frayed carpets as this will tangle the brush bar. The battery, drive belt, brush bar and side brush are all replaceable items. If you find you ever need to replace these items there is an FAQ section on our website at www.gtech.co.uk
Troubleshooting
Device is not cleaning well |
|
Device has stopped or won't work |
|
Product Support
If these initial tips don't solve your problem, we have various other ways to help.
Visit: www.gtech.co.uk/support

DEVICE TECHNICAL SPECIFICATION
| Unit operating cycle with full battery | up to 60 mins (dependent on floor surface) |
| Battery type | NiMH |
| Battery voltage | 7.2V |
| Charging period for fully discharged battery | 16 hours |
| Battery charger output | 12V DC, 150mA |
| Battery charger model | JOD-S-120015BS |
| Sound Level | 75db (A) |
| Weight | 1.6kg |
The  symbol indicates that this product is covered by legislation for waste electrical and electronic products (EN2002/96/EC)
When the sweeper has reached the end of its life, it and the NiMH battery it contains should not be disposed of with general household waste. The battery should be removed from the sweeper and both should then be disposed of properly at a recognised recycling facility.
Call your local council, civic amenity site, or recycling centre for information on the disposal and recycling of electrical products.
Alternatively visit www.recycle-more.co.uk for advice on recycling and to find your nearest recycling facilities.

Only use the charger supplied with the product.

Using another charger may damage the product and the battery and will invalidate your guarantee.
FOR HOUSEHOLD USE ONLY

Documents / Resources
References
![www.gtech.co.uk]() Gtech UK Official: Vacuum Cleaners, Home & Gardening
Gtech UK Official: Vacuum Cleaners, Home & Gardening![www.gtech.co.uk]() Support and Customer Service | Gtech
Support and Customer Service | Gtech![www.recycle-more.co.uk]() Everything you need to know to Recycle More
Everything you need to know to Recycle More
Download manual
Here you can download full pdf version of manual, it may contain additional safety instructions, warranty information, FCC rules, etc.
Download Gtech Advanced Power Sweeper SW02 - Vacuum Cleaner Manual
Advertisement


Need help?
Do you have a question about the Advanced Power Sweeper and is the answer not in the manual?
Questions and answers