Table of Contents
Advertisement
Quick Links
Standard & Compact
Wet / Dry Vacuum Cleaners
Model 88
Compact
These vacuums are high quality, precision
made products. All parts used in the
manufacturing of these vacuum cleaners
have passed rigid quality control standards
prior to assembly and an "each unit" final
inspection prior to packaging is your
assurance of proper assembly. These
uum cleaners were protectively packed to
READ ALL INSTRUCTIONS
Operation & Care Instructions
Save For Future Reference
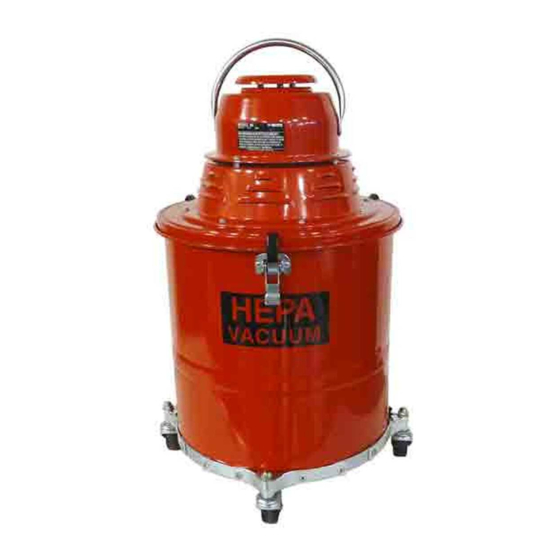
Model 102
Metal Motorhead
w / Metal Tank
BEFORE USING
Note:
This vacuum is suitable for commercial use.
prevent possible damage in transit. Should
damage have occurred, please notify the
transporting carrier immediately for loss
and/or claim.
YOU MUST FILE THE DAMAGE CLAIM
vac-
WITH THE CARRIER. THE SHIPPER
CANNOT FILE SUCH A CLAIM.
Model 102
Metal Motorhead
w / Poly Tank
Advertisement
Table of Contents

Subscribe to Our Youtube Channel
Related Manuals for Pullman Holt 102


Summary of Contents for Pullman Holt 102
-
Page 1: Before Using
These uum cleaners were protectively packed to READ ALL INSTRUCTIONS Note: Save For Future Reference Model 102 Metal Motorhead w / Metal Tank prevent possible damage in transit. Should damage have occurred, please notify the transporting carrier immediately for loss and/or claim. -
Page 2: Important Safety Instructions
15. Do not use to pick up flammable or combustible liquids such as gasoline, or use in areas where they may be present. 16. This vacuum is for commercial use only. 17. Connect to a properly grounded outlet only. See grounding instructions. -
Page 3: Grounding Instructions
GROUNDING INSTRUCTIONS This appliance must be grounded. If it should malfunction or breakdown, grounding provides a path of least resistance for elec- tric current to reduce the risk of electric shock. This appliance is equipped with a cord having equipment grounding conductor and grounding plug. - Page 4 1 Air Filter Assembly 4 Shaft Caps Remove and carefully set aside motor head and filter assembly. Tilt vacuum back to full rest on can handle. Position caster mount assemblies on the bottom rim of can approximately 6 inches apart from the center line of the intake.
-
Page 5: Care And Maintenance
Motor Head When removing the motor head, care in handling is essential. Dropping, banging or other abuse may result in a poor vacuum seal and a loss in suction power. NOTE: When changing from wet to dry vacuuming, always rinse the collection can with clean water. Dry the tank and replace the Water Pick-up Adapter with the Air Filter Assembly. - Page 6 Wet/Dry Cartridge Filter Assembly Caution: MUST This filter be in place at all times during vacuuming operations, both dry and wet. Never-Clog F I L T E R S Y S T E M F I L T E R...
- Page 7 Steel Tank and Vacmobile Assembly Vacmobile Style Vacmobile Style Hub Cap Shaft Cap Frame Assembly Washer Shaft Cap Compact Style Caster...
-
Page 8: Troubleshooting Guide
Under this war- ranty, the manufacturer agrees to repair or replace parts which have become defective within the war- ranty period, provided the vacuum is delivered or Trouble Shooting Guide Symptom Possible Cause Loss of Suction 1.
Need help?
Do you have a question about the 102 and is the answer not in the manual?
Questions and answers