Table of Contents
Advertisement
Quick Links
Advertisement
Table of Contents

Subscribe to Our Youtube Channel
Related Manuals for Daikin ARXM50N2V1B9


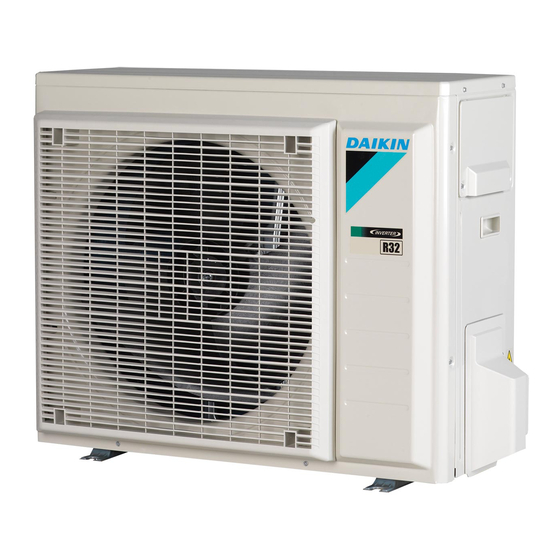
Summary of Contents for Daikin ARXM50N2V1B9
- Page 1 Installation manual R32 split series ARXM50N2V1B9 ARXM60N2V1B9 ARXM71N2V1B9 RXM42N2V1B9 RXM50N2V1B9 RXM60N2V1B9 RXM71N2V1B RXP50M2V1B RXP60M2V1B RXP71M2V1B RXA42B2V1B RXA50B2V1B RXF50B2V1B RXF60B2V1B RXF71A2V1B Installation manual English R32 split series RXJ50N2V1B...
- Page 2 2P518197-1A...
- Page 3 2P518197-1A...
- Page 4 2P518197-2B...
- Page 5 2P518197-2B...
- Page 6 2P518197-3C...
- Page 7 2P518197-3C...
- Page 8 2P518197-4C...
- Page 9 2P518197-4C...
- Page 10 2P518197-5C...
- Page 11 2P518197-5C...
-
Page 12: Table Of Contents
To connect the refrigerant piping to the outdoor unit .. 14 Daikin website (publicly accessible). Checking the refrigerant piping ..........14 ▪ The full set of latest technical data is available on the Daikin 4.3.1 To check for leaks............14 extranet (authentication required). -
Page 13: Installation Site Requirements Of The Outdoor Unit
4 Installation In any case, provide at least 300 mm of free space below the unit. 3.1.1 Installation site requirements of the Additionally, make sure the unit is positioned at least 100 mm above outdoor unit the maximum expected level of snow. See "4.1 ... -
Page 14: To Install The Outdoor Unit
4 Installation 4.1.2 To install the outdoor unit Drain hole. Install a drain cap (2). Drain hole. Install a drain cap (1). 4× M8/M10 Drain hole for drain socket Connecting the refrigerant piping DANGER: RISK OF BURNING 4.2.1 To connect the refrigerant piping to the outdoor unit 4.1.3 To provide drainage... -
Page 15: To Perform Vacuum Drying
4 Installation NOTICE INFORMATION Make sure to use a recommended bubble test solution Depending on the units and/or the installation conditions, it from your wholesaler. Do not use soap water, which may might be necessary to connect electrical wiring before you cause cracking of flare nuts (soap water may contain salt, can charge refrigerant. -
Page 16: To Determine The Additional Refrigerant Amount
4 Installation WARNING 4.4.6 To fix the fluorinated greenhouse gases label The refrigerant inside the unit is mildly flammable, but normally does NOT leak. If the refrigerant leaks in the 1 Fill in the label as follows: room and comes in contact with fire from a burner, a heater, or a cooker, this may result in fire, or the formation Contains fluorinated greenhouse gases RXXX... -
Page 17: Specifications Of Standard Wiring Components
4 Installation WARNING 4.5.2 To connect the electrical wiring on the outdoor unit ▪ Do NOT use locally purchased electrical parts inside the product. 1 Remove the switch box cover. ▪ Do NOT branch the power supply for the drain pump, 2 Open the wire clamp. -
Page 18: Commissioning
5 Commissioning 1 In cooling mode, select the lowest programmable temperature. Commissioning In heating mode, select the highest programmable temperature. Test run can be disabled if necessary. NOTICE 2 When the test run is finished, set the temperature to a normal NEVER operate the unit without thermistors and/or level. -
Page 19: Technical Data
8 Technical data Technical data A subset of the latest technical data is available on the regional Daikin website (publicly accessible). The full set of latest technical data is available on the Daikin Business Portal (authentication required). Wiring diagram The wiring diagram is delivered with the unit, located inside of the outdoor unit (bottom side of the top plate). -
Page 20: Piping Diagram
8 Technical data Piping diagram 8.2.1 Piping diagram: Outdoor unit Applicable for:RXP50M, RXF50B Refrigerant flow Heat exchanger Outdoor temperature Thermistor Cooling Heat exchanger thermistor Heating Capillary tube ·1· ·7.0· CuT ·4.0· CuT ·7.0· CuT ·6.4· CuT ·6.4· CuT ·7.0· CuT Capillary tube ·2·... - Page 21 8 Technical data Applicable for: RXM71N Refrigerant flow Heat exchanger Outdoor temperature Thermistor Cooling 7.0· CuT Heat exchanger thermistor Heating 7.0· CuT Capillary tube 1 4.0 CuT 7.0· CuT 7.0· CuT Capillary tube 2 6.4 CuT 4.0 CuT 7.0· CuT 6.4 CuT 7.0·...
- Page 22 8 Technical data Applicable for: ARXM71N Refrigerant flow Outdoor unit Cooling Heat exchanger Outdoor temperature Thermistor Heating Heat exchanger thermistor ·7.0· CuT ·7.0· CuT Capillary tube ·1· ·4.0· CuT ·7.0· CuT ·7.0· CuT Capillary tube ·2· ·6.4· CuT ·6.4· CuT ·4.0·...
- Page 24 3P512025-6M 2018.11...
Need help?
Do you have a question about the ARXM50N2V1B9 and is the answer not in the manual?
Questions and answers