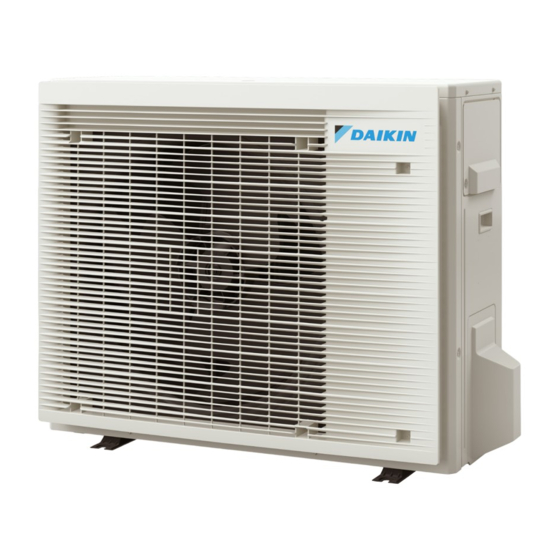
Summary of Contents for Daikin RXJ42A2V1B
-
Page 1: Table Of Contents
Installation manual R32 split series Installation manual RXJ42A2V1B English R32 split series RXJ50A2V1B... - Page 2 2P518197-8J...
- Page 3 2P518197-8J...
-
Page 4: Table Of Contents
Checklist during commissioning ..........13 Daikin website (publicly accessible). 10.3 To perform a test run..............13 ▪ The full set of latest technical data is available on the Daikin 11 Maintenance and service Business Portal (authentication required). 12 Troubleshooting 12.1 Fault diagnosis using LED on outdoor unit PCB ....... - Page 5 2 Specific installer safety instructions Installation site (see "4.1 Preparing the installation site" [ 4 7]) WARNING ▪ Only use R32 as refrigerant. Other substances may CAUTION cause explosions and accidents. ▪ Check if the installation location can support the unit's ▪ R32 contains fluorinated greenhouse gases. Its global weight.
-
Page 6: About The Box
3 About the box WARNING WARNING Keep the interconnection wiring away from copper pipes ▪ Before carrying out any maintenance or repair activity, without thermal insulation as such pipes will be very hot. ALWAYS switch off the circuit breaker on the supply panel, remove the fuses or open the protection devices DANGER: RISK OF ELECTROCUTION of the unit. -
Page 7: Preparing The Installation Site
4 Unit installation Preparing the installation site WARNING The appliance shall be stored so as to prevent mechanical damage and in a well-ventilated room without continuously operating ignition sources (e.g. open flames, an operating gas appliance, or an operating electric heater). The room size shall be as specified in the General safety precaution. -
Page 8: To Install The Outdoor Unit
5 Piping installation Drain port Bottom frame Drain plug Hose (field supply) To close the drain holes and attach the drain socket NOTICE In cold areas, do NOT use a drain socket, hose and caps (1, 2) with the outdoor unit. Take adequate measures so that the evacuated condensate CANNOT freeze. -
Page 9: Refrigerant Piping Insulation
5 Piping installation ▪ Flare connections: Only use annealed material. WARNING ▪ Piping temper grade and thickness: Connect the refrigerant piping securely before running the compressor. If the refrigerant piping is NOT connected and Outer diameter Temper grade Thickness (t) the stop valve is open when the compressor is run, air will (Ø) be sucked in. -
Page 10: To Perform Vacuum Drying
6 Charging refrigerant 5.3.2 To perform vacuum drying WARNING ▪ The refrigerant inside the unit is mildly flammable, but DANGER: RISK OF EXPLOSION normally does NOT leak. If the refrigerant leaks in the Do NOT start the unit if it is vacuumed. room and comes in contact with fire from a burner, a heater, or a cooker, this may result in fire, or the 1 Vacuum the system until the pressure on the manifold indicates... -
Page 11: Electrical Installation
7 Electrical installation Contains fluorinated greenhouse gases WARNING RXXX Keep the interconnection wiring away from copper pipes GWP: XXX without thermal insulation as such pipes will be very hot. DANGER: RISK OF ELECTROCUTION All electrical parts (including thermistors) are powered by GWP ×... -
Page 12: Finishing The Outdoor Unit Installation
Next power supply. commissioning instructions in this chapter, a general commissioning checklist is also available on the Daikin 1 Insulate and fix the refrigerant piping and cables as follows: Business Portal (authentication required). The general commissioning checklist is complementary to... -
Page 13: Checklist Before Commissioning
The power supply voltage matches the voltage on the maintenance/inspection checklist is also available on the identification label of the unit. Daikin Business Portal (authentication required). There are NO loose connections or damaged electrical general maintenance/inspection checklist components in the switch box. -
Page 14: Disposal 14
▪ A subset of the latest technical data is available on the regional Daikin website (publicly accessible). Light emitting diode (service monitor green) ▪ The full set of latest technical data is available on the Daikin Business Portal (authentication required). HIGH VOLTAGE High voltage Intelligent eye sensor 14.1... -
Page 15: Piping Diagram
14 Technical data Symbol Meaning Symbol Meaning Thermostat Terminal S*RH Humidity sensor Terminal strip (block) S*W, SW* Operation switch Electronic expansion valve coil SA*, F1S Surge arrester Y*R, Y*S Reversing solenoid valve coil SR*, WLU Signal receiver Ferrite core Selector switch ZF, Z*F Noise filter SHEET METAL... - Page 16 3P512025-12X 2021.12 Verantwortung für Energie und Umwelt...


Need help?
Do you have a question about the RXJ42A2V1B and is the answer not in the manual?
Questions and answers